
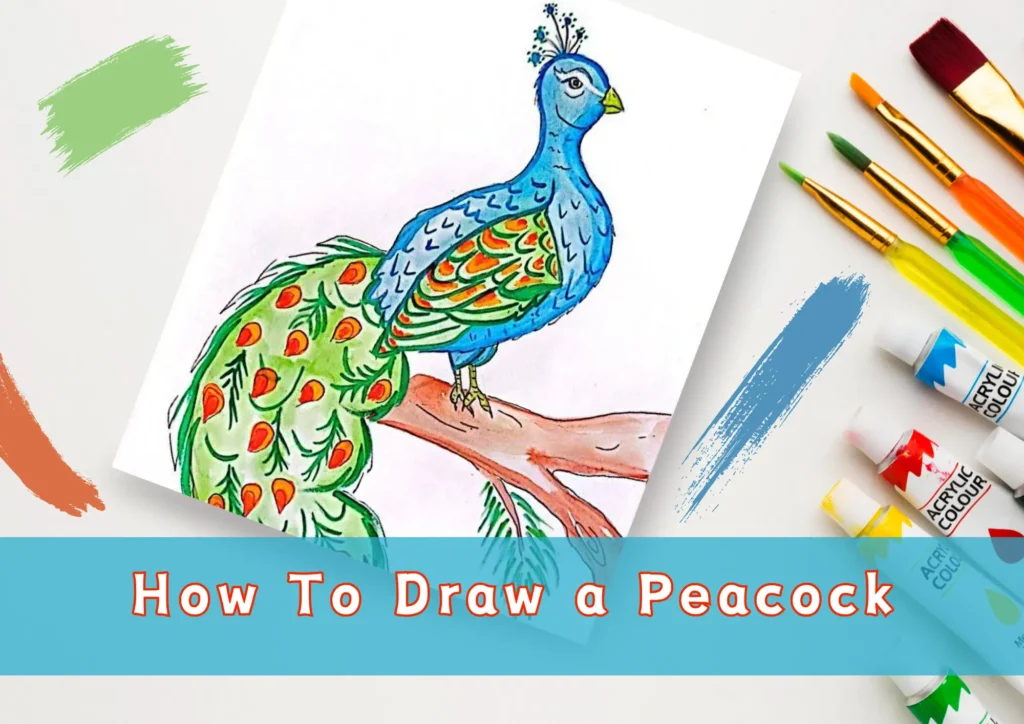
The majestic beauty of a peacock makes it a captivating subject for artists. If you’re eager to learn how to draw a peacock, let your creativity take flight with this step-by-step guide. Follow these instructions to create a stunning representation of this beautiful bird.
Table of Contents
Getting Started with Peacock Drawing
Before you dive into the intricate details, gather your drawing materials. You’ll need a pencil, eraser, and paper. Now, let’s embark on a journey to capture the elegance of a peacock on your canvas.
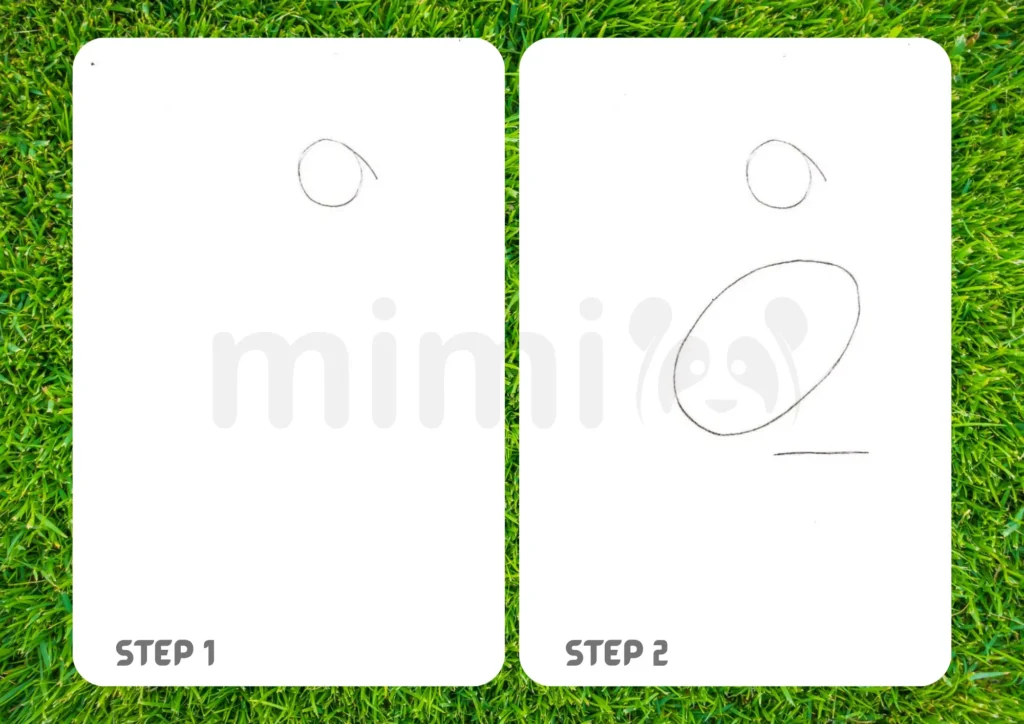
Step 1: Drawing a head
Take a piece of paper and a pencil and draw a small circle with a small line at the top.
Step 2: Draw the body
Now draw an oval in the middle of the sheet and a straight line underneath it. This will be the body of the future peacock.
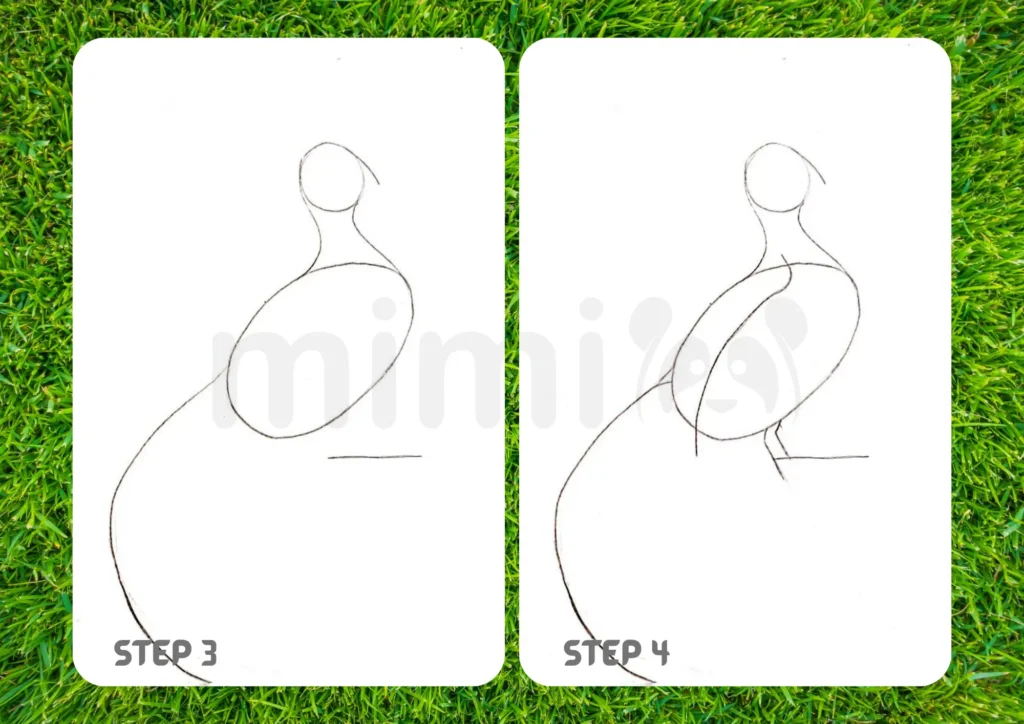
Step 3: Connect the head and body
Now connect the head and body by drawing a neck. Also, draw a curved line from the body to the bottom of the sheet.
Step 4: Draw a sketch of the wing
Draw a curved line along the body to form the base of the wing. Also draw 2 lines to represent the peacock’s feet.
Step 5: Draw the beak
Draw the beak and add wavy lines to the wing area. Also make the legs thicker.
Step 6: Draw the outline of the tail
Add large rounded lines to the tail area. Now we have the outline of the peacock’s tail. Also draw an eye, feathers on the head, and add toes.

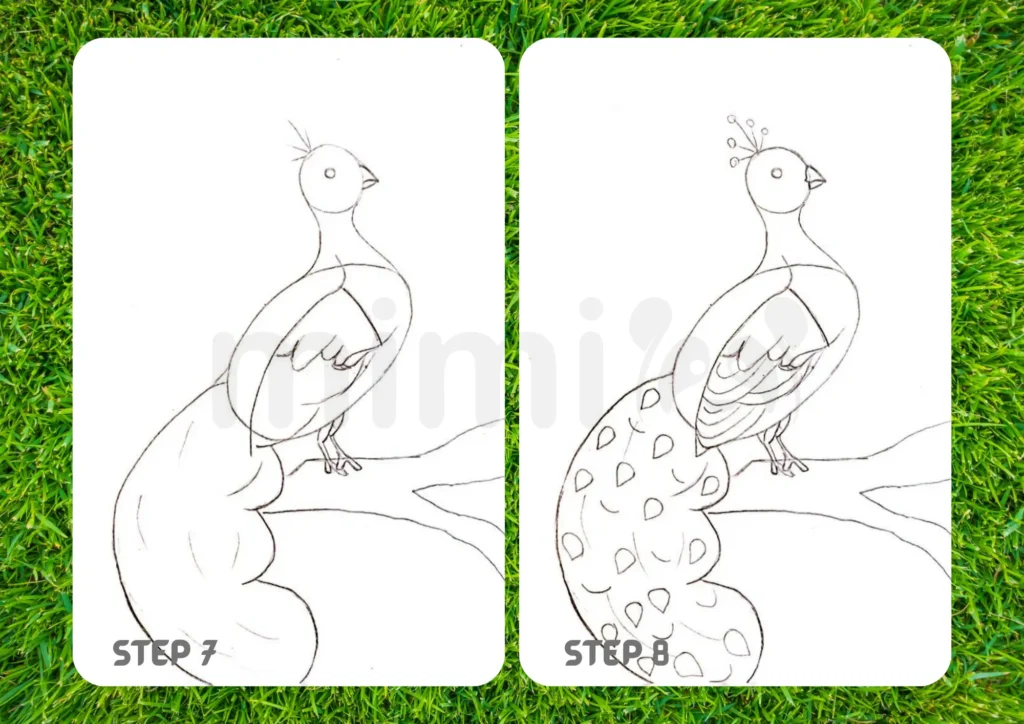
Step 7: Drawing a tree branch
Draw a tree branch with a peacock on it. Also draw feathers on the wing and details on the tail.
Step 8: Detail the wing and tail
Draw details on the tail and wing, as well as the feathers on the head.
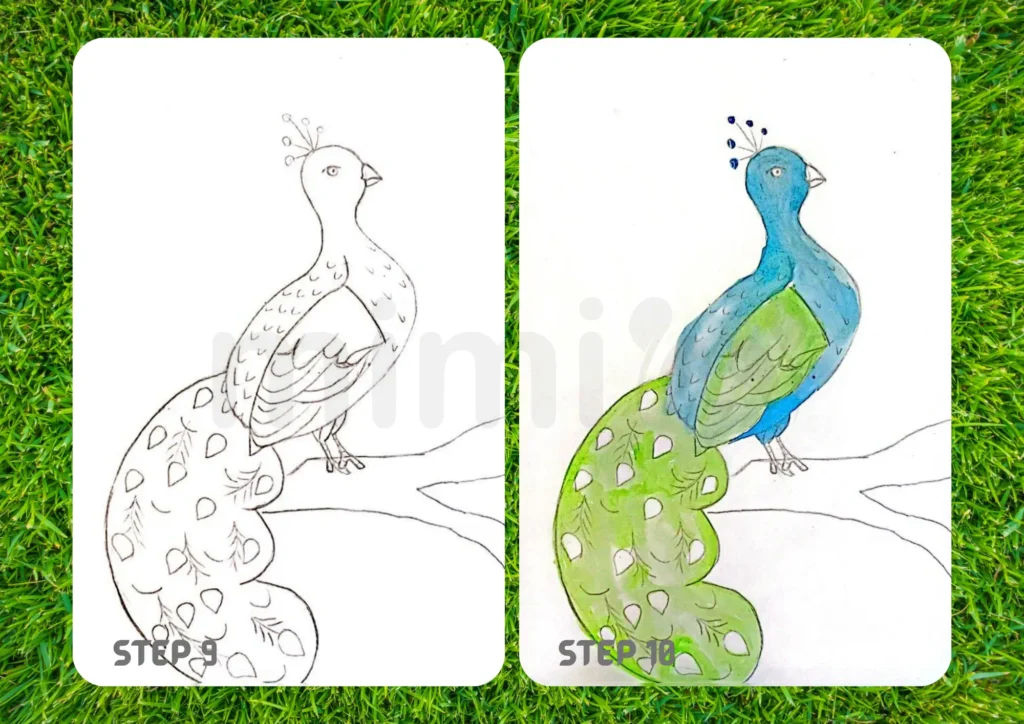
Step 9: Draw the feathers
Draw feathers on the body and tail.
Step 10: Color the peacock
We used paints, but you can choose any other materials for coloring. Use blue to color the peacock’s body and head, and green to color the wing and tail, leaving out the feathers.
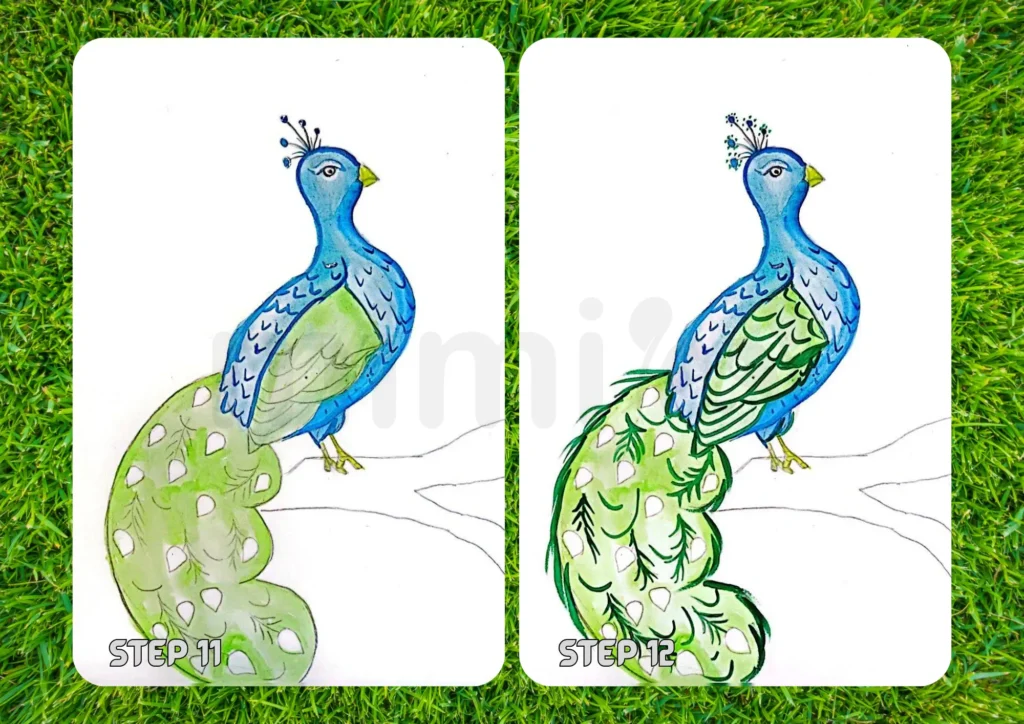
Step 11: Trace the outline of the peacock
Make the outline of the peacock more accentuated by drawing it in the corresponding colors – blue and green. Also color the feathers on the head and the beak.
Step 12: Color the peacock’s feathers
Now fill in the feathers on the tail and wing with dark green.
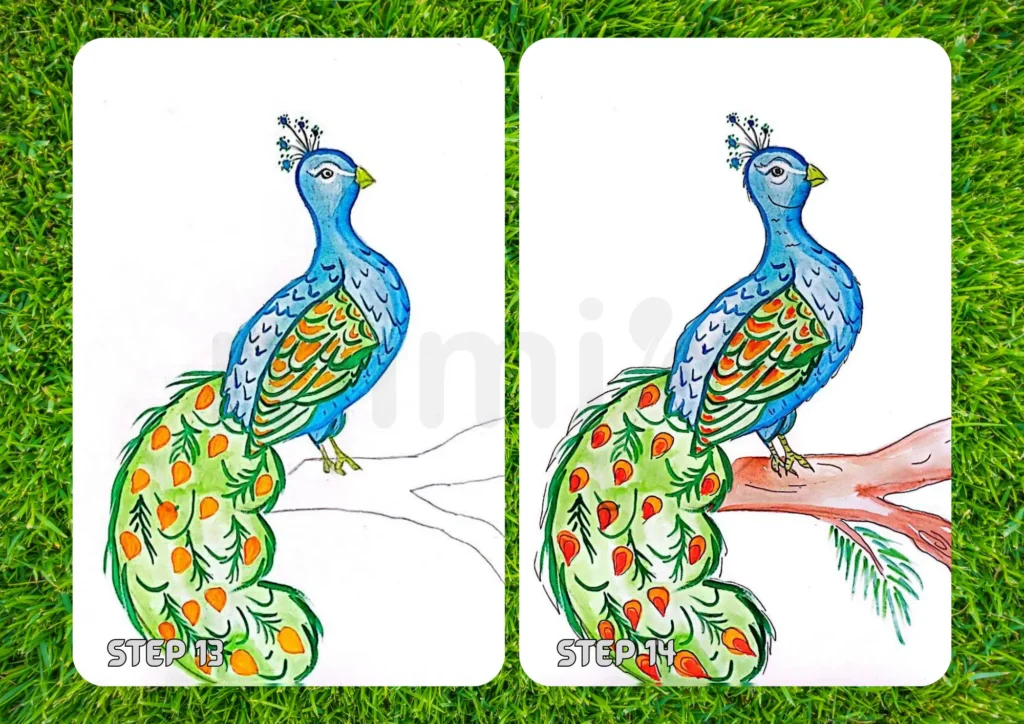
Step 13: Add details to the tail
Now use red paint to add details to the tail and wings.
Step 14: Color the tree branch
To finish the peacock, paint the tree branch brown and add details to the tail and wings. You can also add additional details, such as a small branch with leaves. Your drawing is ready!
Final Touch – Inking and Coloring
Once you’re satisfied with your pencil sketch, consider outlining it with ink for a polished look. Experiment with colors to bring your peacock to life. Vibrant shades of blue, green, and gold can enhance the regal appearance.
Additional Tips for Peacock Drawing
Enhance your peacock drawing experience with additional tips. Consider using colored pencils or markers for a vivid and eye-catching result. Experiment with various poses to convey different aspects of the peacock’s personality.
Perfecting Realism in Peacock Features
For a more realistic portrayal, focus on the intricate details of the plumage. Study the subtle variations in color and pattern. Pay attention to the iridescence of the feathers, capturing the peacock’s luminous beauty.
Adding Background Elements
Elevate your peacock drawing by incorporating background elements. Whether it’s a garden scene or an abstract backdrop, providing context adds depth and visual interest to your artwork.
Conclusion – Your Majestic Peacock Masterpiece!
Congratulations on completing your peacock drawing! Whether you’re a budding artist or an experienced creator, relish the joy of capturing the beauty of this splendid bird. Keep practicing, and let your imagination soar with each stroke. Happy drawing!