Table of Contents
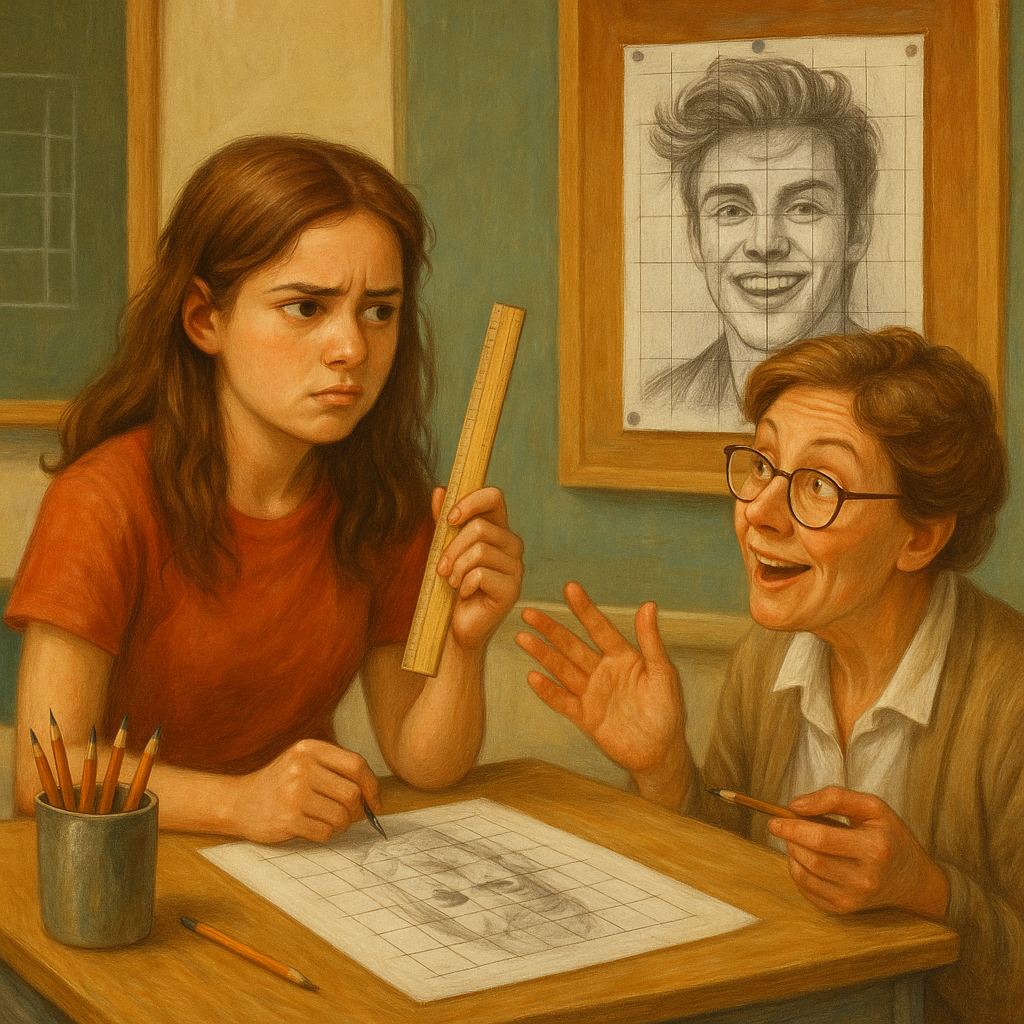
Back when I was fifteen, I had a crush on this boy in my art class. Naturally, I decided to impress him by drawing a hyper-realistic portrait of his favourite pop star. Ambitious, right? Only one problem — I couldn’t draw a straight face to save my life. That’s when my art teacher, Mrs. K, handed me a ruler and said, “Try using a grid.” I looked at her like she’d handed me a sudoku puzzle instead of a drawing hack. But let me tell you — it worked like a charm. My drawing turned out amazing (he didn’t notice, by the way, but I sure did), and more importantly, I found a method that still helps me today.
If you’re struggling with getting proportions right in your drawings — maybe one eye’s always higher than the other, or your dog looks more like a horse — the grid drawing method is your new best friend. It’s simple, affordable, and gives beginners a solid foundation while helping more advanced artists tackle complex compositions with confidence.
👉 You can also turn your own photo into an online coloring page to practice gridding and proportions in a fun and easy way.
In this guide, I’ll walk you through how to draw with a grid step by step, using real-life examples, local teaching stories, and practical advice you can use whether you’re sketching in a school in Leicester or chilling with a sketchpad in your Wolverhampton kitchen.
What Is the Grid Drawing Method?
A Visual Tool for Proportion Control
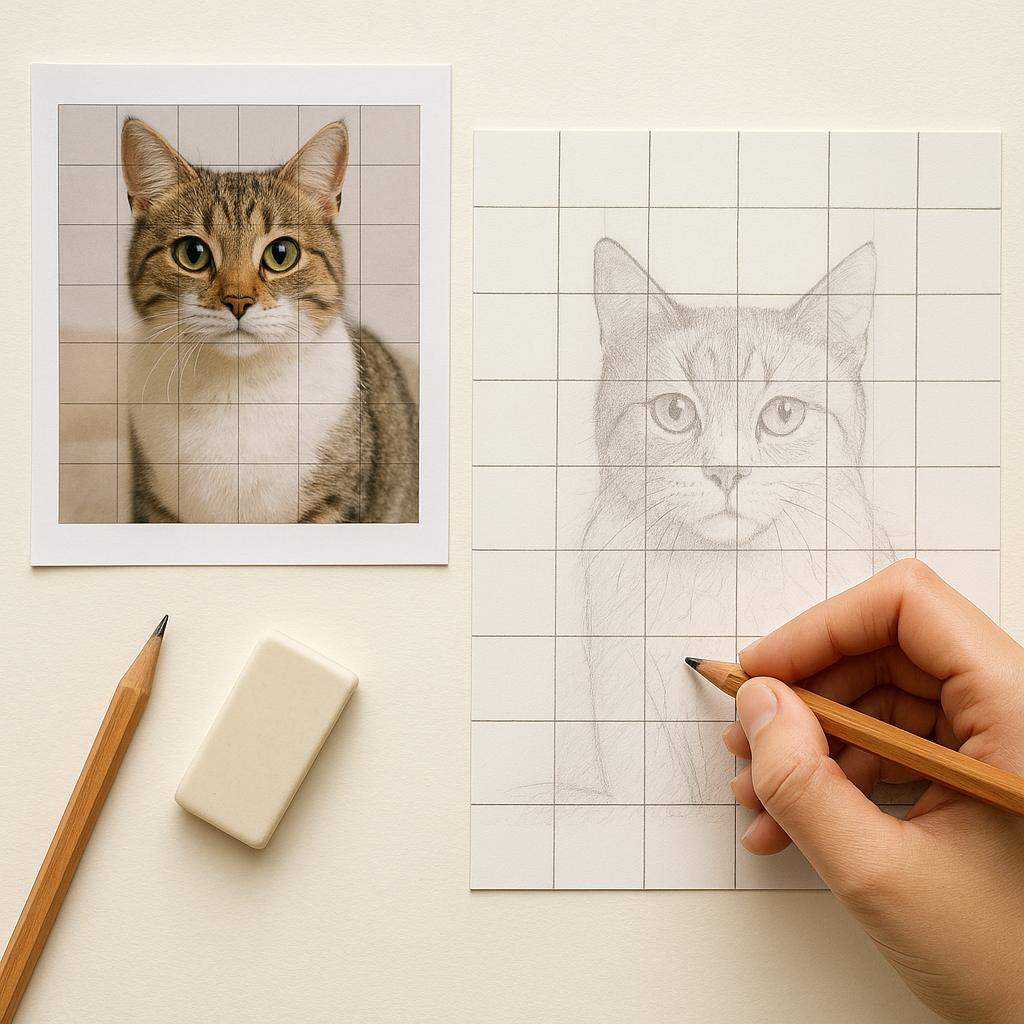
At its core, the grid method is a technique where you place a grid (made of evenly spaced lines) over a reference image and then draw a matching grid on your blank paper. By focusing on one square at a time, you can recreate the reference image with better proportions and accuracy — no guessing required.
It breaks down a daunting picture into bite-sized bits. It’s like building a puzzle: piece by piece, it comes together.
Historical Use in Classical Art
You might be surprised to learn that this isn’t some trendy TikTok art hack. Artists have used grids for centuries — yes, even the greats. Leonardo da Vinci was rumoured to have used a grid for some of his anatomy sketches. In more recent times, the grid method became a staple in classical art training across Europe and the U.S., especially before projectors and tracing paper were commonplace.
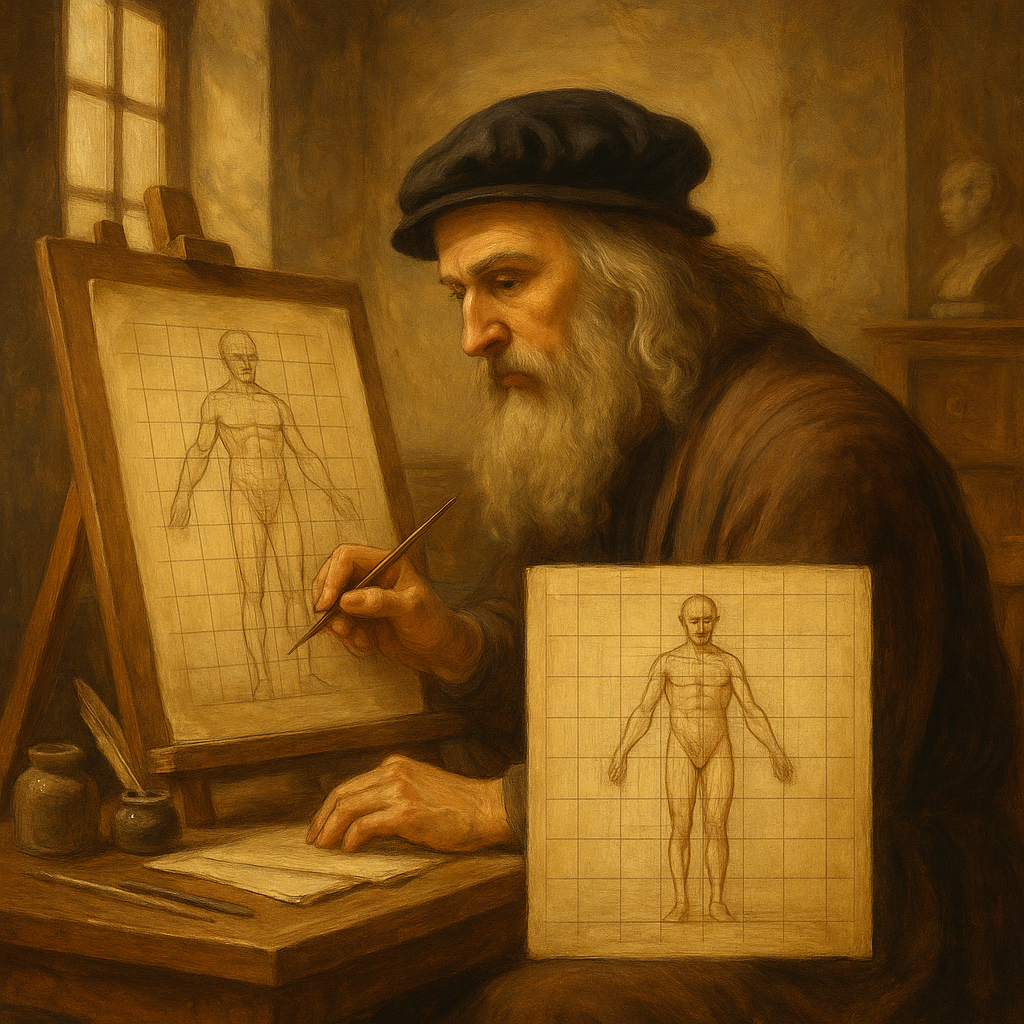
I once visited a gallery in Edinburgh that displayed early Renaissance sketches — faint pencil grids still visible beneath some of the preliminary work. It made me smile, knowing those old masters were using the same trick I learned from Mrs. K.
How It Works (Simple Explanation)
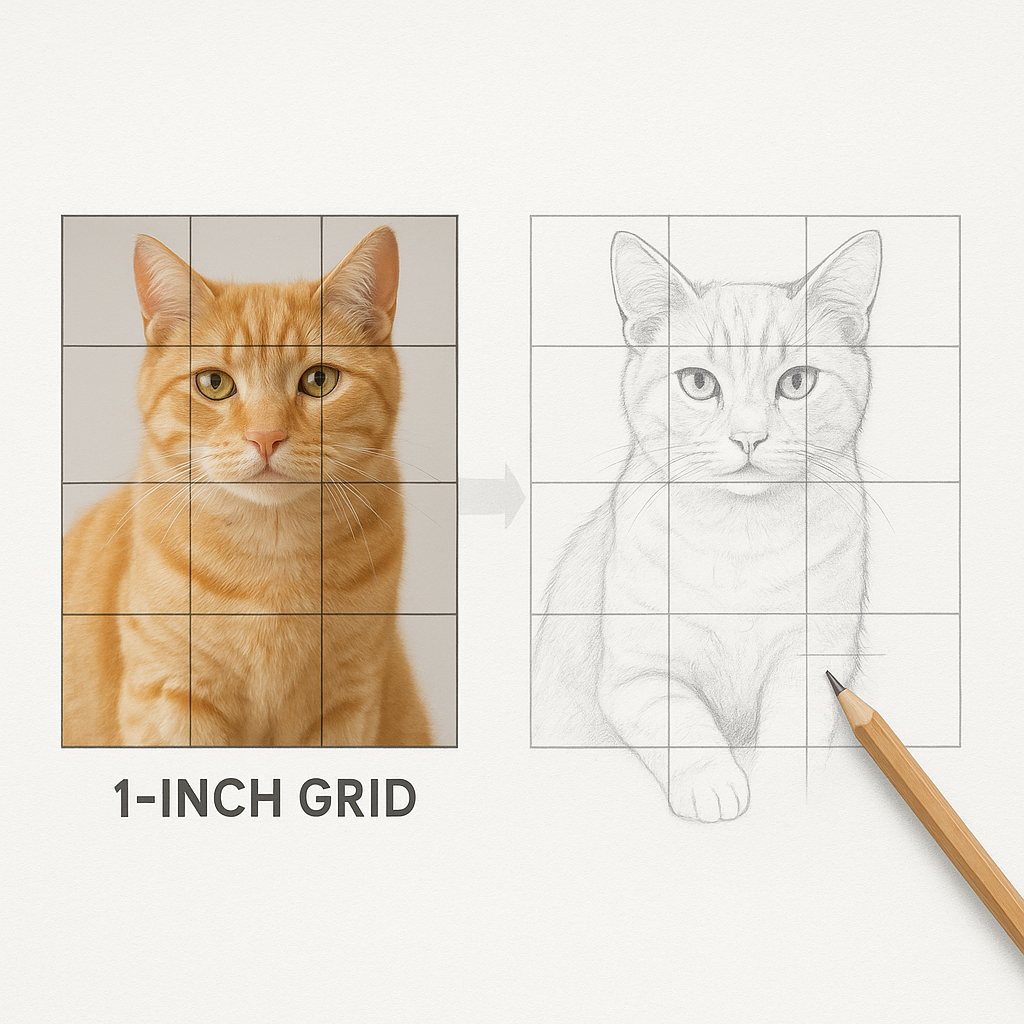
Let’s say you’ve got a picture of a cat. You divide it into equal squares (say, 1 inch x 1 inch), then draw the same number of squares on your blank page. Then, you simply draw what’s inside each square — one at a time. This helps you stay focused, keep lines in check, and get the proportions right.
It’s not cheating — it’s strategic planning. And it works wonders, especially when you’re drawing from a photo.
Why Use a Grid for Drawing?
Helps Beginners Understand Proportions
Proportions are one of the trickiest parts of drawing, and nothing kills motivation faster than a wonky face or lopsided animal. The grid method teaches your eye to measure visually. Over time, you’ll start seeing shapes and angles more accurately — even without the grid.
It’s also great for understanding how big one part of an object is in relation to another. This foundational skill is essential for portraits, landscapes, and even cartooning.
Reduces Frustration and Mistakes
There’s nothing more disheartening than spending an hour on a drawing, only to realise the nose is too far left or the eyes are totally different sizes. The grid method helps you catch those mistakes early.
I remember using it with a group of Year 6 pupils in Birmingham. We were working on drawing zoo animals for an exhibit. By using grids, even the ones who claimed they “couldn’t draw” managed to produce brilliant lion portraits. Less stress, more smiles.
Boosts Confidence Through Achievable Steps
One of the biggest psychological benefits of gridding is that it breaks down a big task into small, manageable steps. Kids (and adults) who feel overwhelmed by drawing are often amazed at how doable it feels when it’s “just one square at a time.”
You can almost see the “aha” moment when it clicks. That’s powerful. That’s progress.
Materials Needed to Draw with a Grid
Paper, Pencil, Ruler – That’s It!
The beauty of this method is how little you need:
- A good quality pencil (HB or 2B)
- Drawing paper (smooth surface is best)
- A ruler with clear centimetre or inch markings
- An eraser (trust me, it’ll come in handy)
That’s all you need to start. No need to spend loads. You probably have these already.
Optional Tools (Graph Paper, Transparent Grid Sheets)
Want to make life even easier?
- Use graph paper for automatic gridding
- Print your reference image onto graph paper
- Overlay a clear plastic sheet with a grid onto the image so you don’t mark it
Some local art shops in Nottingham and Leeds sell reusable grid sheets that are great for classroom settings — a worthy investment if you’re planning to use this method often.
Digital Grids Using Drawing Apps
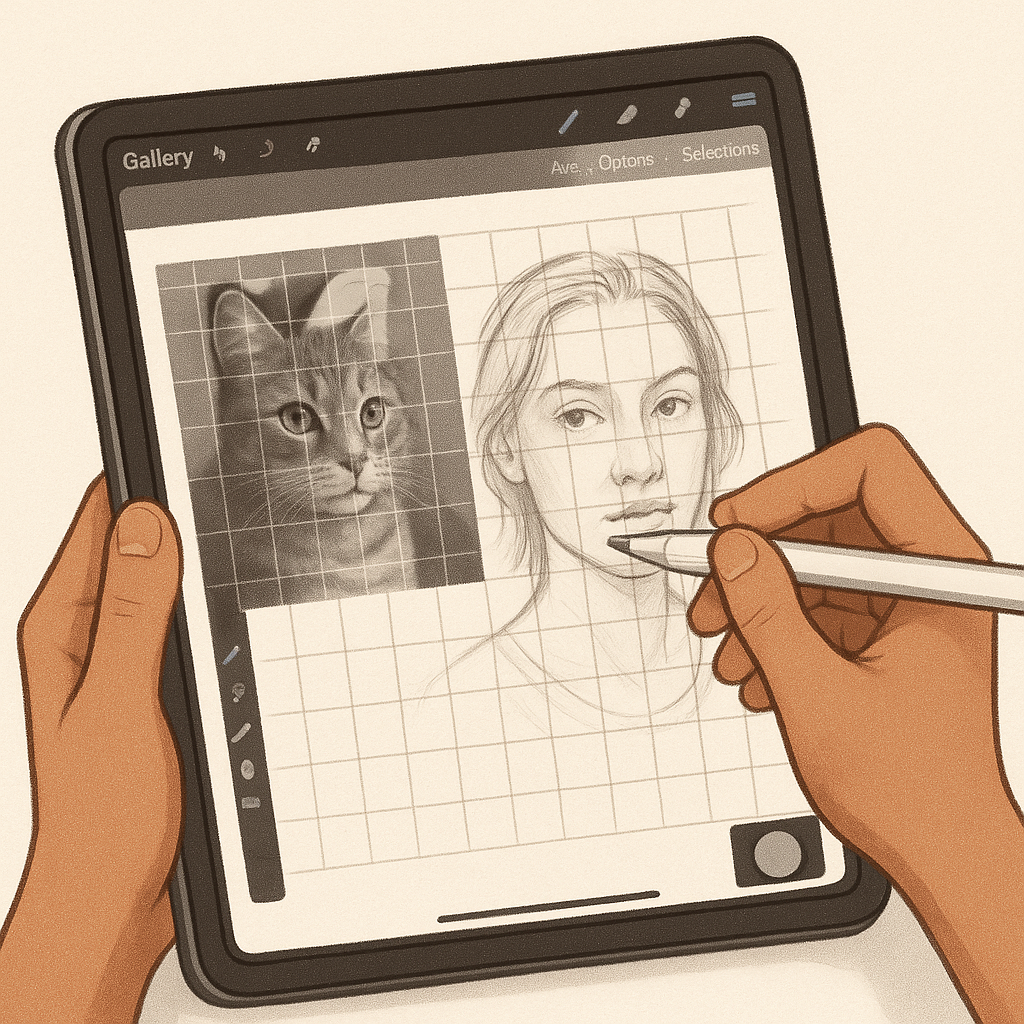
If you’re working digitally (hello, iPads and drawing tablets!), apps like Procreate, Sketchbook, and even Photoshop allow you to overlay a grid layer. You can customise the size, colour, and spacing, then toggle it on and off as needed.
In fact, my niece uses Procreate on her iPad to draw her favourite characters using the grid method. It’s brilliant for building that muscle memory before going freehand.
Step-by-Step Guide: How to Draw with a Grid
Step 1: Choose and Prepare Your Reference Image
Start with a clear, high-contrast image. For beginners, a photo with simple lighting and well-defined edges works best — think animals, cartoon characters, or everyday objects like a mug or a shoe.
You can print the image or view it on a screen, but printing makes the process easier if you’re just starting. If printing, try to go A4 size so you’ve got a decent surface to grid.
In one of my after-school workshops in Coventry, we had children bring in photos of their pets. One lad, Danny, chose a photo of his bulldog — and despite his initial nerves, the grid helped him nail the snout and eyes like a pro.
Step 2: Create a Grid on the Image
Take your ruler and draw evenly spaced horizontal and vertical lines across the photo — 1cm apart if you’re working small, or 1 inch apart for larger drawings. Label each row and column (A, B, C… and 1, 2, 3…) to help keep your bearings.
If you’re doing this digitally, apps like Canva or Procreate allow you to overlay a grid — no need to draw it manually.
Don’t press too hard. You want these lines visible but not so dark that they’ll interfere later.
Step 3: Transfer the Grid to Your Drawing Paper
Now draw a matching grid — same number of squares, same spacing — on your blank drawing paper. It’s important the proportions match exactly, or your final drawing will look stretched or squashed.
Some folks use light blue pencil for this stage because it’s easier to erase later. I use a mechanical pencil for accuracy — especially when teaching the method in tight sessions like our summer camps in Gloucester.
Step 4: Draw Square by Square
Here’s where the magic happens.
Start with the top-left square (A1) and work row by row. Look only at what’s in that square — a line, a curve, a shape — and draw just that. Don’t worry about the whole image yet.
This trick trains your brain to focus on detail and stops you from rushing. It’s like looking through a keyhole — you see just a sliver at a time, and it becomes less intimidating.
In a family art day we hosted in Bristol, we played “Square Bingo,” where kids picked random numbered squares to draw out of sequence. It added a fun twist and helped them slow down and focus.
Step 5: Erase the Grid and Add Details
Once your main lines are in and you’re happy with the proportions, gently erase the grid. If your lines are too dark, use a kneaded eraser to dab (not rub) them off without damaging the drawing.
Now’s your time to shine — add in shading, details, colours, or texture.
Stand back, look at the whole piece, and feel proud. You’ve just used the grid method like a seasoned illustrator.
Real-Life Application: Teaching My Niece to Draw Her Dog
Breaking Down a Complex Image
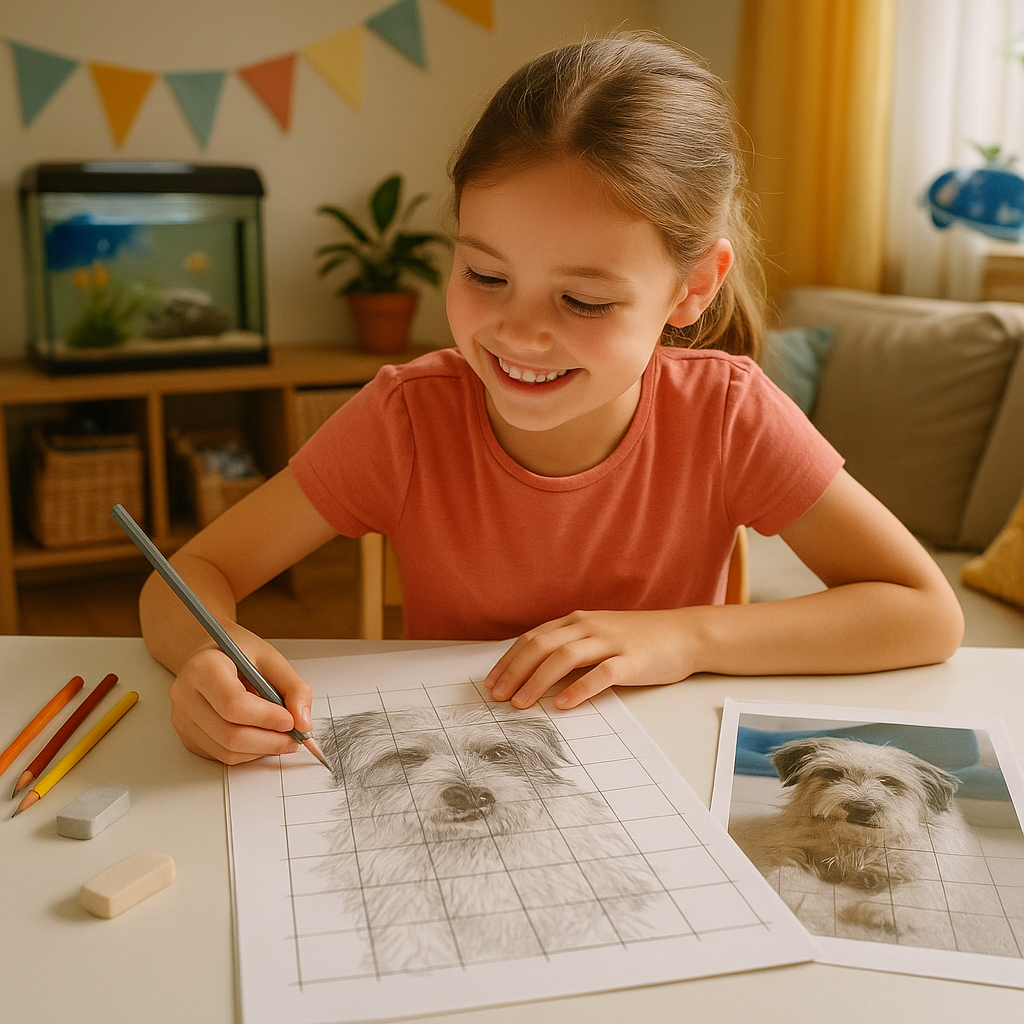
My niece, Lily, is nine. She loves animals, especially her scruffy terrier, Max. She wanted to draw him for her school art project, but every time she tried, she’d get frustrated. “It doesn’t look like him!” she’d moan.
So we tried the grid method.
We printed out a picture of Max lounging on the sofa, overlaid a 1-inch grid on it, and made a matching grid on her A3 sketchpad. Square by square, she drew him — focusing on just a paw here, an ear there. In two sessions, she had a complete sketch. It was recognisably Max, with his floppy ears and that one goofy eye that never quite faces the same direction.
Seeing the Joy in the Small Wins
What struck me most was how her mood changed. She went from anxious and overwhelmed to totally zen, even excited. Every time she completed a square, she felt a little victory. “Mum, come look!” she’d shout after finishing each section.
That’s what makes the grid drawing technique so effective for beginners — it breaks big goals into achievable steps.
From Skepticism to Proud Fridge Artwork
At first, she thought the grid was cheating. “Shouldn’t I just be able to draw it?” she asked. I explained that loads of artists use grids — even pros — and it’s a tool, not a crutch. Now, her drawing’s proudly stuck on the fridge. And she’s planning to do her next one: a giraffe from the zoo.
Common Mistakes and How to Avoid Them
Misaligned Grids
This is the number one hiccup. If your grid on the drawing paper doesn’t match the one on your reference — even by a few millimetres — your drawing will go wonky. Always double-check your lines are straight and evenly spaced.
Use a clear ruler, measure twice, and draw once. Better safe than sorry.
Over-Relying on Lines
The grid is a guide, not a cage. Some beginners get so focused on copying the lines that they forget to step back and look at the overall form.
Here’s a fix: once you finish the main outline, take a short break. Come back with fresh eyes and look at your drawing without the grid — it helps you spot errors in perspective or shape that might’ve slipped past during your square-by-square work.
Not Stepping Back to View the Whole Picture
This one’s sneaky. When you’re zoomed in, each square might look great. But sometimes the whole drawing ends up skewed because you didn’t check how the parts fit together.
Take regular breaks. Hold the drawing at arm’s length or look at it in a mirror — these simple tricks help you catch mistakes before it’s too late.
Gridding for Digital Drawing
Using Procreate and Other Apps
Most digital drawing apps come with built-in or optional grid features. In Procreate, for example:
- Tap the wrench icon (Actions)
- Go to “Canvas” and enable “Drawing Guide”
- Customise grid size and colour to suit your needs
It’s quick, neat, and saves loads of setup time. I use this method myself when creating digital pet portraits — it gives me structure without clutter.
Overlaying Digital Grids Without Damage
If you don’t want to alter your reference photo directly, layer a transparent PNG grid over it. You can find free ones online, or make your own in Photoshop or Canva. Keep it on a separate layer so you can toggle it on/off or reduce opacity as needed.
During a community art project in Newcastle, we used iPads to help kids draw local landmarks using grids. They were stunned by how “grown up” their drawings looked with just a bit of structure.
Combining Layers for Better Control
Once your sketch is done, you can turn off the grid layer, merge your outlines, and carry on with colour or shading. It’s efficient, clean, and ideal for beginners still building their eye for proportion.
Local Art Programs That Use the Grid Method
Summer Workshops in Public Libraries
Across the UK, public libraries aren’t just about books anymore — they’ve become vibrant community hubs, especially during school holidays. In places like Manchester, York and Swindon, many local libraries run summer art workshops that introduce children to foundational techniques like grid drawing.
A friend of mine volunteers at a library in Exeter, where they run a weekly “Draw with Confidence” session during the summer term. Using the grid method, kids as young as seven were able to replicate famous artworks with a level of accuracy that wowed their parents. The best part? The workshops are free and often include all materials.
School Art Clubs in the Midlands
Many primary and secondary schools have embraced the grid drawing method as part of their extracurricular art clubs. In schools across Birmingham and Derby, I’ve seen students using the grid to break down complex subjects — from historical portraits to cityscapes for GCSE coursework.
One standout example came from a school in Nottingham, where Year 8 students used grids to recreate segments of Van Gogh’s “Starry Night”. Each student worked on one gridded square, and when the pieces were assembled, it formed a huge mosaic on the school wall. Not only did it teach proportion, but it also showed how small contributions can build something beautiful — a brilliant metaphor for teamwork too.
Community Centres Promoting Traditional Techniques
Community art groups, particularly in rural areas like Shropshire or the Welsh borders, are increasingly reviving traditional techniques — grid drawing among them. These often attract intergenerational participation, where grandparents and grandkids draw side by side.
In a centre near Ludlow, I attended a family drawing afternoon where the grid method was the main teaching tool. Each family member picked a different reference — from landscapes to animals — and by the end of the session, even the most hesitant participants had created something they were proud to take home.
Creative Grid Drawing Projects for All Ages
Portrait Drawing with a Grid
This is probably the most well-known use of the grid method, and it’s incredibly effective for learning facial proportions.
Choose a high-contrast photo of a face (someone your child or student knows is even better), and overlay a grid. Then draw it square by square, paying close attention to where features line up.
A mum in my online drawing course once shared how her son used this method to draw a portrait of his granddad for his 70th birthday. The result was emotional — granddad cried, the family framed it, and the boy felt ten feet tall.
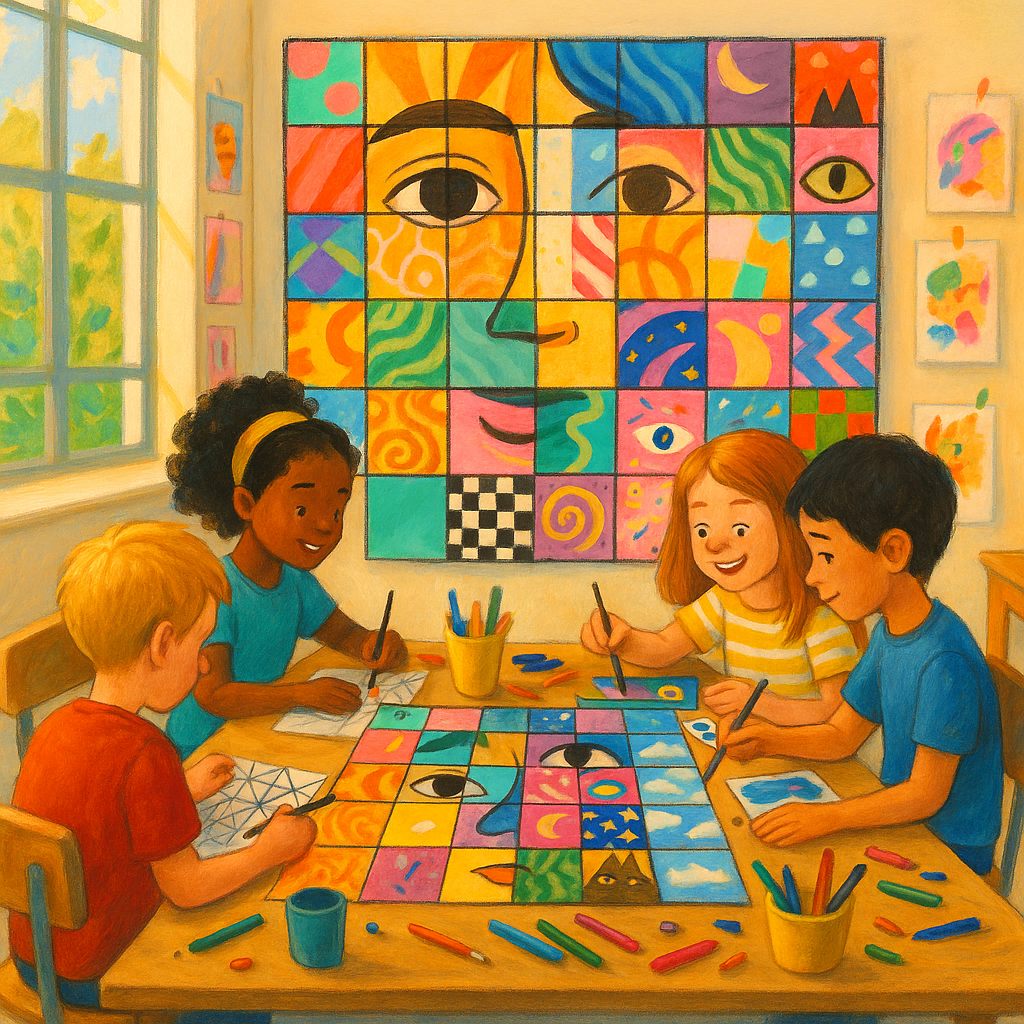
Abstract Art with Random Grid Sections
This is a great twist for creative thinking. Print or draw a gridded image — it could be a photo or a line drawing — then challenge kids to interpret each square in a different style or colour scheme. Some squares could be realistic, others geometric, even surreal.
This activity turns precision into creativity, and it’s ideal for art classes or rainy afternoons at home. Plus, it’s a conversation starter — “Why did you make this sky pink and the cat’s eye checkerboard?”
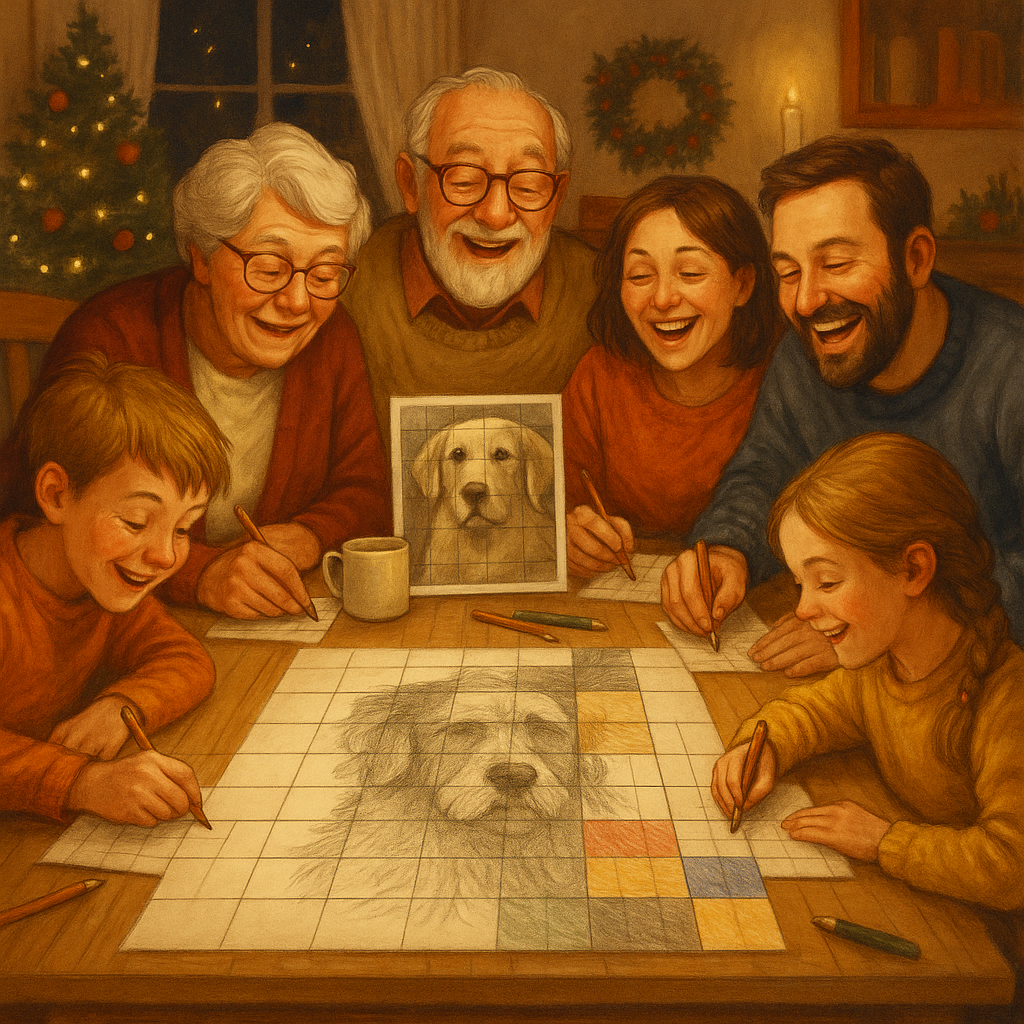
Grid Art Challenges for Family or Classroom
Make it a game! Try these challenges:
- Speed round: Who can complete a square in under 3 minutes?
- Swap squares: Each person draws a square, then rotates to the next
- Mystery image: Reveal only one square at a time from the reference image and guess what it is as you go
We did this during a family gathering in Sheffield last Christmas. Aunts, uncles, cousins — everyone got involved. By the end, we’d created a collective drawing of our old family dog, and the laughter from all the wonky squares made it even better.
Final Thoughts
So there you have it — the grid drawing method, simple on the surface but incredibly powerful when it comes to improving proportion and accuracy. It’s a technique I return to time and again, whether I’m helping a child draw their pet or tackling a tricky landscape myself.
It’s not about turning art into maths or removing creativity. Quite the opposite. Gridding gives you the freedom to explore, to take on more ambitious projects, and to actually enjoy the process without fear of failure.
Whether you’re just starting out, teaching a class of eager Year 4s, or dusting off your sketchbook after a decade, the grid method meets you where you are. And trust me — once you’ve tried it, you’ll never look at a blank page the same way again.