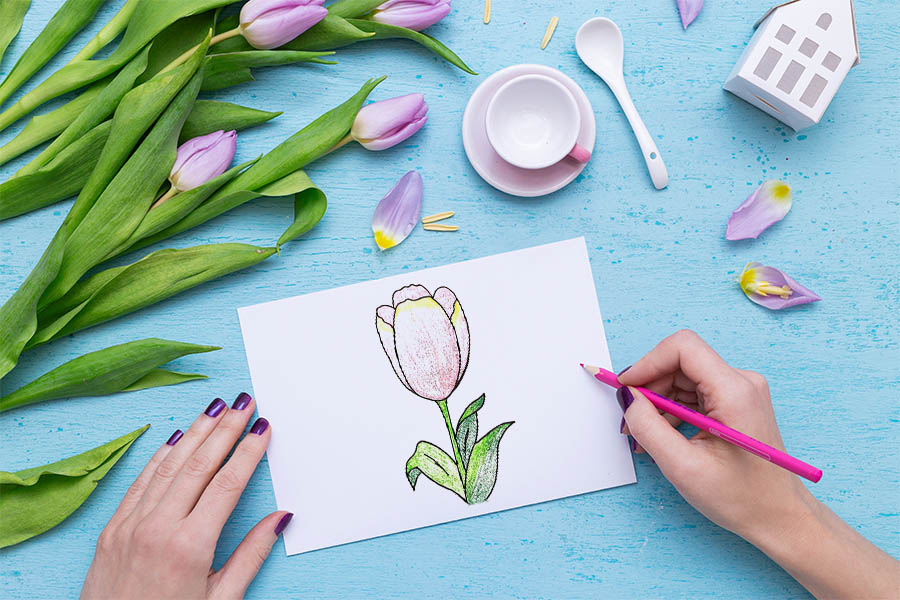
Ever wondered how to draw a tulip? Look no further! Mimi Panda presents an effortless, step-by-step coloring page that transforms the intricate beauty of tulips into an accessible masterpiece.
Table of Contents
Our tutorial accommodates artists of all ages – whether you’re an adult seeking a relaxing creative outlet or a child eager to explore the world of drawing. With our guidance, crafting vibrant flowers on paper becomes an achievable and enjoyable endeavor.
Therefore, look at tulip easy drawing options for each age category:
Tulip drawing for adults
The ability to draw is a treasure that adds confidence and brings joy to your adult life. Mimi Panda proudly presents an engaging tulip drawing tutorial. Inviting you to embark on an artistic journey that will not only enhance your skills but also lift your spirits.
Gather a blank sheet of paper, a well-sharpened pencil, and an eraser. Turn the paper vertically, setting the stage for your tulip drawing step-by-step creation of a delightful arrangement. In this tutorial, we’ll be drawing and painting two vibrant tulips.
How to draw tulip for adults? Let’s start
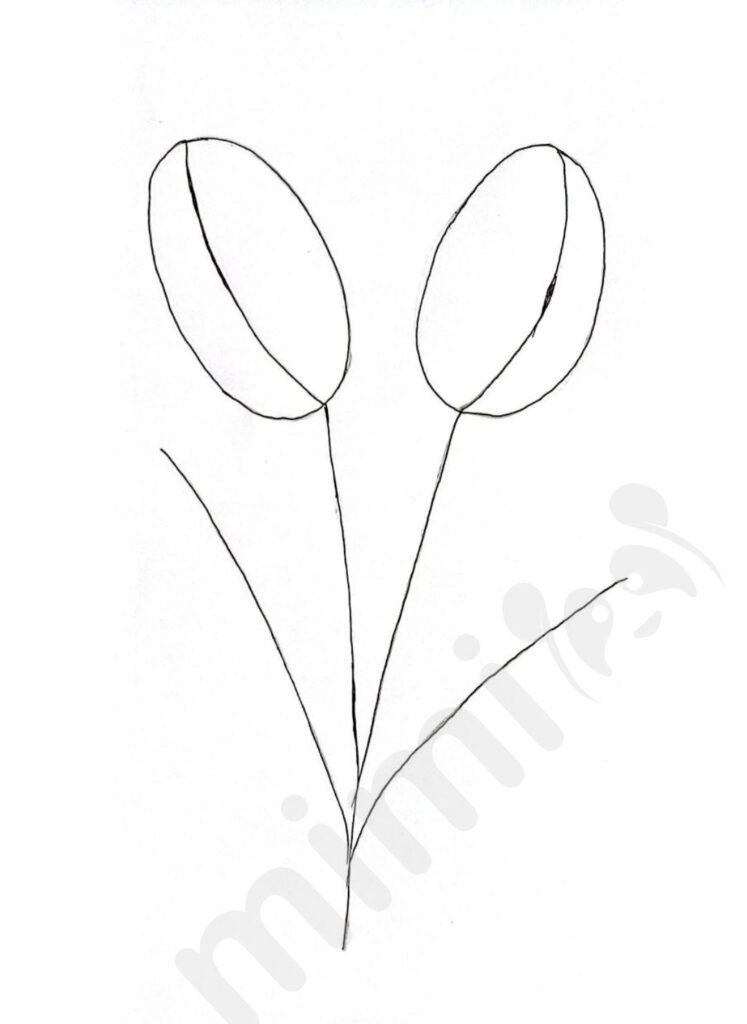
Step 1: Immerse yourself in the art of sketching by outlining the graceful forms of two tulips. These forms consist of two elegant ovals – the very essence of the flowers – and complemented by straight lines that will eventually transform into their stems.
Step 2: Add life to your tulips by carefully crafting the contours of their petals, capturing the soft and intricate details of their natural beauty.

Step 3: Transition to drawing the tulip’s sturdy trunk and leaves, infusing depth and realism into your composition.
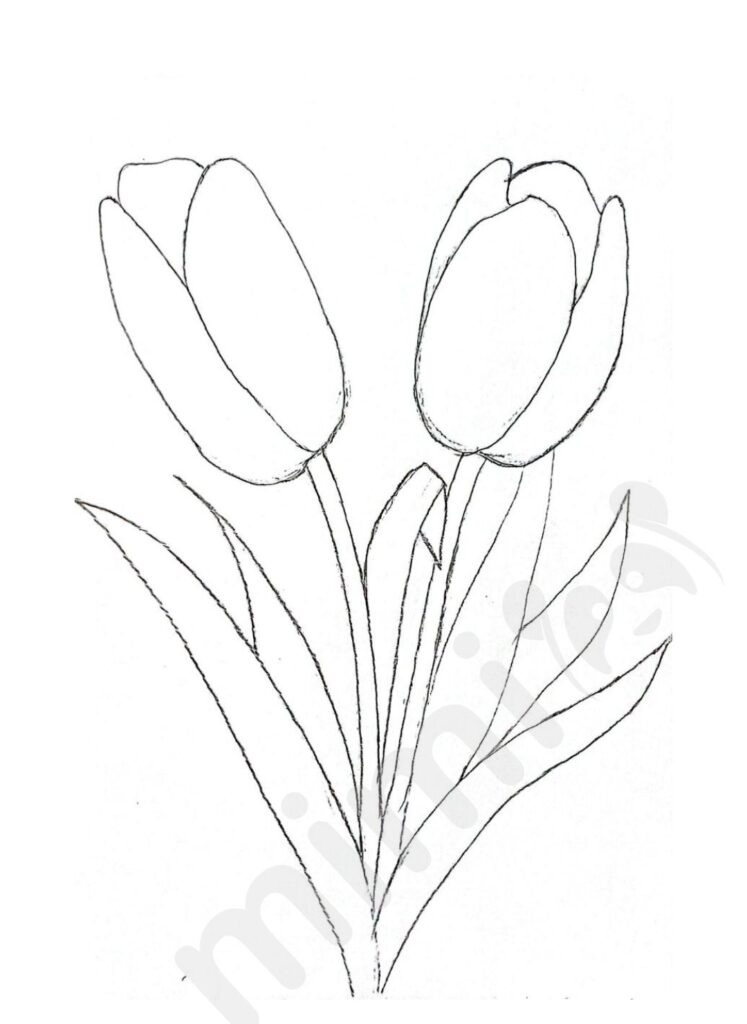
Step 4: Enrich the tulip with three more delicate petals. Enhance the authenticity by adding bends to the leaves.
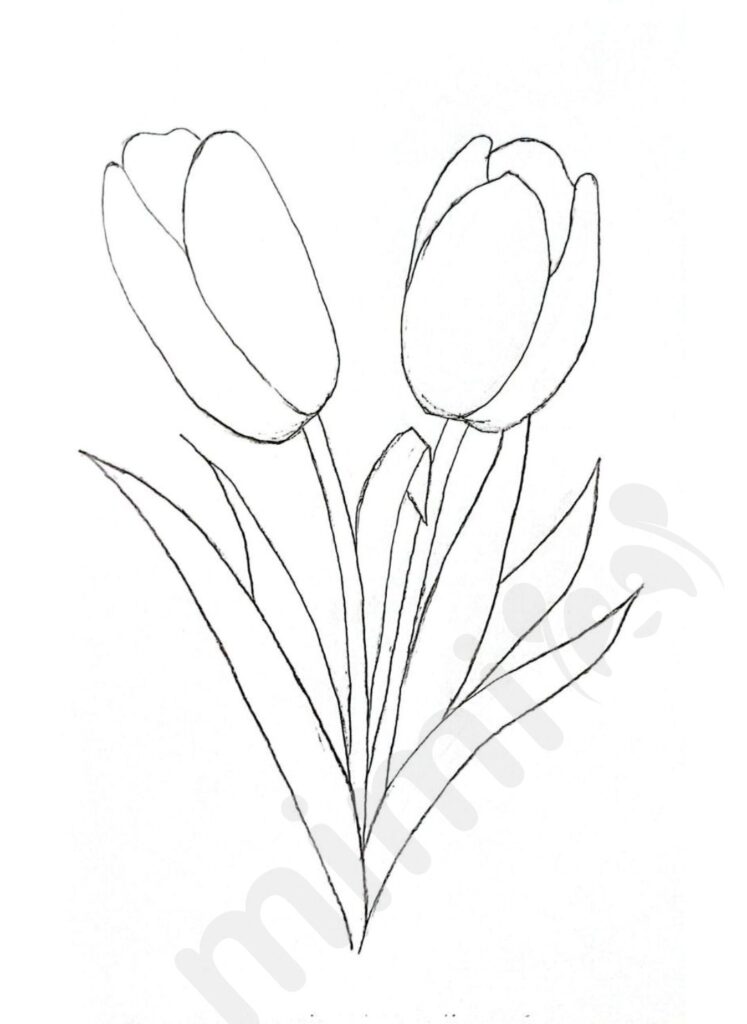
With your sketches ready, let’s infuse them with a burst of color.
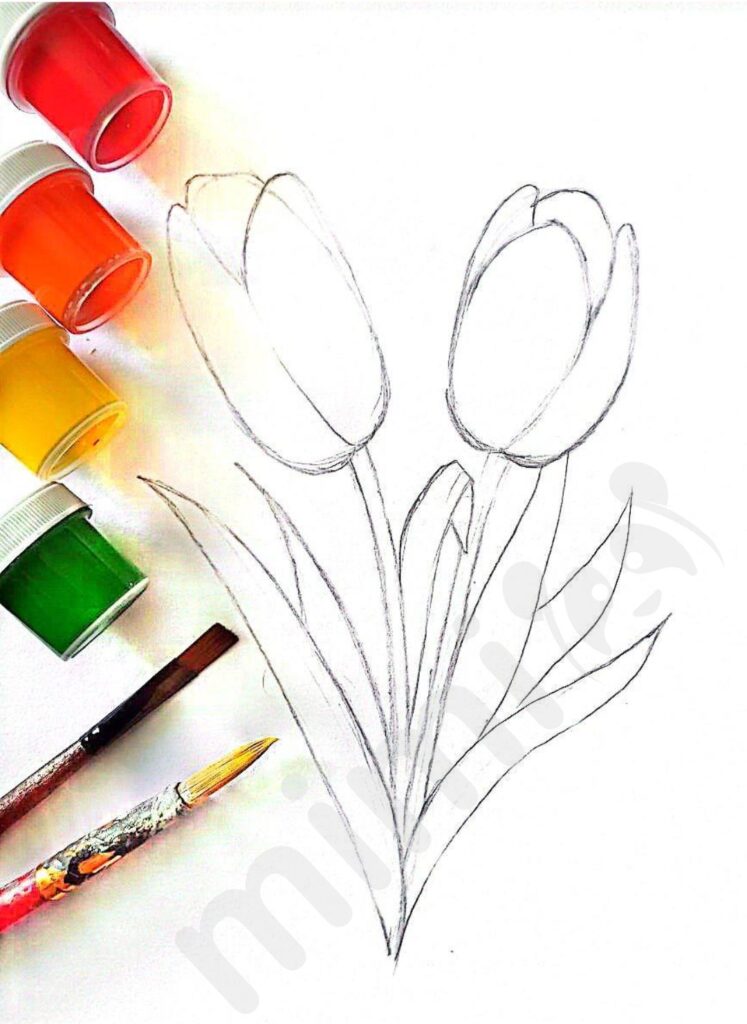
Step 5: Utilize shades of yellow and orange to paint the lower portions of the tulip blossoms.
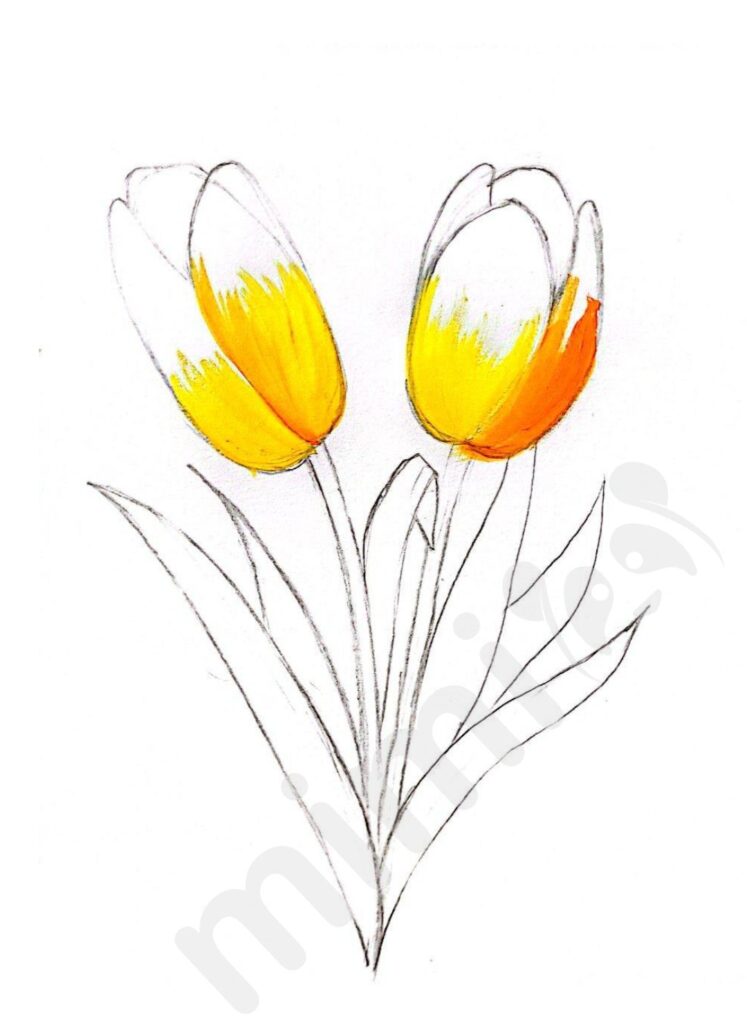
Step 6: Embrace the allure of red hues as you fill in the petals, channeling the captivating essence of real tulips.
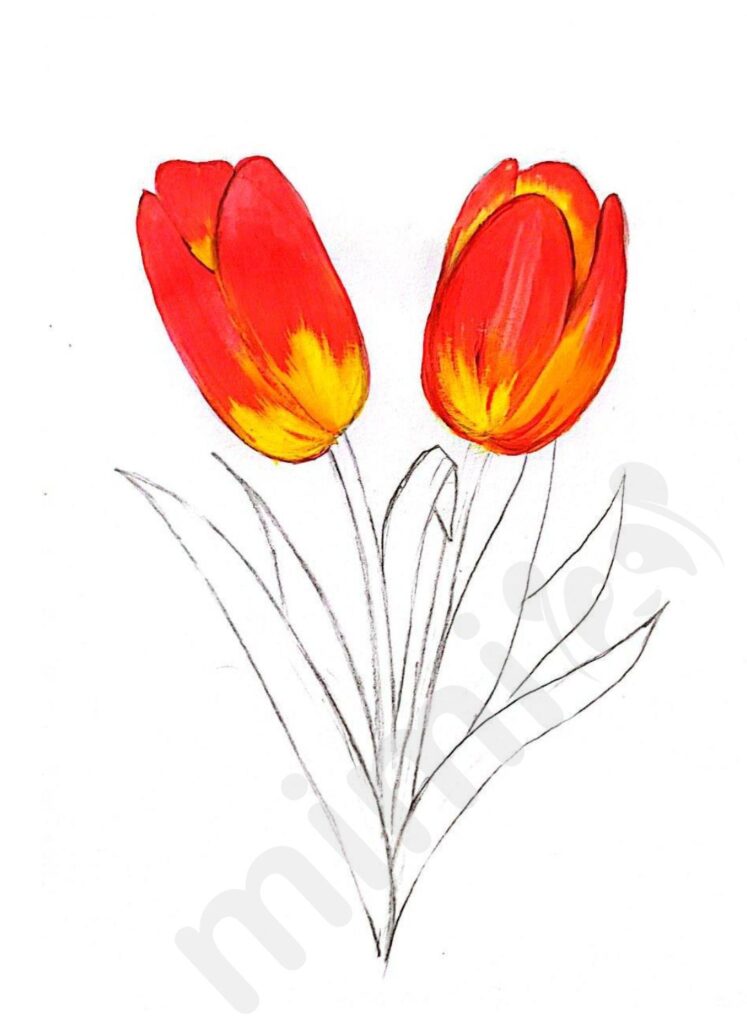
Step 7: Shift your focus to the leaves. Begin by painting one tulip with a harmonious blend of light and dark green colors.

Step 8: Progress to the second tulip, ensuring that the lighter shade exudes an elegant foreground effect.
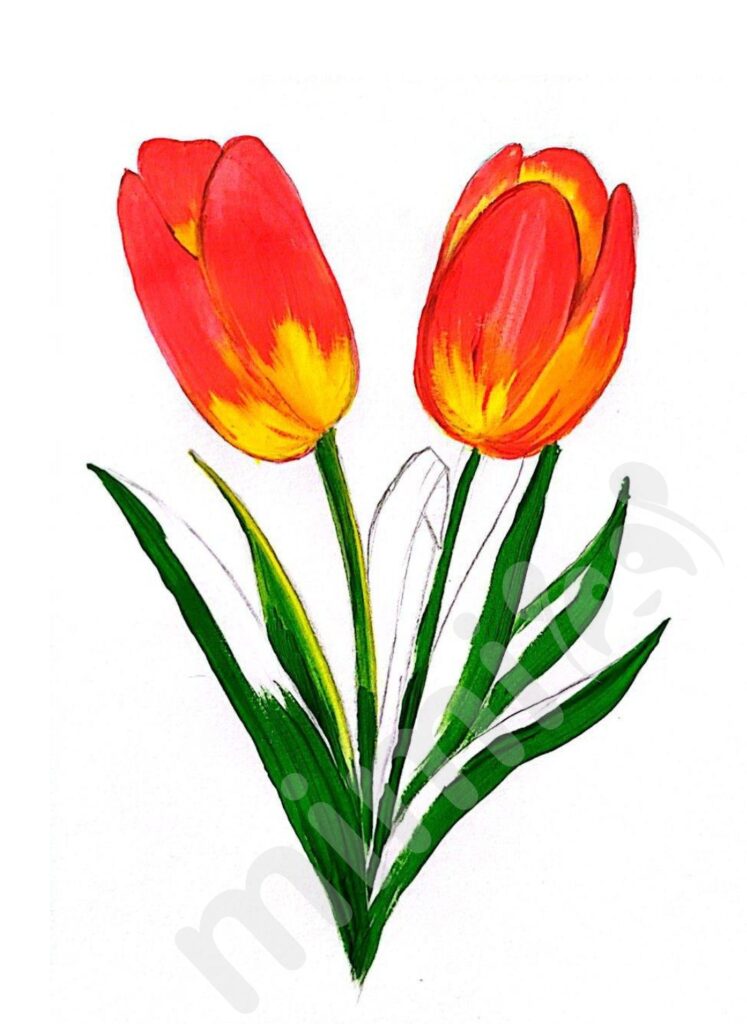
Step 9: Conclude your masterpiece by meticulously refining any remaining elements, adding depth and dimension to your creation.
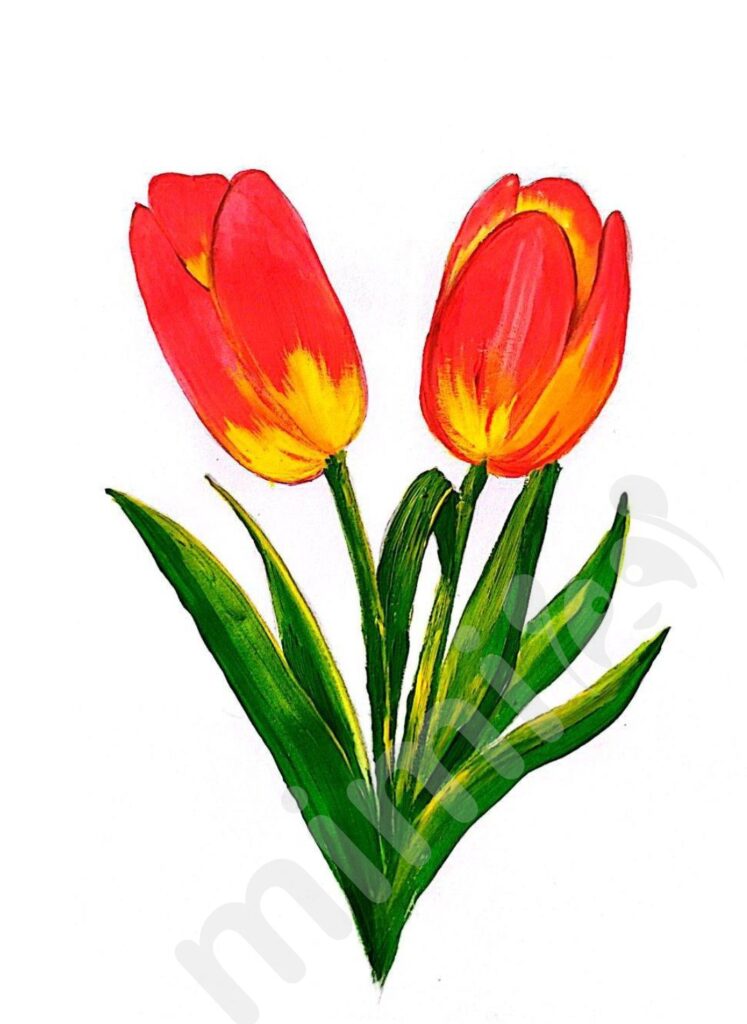
You’ve demonstrated incredible dedication and skill! Your journey with Mimi Panda’s tutorial is a testament to your commitment to learning and creativity. We are honored that you chose our platform as your artistic guide. As can be seen, it’s not difficult to create a realistic tulip drawing.
Remember, the art of drawing thrives on practice. As you continue honing your craft, the beauty of your creations will flourish. Embrace the joy of this process, for each stroke is a step toward mastery.
Tulip drawing for kids
Discover the joy and confidence that comes with the ability to draw as Mimi Panda presents an engaging Tulip for Kids Drawing Tutorial. Drawing isn’t just about lines on paper; it’s about self-expression, uplifting your spirits, and nurturing your creative spark.
Let’s dive in and begin this artistic journey of simple tulip drawing easy together. All you need is a blank sheet of paper, a sharpened pencil, and an eraser. With your tools ready, position the paper vertically and follow our step-by-step guidance to create a beautiful tulip.
How to draw tulip for kids? Let’s start
Step 1: Start by drawing an oval as the foundation.
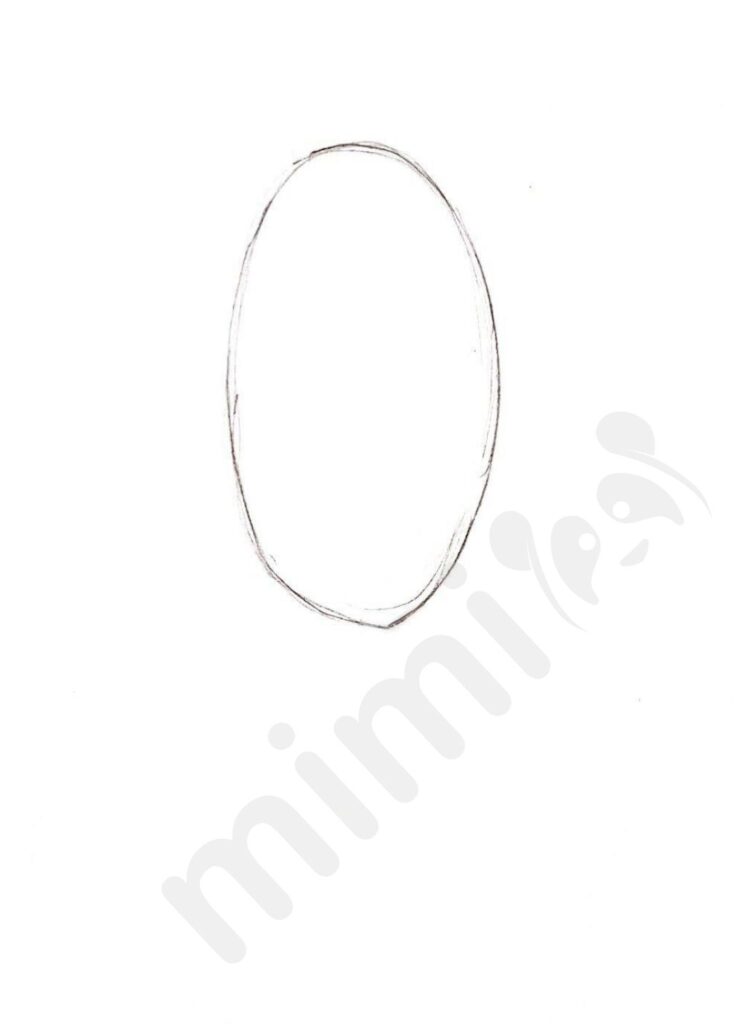
Step 2: Add the stem, visualizing the future tulip.
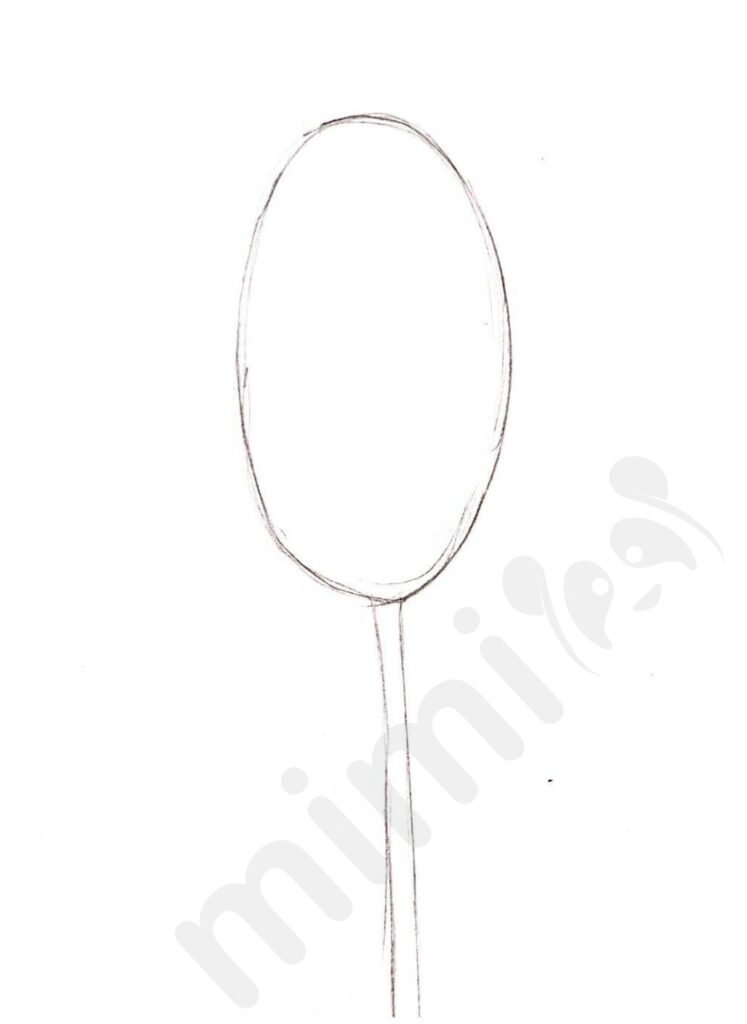
Step 3: Bring the tulip to life by sketching its leaves.

Step 4: Enrich the tulip with three more delicate petals. Enhance the authenticity by adding bends to the leaves.
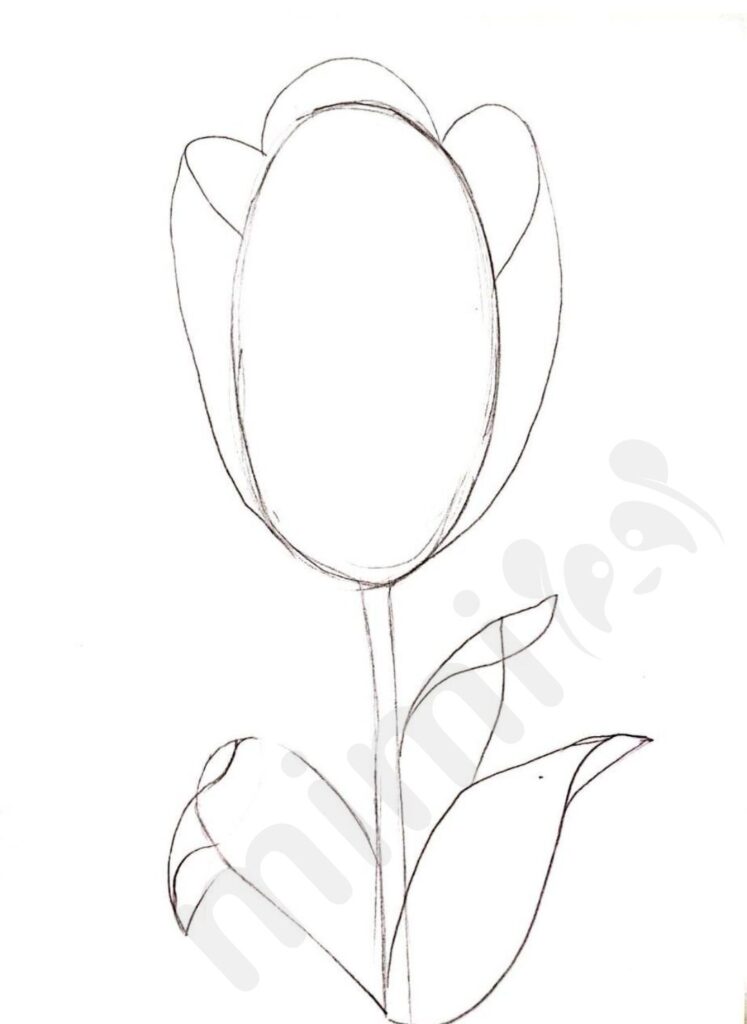
Step 5: Refine the outline, giving your tulip its final form.

Now, embrace colors! Pick up your colored pencils or paints to take your tulip to the next level.
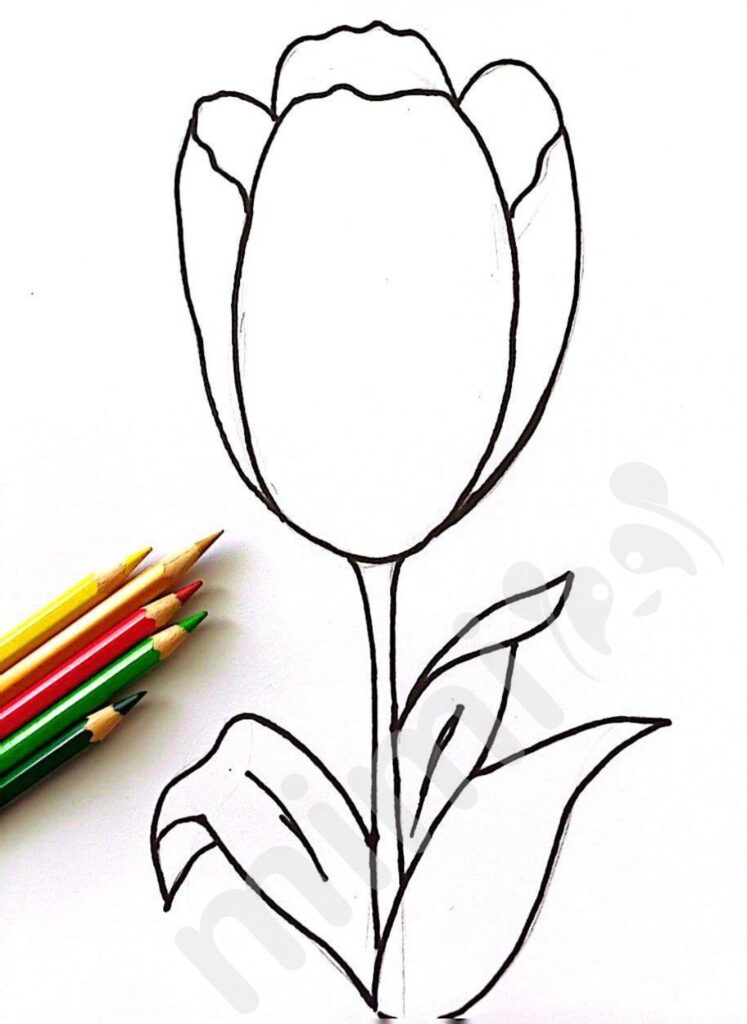
Step 6: Touch the tops of the petals with a hint of yellow.

Step 7: Broaden the yellow area slightly for added dimension.

Step 8: Introduce a vivid red to fill the remaining petal area.
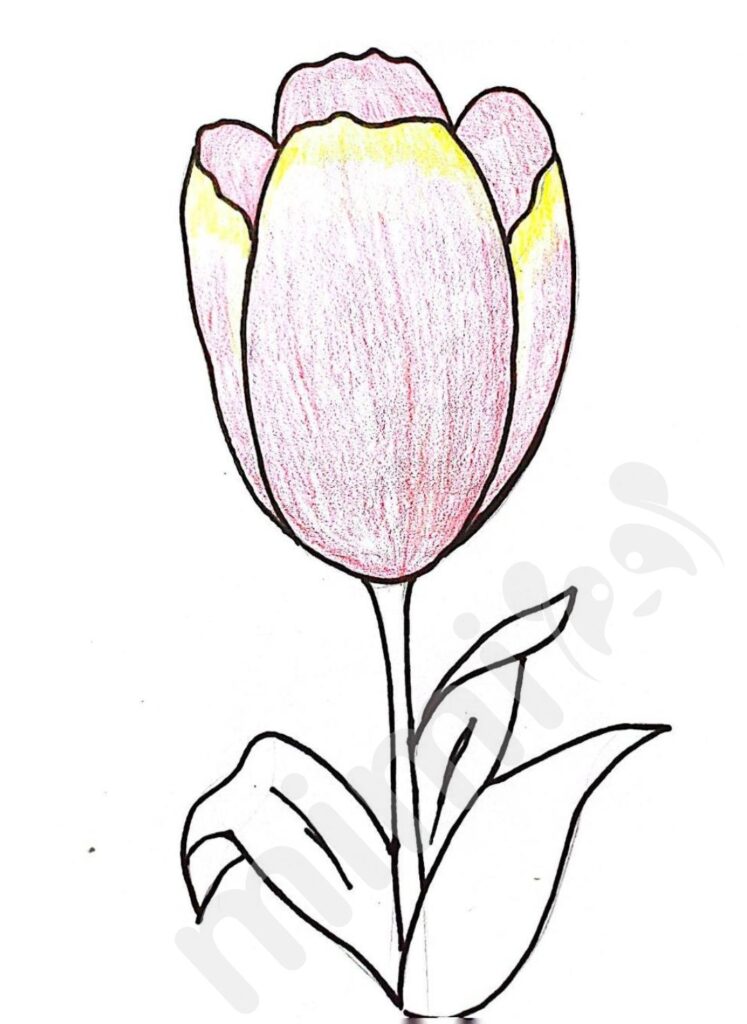
Step 9: Infuse life into the stem and leaves using shades of green. Experiment with light and dark green for a lifelike touch.
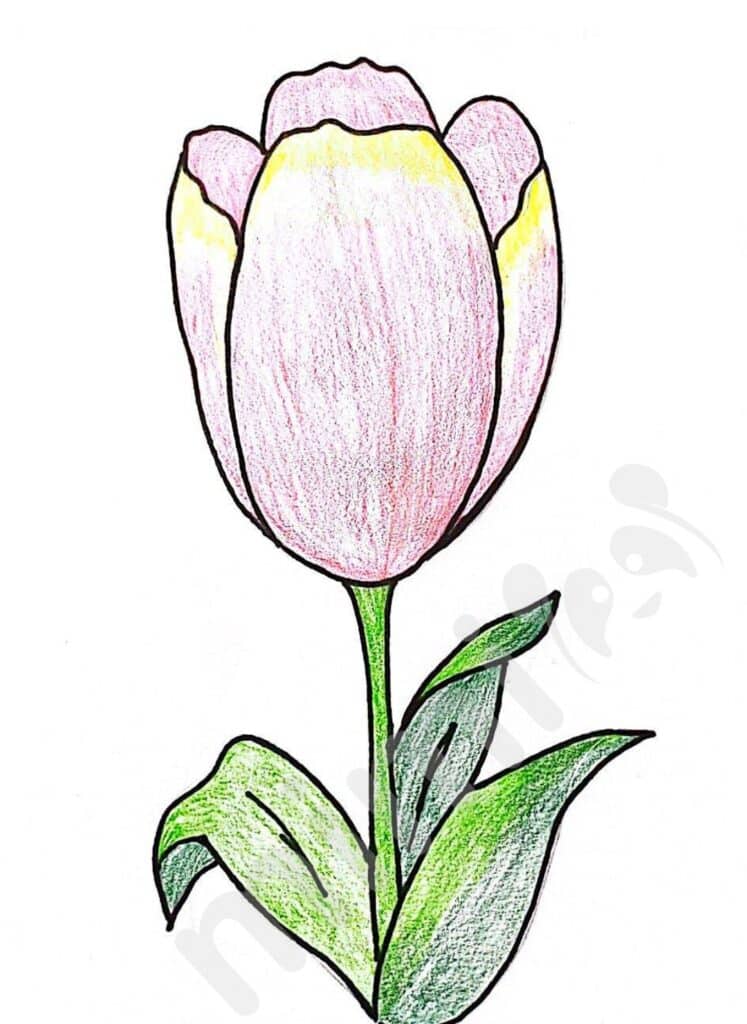
Congratulations! Your tulip masterpiece is complete, a testament to your creativity and dedication. We’re grateful you chose Mimi Panda as your artistic companion on this journey.
And remember, if you ever want to skip the drawing step and focus solely on coloring, explore our Flowers category on the website. There, you’ll find ready-made coloring pages that await your creative touch. Mimi Panda is your partner in both learning and enjoyment – let’s keep nurturing those creative flames together!
