Venturing into the art of tiger drawing opens a gateway to mastering the depiction of one of the most majestic creatures in the animal kingdom. Tigers, with their striking stripes, powerful build, and intense gaze, offer artists a rich tapestry of features to capture on paper. This comprehensive guide aims to weave through essential techniques and tips for creating a tiger drawing, incorporating key phrases organically to ensure your artwork resonates with the vitality and grace of this magnificent big cat.
Table of Contents

Understanding the Tiger
Before diving into the drawing process, it’s crucial to study the tiger’s defining characteristics. Tigers are known for their muscular structure, distinctive coat patterns, and expressive faces. Examining images or observing tigers through videos can provide a deeper understanding of their anatomy, movement, and the unique pattern of their stripes.
Step-by-Step Guide to Drawing a Tiger
Step 1: Draw the Head Shape
Start by outlining the basic shape of the tiger’s head. Add small rounded ears and jagged lines around the sides to represent fur. This step builds the foundation of the tiger’s face.

Step 2: Add Facial Features
Draw the eyes, nose, mouth, and inner ear details. Add the signature curved stripes on the forehead, cheeks, and whiskers to begin bringing the tiger’s expression to life.

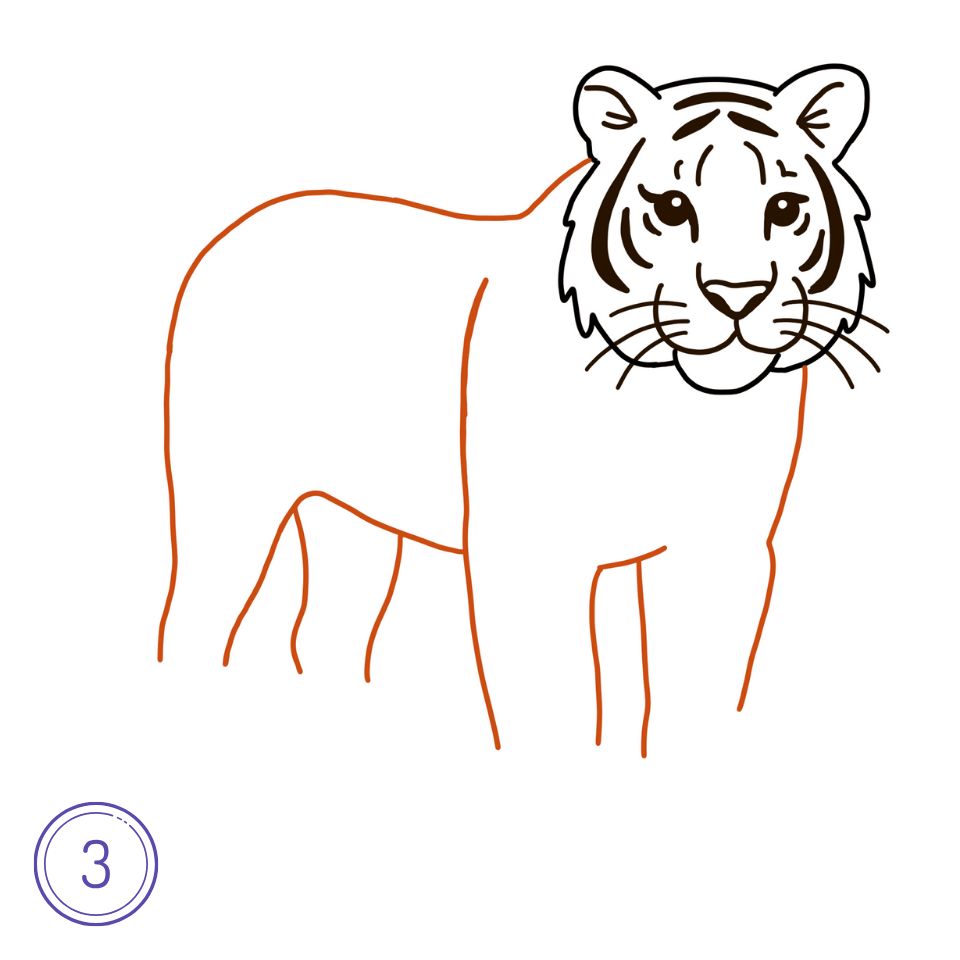
Step 3: Outline the Body and Front Legs
Sketch the outline of the tiger’s body extending from the head. Add the shapes of the front legs with smooth curves, keeping the stance natural and grounded.
Step 4: Draw the Tail and Back Legs
Complete the body by drawing the back legs and the long, curved tail. Then, add paws to each leg, giving the tiger a sturdy and balanced posture.

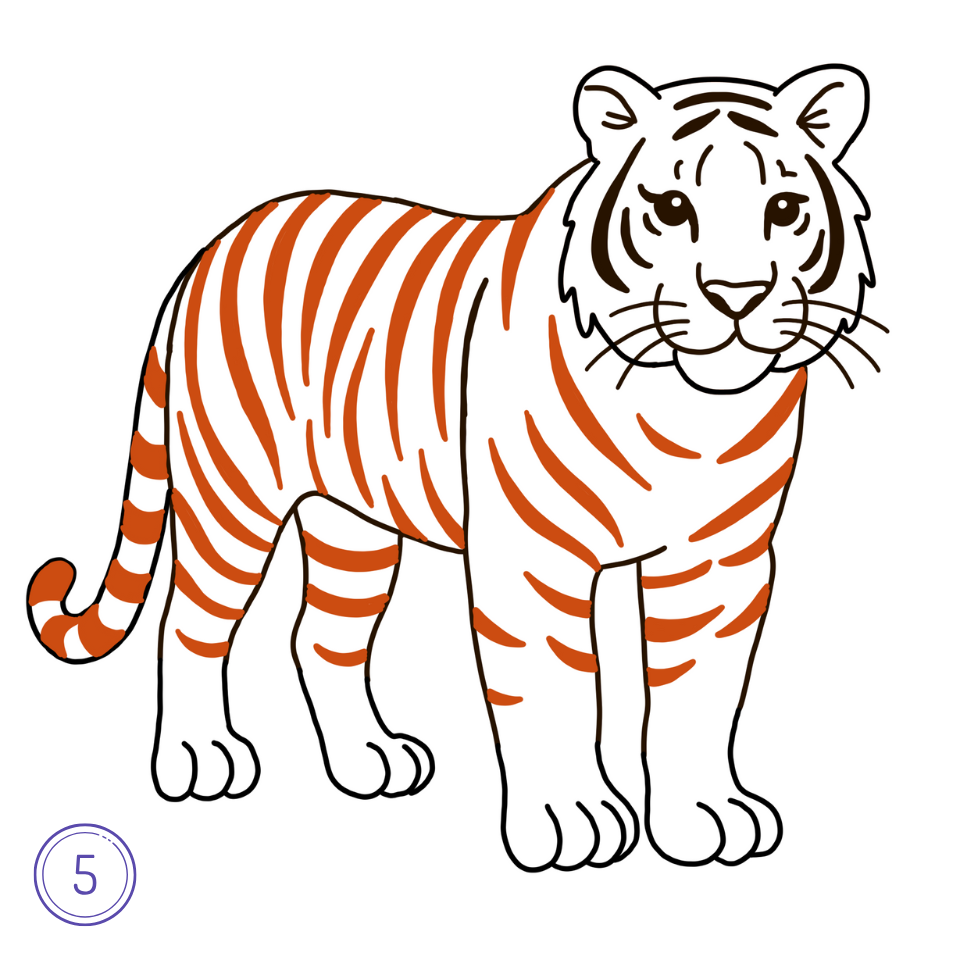
Step 5: Add Stripes
Fill the tiger’s body with its signature black stripes. Use curved, pointed lines along the back, legs, and tail. Each stripe should follow the contour of the tiger’s body for a realistic look.
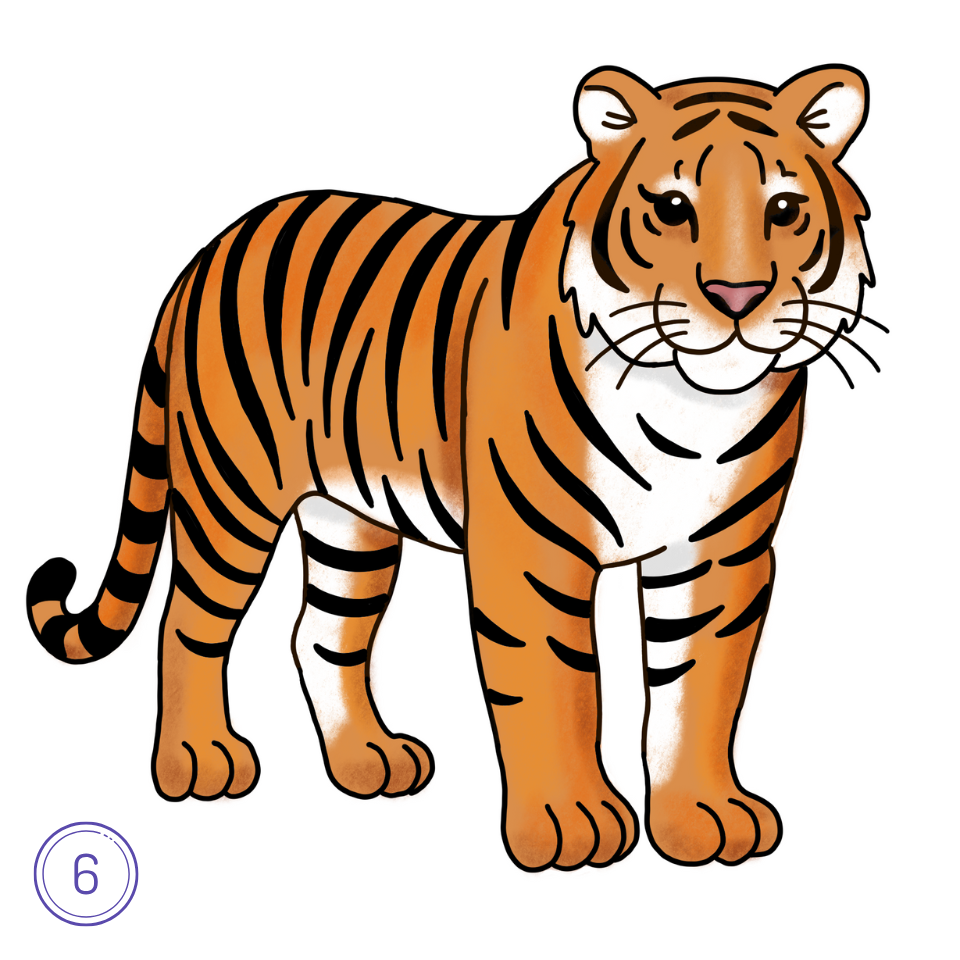
Step 6: Color the Tiger
Add base colors to the tiger: rich orange fur, white underbelly and face areas, and black stripes. This step brings your drawing to life with vivid contrast and depth.
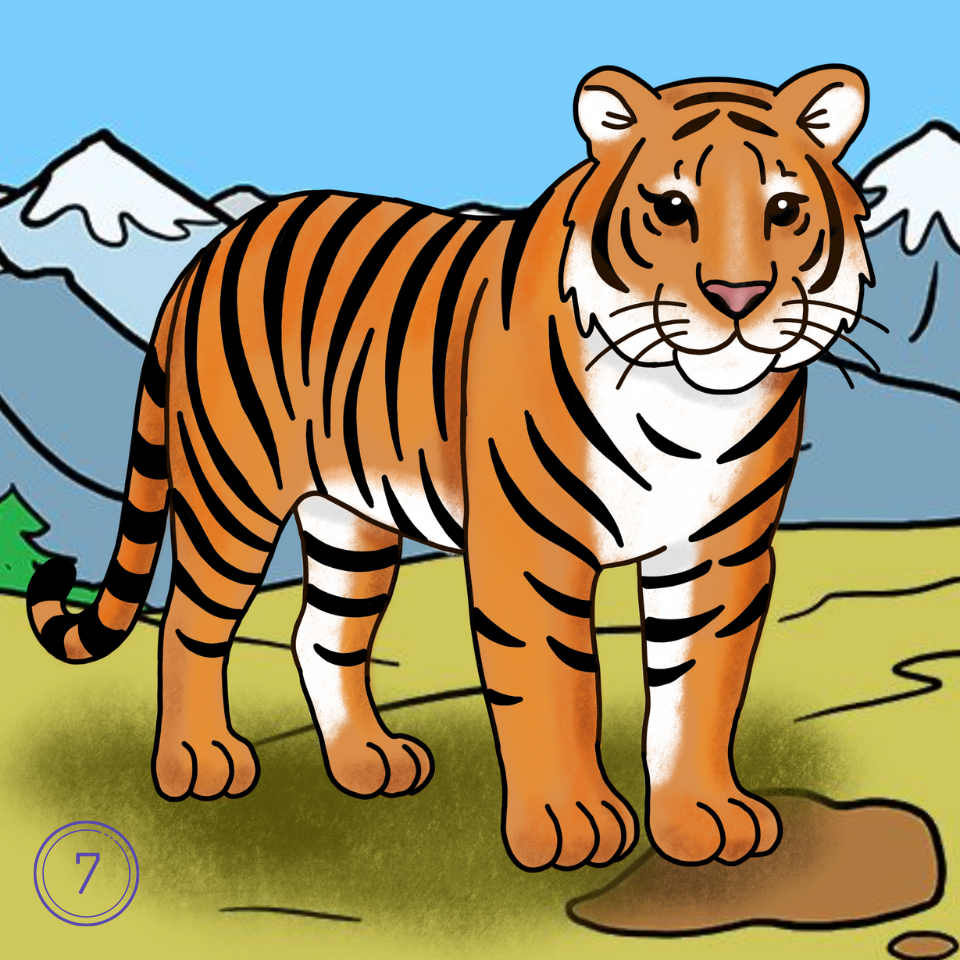
Step 7: Add Background
Create a natural habitat by adding a background. Here, we’ve included mountains, grass, and a blue sky to place the tiger in a realistic environment.
Tips for a Successful Tiger Drawing
- Use References: A reference image is invaluable for capturing the precise details of the tiger’s features and markings.
- Practice Different Poses: Experiment with drawing tigers in various poses to understand their anatomy better and capture their essence.
- Experiment with Mediums: Whether you prefer pencils, inks, or digital tools, exploring different mediums can help you find the best way to represent the tiger’s vibrant coat and dynamic poses.
Conclusion about How to Draw a Tiger
Drawing a tiger can be an immensely rewarding experience, offering an opportunity to engage with the beauty and complexity of one of the natural world’s most iconic animals. By following these steps and keeping the provided tips in mind, you’ll be well on your way to creating stunning tiger drawings that reflect your skill and passion for wildlife art. Whether you’re drawing for personal enjoyment, educational purposes, or to expand your portfolio, remember that practice, observation, and creativity are your best tools for mastering how to draw a tiger.