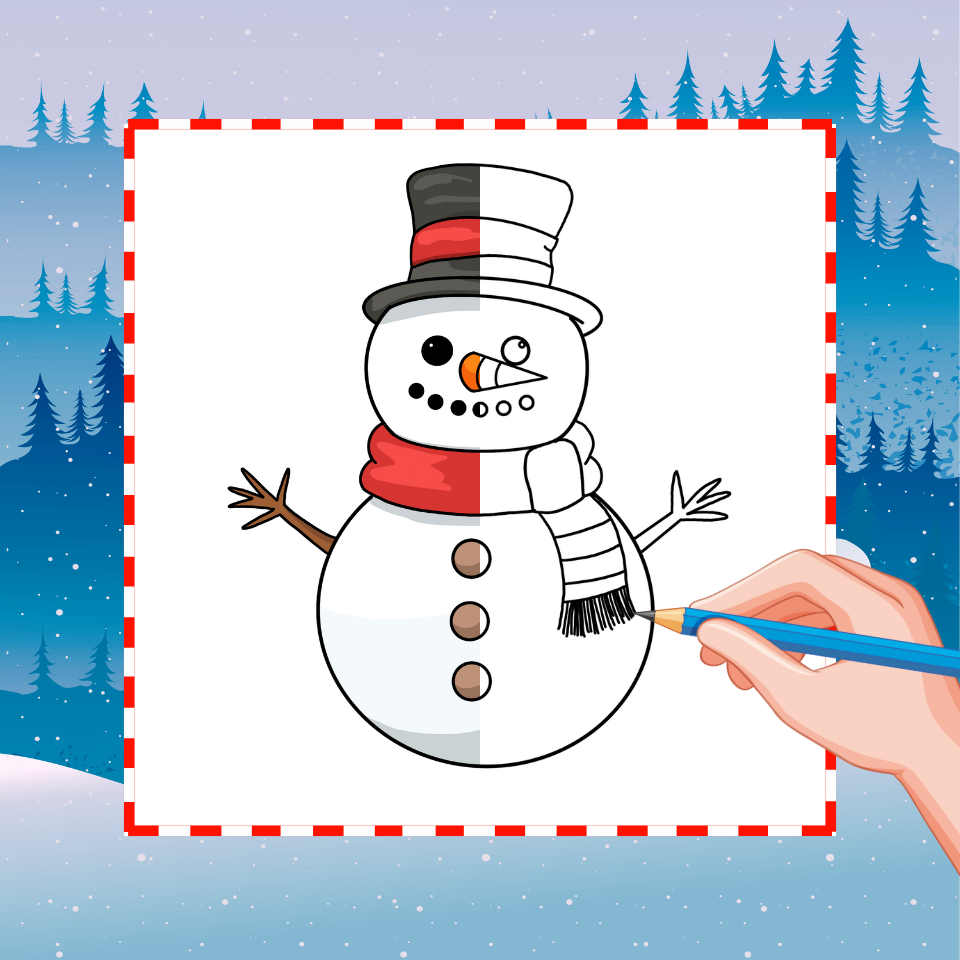
Drawing a snowman is a fun and simple way to get into the holiday spirit. Whether you’re a beginner or an experienced artist, creating a snowman drawing is easy and enjoyable. Follow these steps to create your own snowman masterpiece, while incorporating some cool drawing ideas for beginners to give your snowman a unique touch.
Table of Contents
Materials You’ll Need
Before you start your snowman art project, gather these materials:
- Pencil and eraser
- Drawing paper
- Colored pencils or markers (especially white, orange, and black)
- Fine-liner pen for outlining (optional)
Step-by-Step Guide: How to Draw a Snowman
Step 1: Draw The Snowman’s Head And Eyes
Start by drawing a medium-sized circle at the top of your paper. This will be the snowman’s head. Keep the circle round and smooth for a classic snowman look. Inside this circle, draw two small, evenly spaced circles or dots for the snowman’s eyes. These should be positioned about halfway down the head and close enough together to give the snowman a friendly, approachable expression.

Step 2: Drawing the Snowman Face
The face is where your snowman comes to life! For a cute snowman drawing, add two small circles for the eyes. Use dots for the pupils to make them stand out. Draw a small, triangle-shaped nose—this is the iconic carrot! For the mouth, consider using small dots or a wavy line to give your snowman a cheerful expression. There are plenty of snowman mouth ideas to try, from simple smiles to goofy grins.
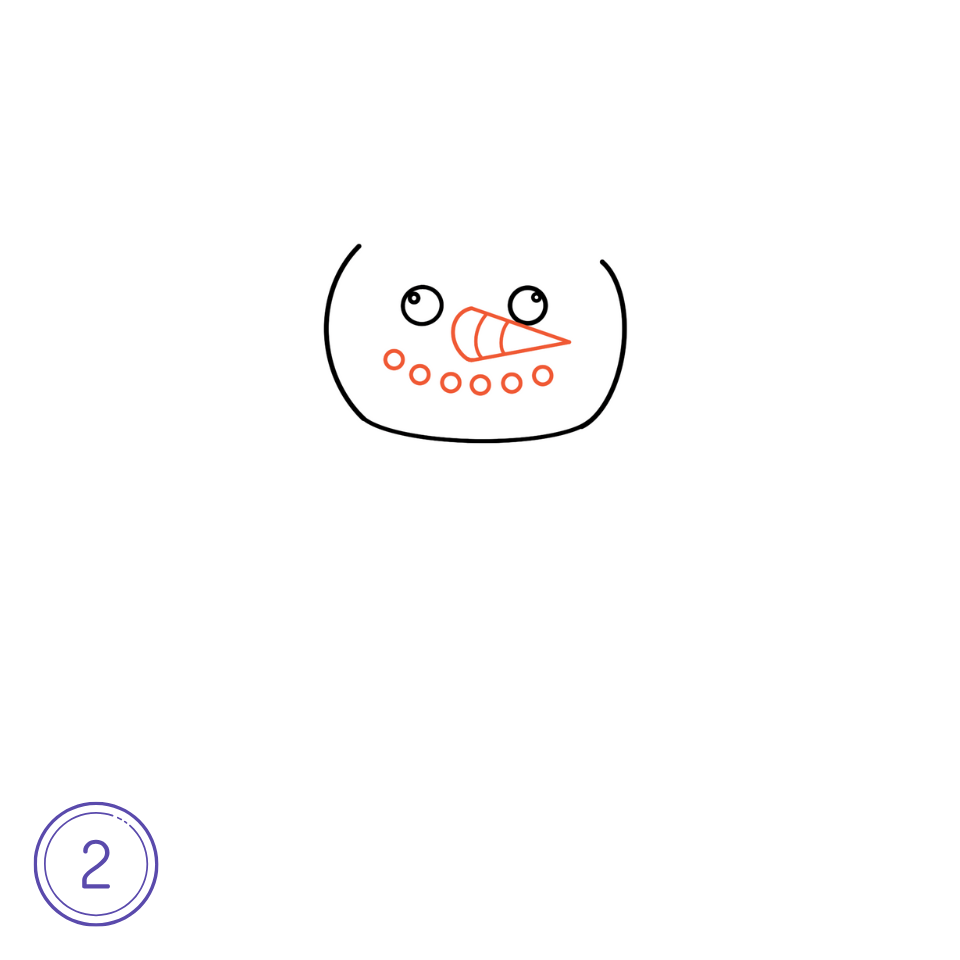
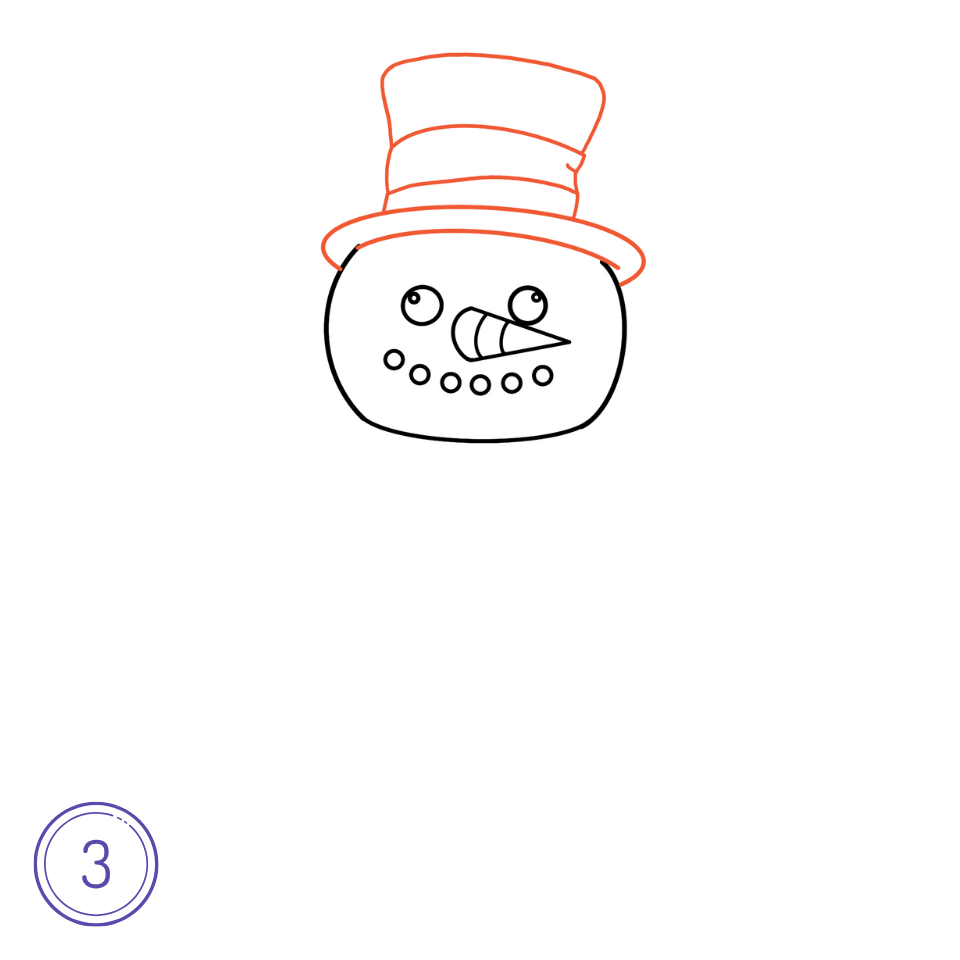
Step 3-4: Snowman Hat and Scarf
To give your snowman a little personality, add a cozy scarf around its neck and a fun hat on top of its head. For the hat, you can draw a top hat or a beanie, depending on the look you’re going for. You can also experiment with different scarf patterns and colors to make your snowman drawing even more unique.
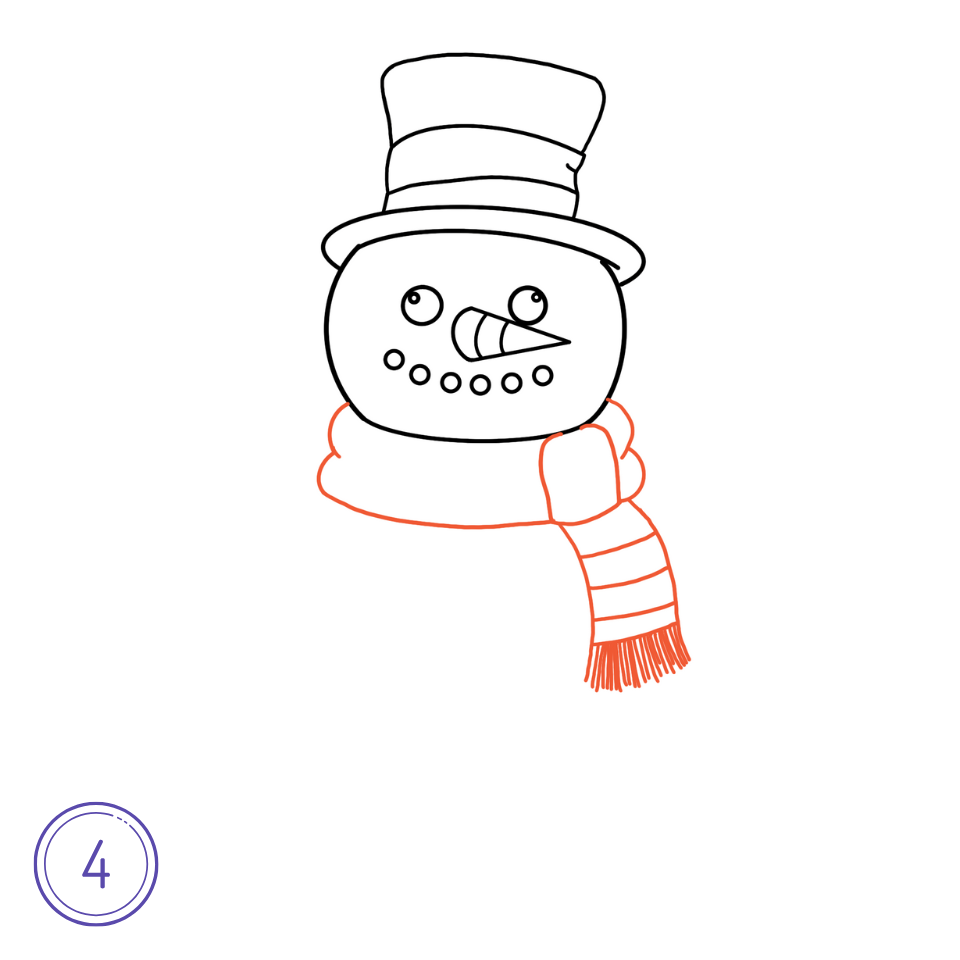
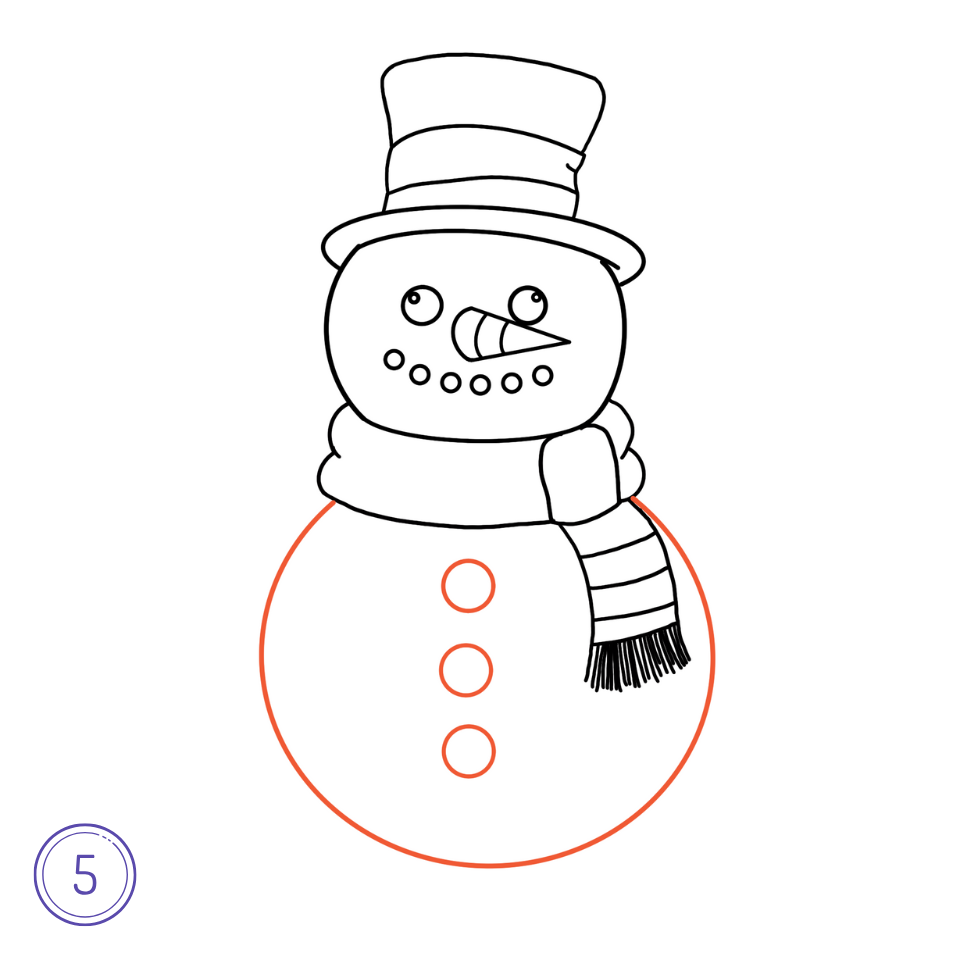
Step 5: Drawing the Basic Snowman Shape
Start with the most important part of the snowman: the body. Begin by drawing three circles, each smaller than the one below it. The largest circle will be the base, the medium-sized circle for the torso, and the smallest for the head. This classic snowman sketch forms the foundation for your snowman. If you’re looking for a snowman easy drawing, keeping the circles simple and slightly uneven gives your snowman a cute and whimsical look.
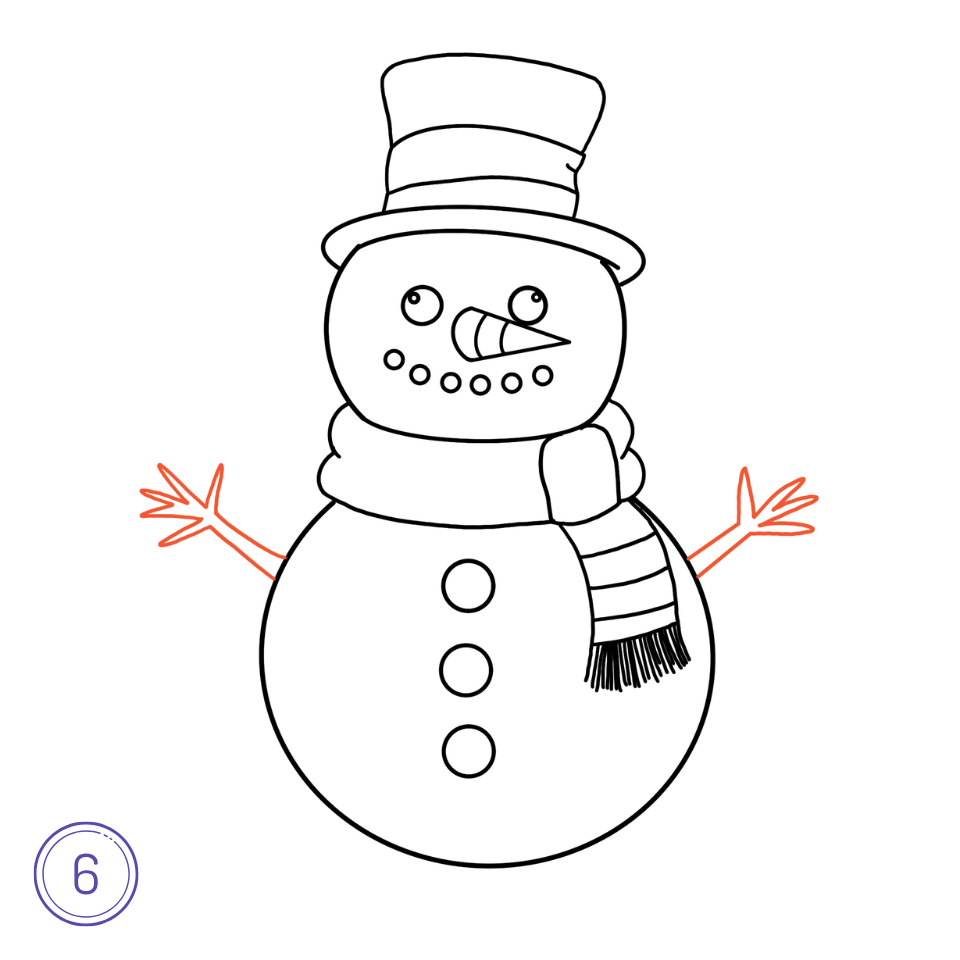
Step 6: Adding Snowman Arms
A snowman wouldn’t be complete without its stick arms. Draw two thin, wavy lines extending from the middle circle of the snowman’s body. Add little branches at the ends of these lines to make the arms look like real sticks.
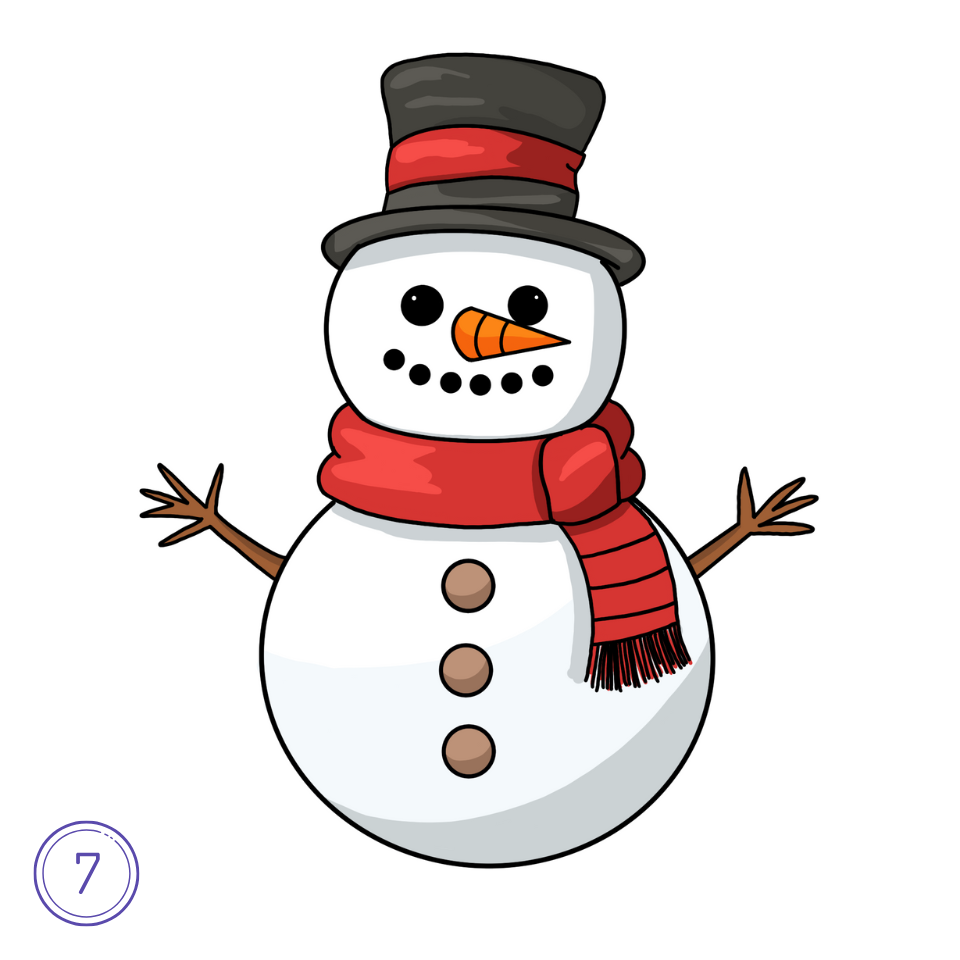
Step 7: Coloring Your Snowman
Now that your sketch is complete, it’s time to add color! Use white for the snowman’s body and orange for the carrot nose. Black is perfect for the eyes, buttons, and stick arms. You can also add some festive red and green to the hat and scarf to match the holiday season. Don’t forget the background—perhaps some soft blue or snowflakes to set the wintery scene for your snow man picture.
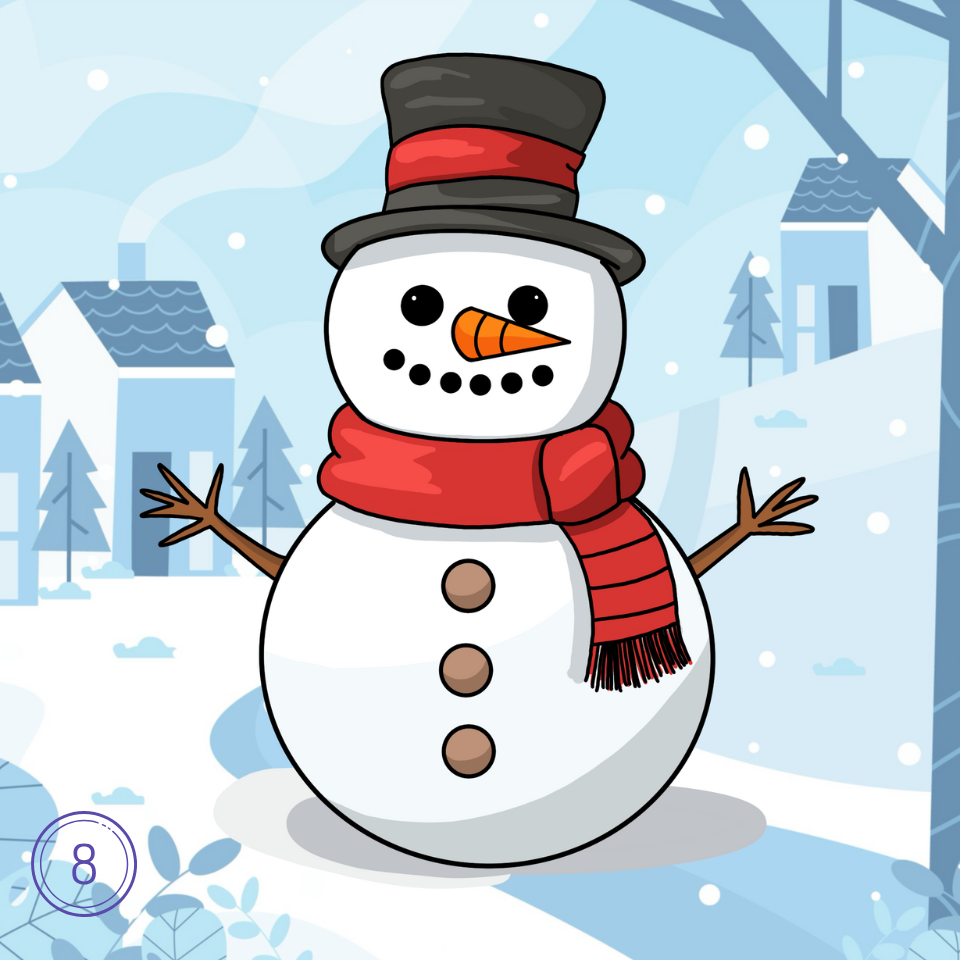
Step 8: Adding Buttons and Final Details
Draw three buttons down the middle of the snowman’s body using small circles. To finish, add a little texture to the snow by sketching gentle lines or dots on the body. This can make your snowman appear more lively.
Advanced Ideas for Your Snowman Drawing
Add Personality with Accessories
For a fun twist on the classic snowman, give your snowman some unique accessories like earmuffs, mittens, or even a candy cane! This makes your drawing stand out and adds some holiday charm.
Try Different Expressions
Play around with the snowman’s facial expressions. A surprised or excited face can make your cute snowman even more adorable. You can also experiment with different styles of eyes or mouths to make the snowman seem more cartoonish or realistic.
Draw Frosty the Snowman
If you’re looking for a recognizable character, learn how to draw Frosty the Snowman. Add his iconic black top hat, corn cob pipe, and big smile. This classic look is perfect for anyone wanting to add a nostalgic twist to their snowman art.
Snowman Art Project Ideas
- Snowman Directed Drawing: For classroom activities or art projects, try a directed drawing lesson. Walk through each step with young artists and watch their snowmen take shape.
- Snowman Coloring: After drawing, turn your snowman into a coloring page. Print out your sketch and make copies for friends or kids to color in their own creative way. Cute snowman coloring pages are always a hit during the winter holidays.
- Snowman Cartoon Drawing: If you’re interested in animation or simple cartoons, practice drawing snowmen with exaggerated features, big eyes, or tiny hats. This can make your snowman feel more like a character in a story.
- Snowman Art on Black Paper: For something different, try drawing your snowman on black paper. This creates a striking contrast, especially when using white pencils or chalk for the snowman’s body. It’s one of the creative black paper drawing ideas to experiment with.
Easy Snowman Drawing Tips
- Keep it simple: Focus on basic shapes. A simple snowman drawing with three circles, stick arms, and a carrot nose can still look great.
- Start light: When sketching, keep your lines light. You can go over them with a darker pencil or ink once you’re satisfied.
- Use references: Looking at snowman pictures to draw can give you new ideas and help you practice different styles.
Conclusion
With just a few easy steps, you can learn how to draw a snowman that is both cute and festive. Whether you’re doing this for fun, creating a snowman coloring page, or turning it into a fun holiday project, drawing a snowman is a wonderful way to celebrate winter. From easy snowman drawing ideas to more detailed and personalized versions, the possibilities are endless.
So grab your pencils, start sketching, and enjoy the magic of creating your very own snowman art! Whether it’s a classic, a snowman cartoon drawing, or a cute snowman with accessories, your snowman will surely bring joy to everyone who sees it.
