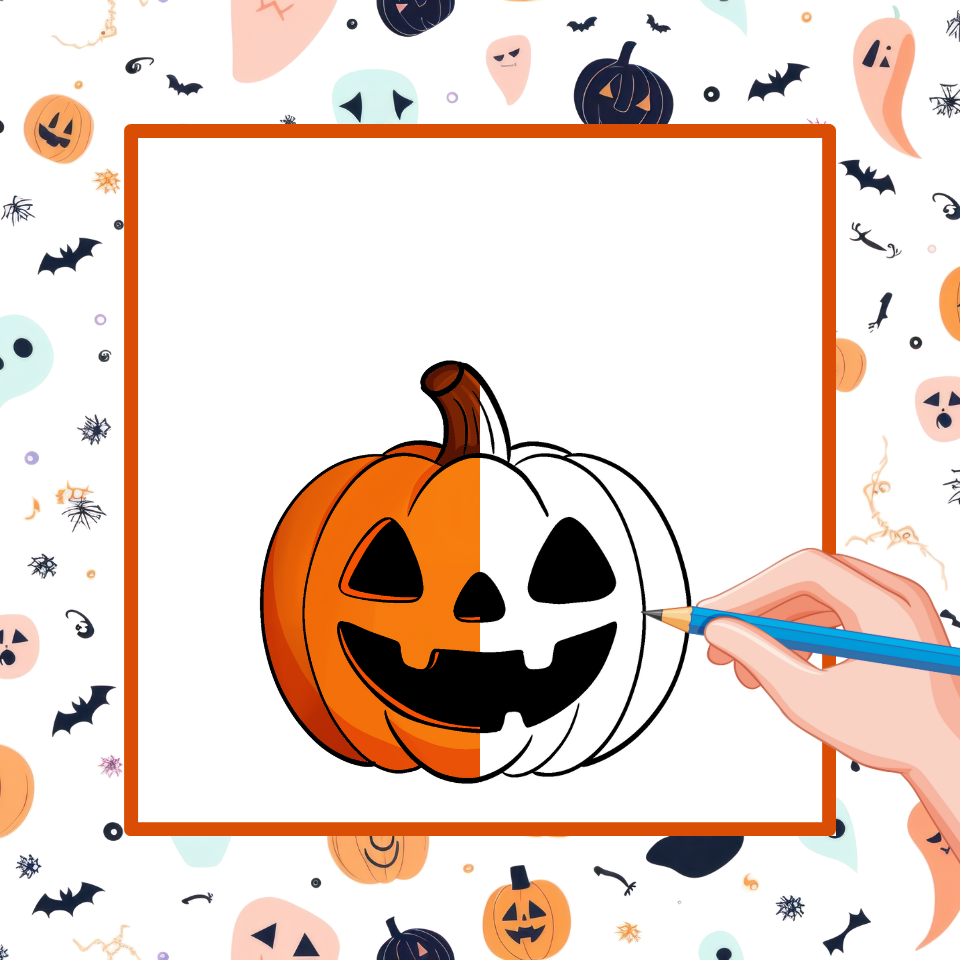
Drawing for Halloween is always exciting, and one of the most popular things to create is a glowing, smiling pumpkin. If you’ve ever wondered How To Draw A Halloween Pumpkin, this simple guide is perfect for you. With just a few easy steps, you’ll learn how to sketch, outline, and color a fun jack-o’-lantern that looks both spooky and cheerful. Whether you’re a beginner or a young artist, this tutorial will walk you through everything from the first lines of the pumpkin’s shape to the final colorful Halloween scene. All you need is paper, a pencil, and some colors to get started. Let’s jump in and discover together How To Draw A Halloween Pumpkin step by step!
Table of Contents
Step-by-Step Tutorial
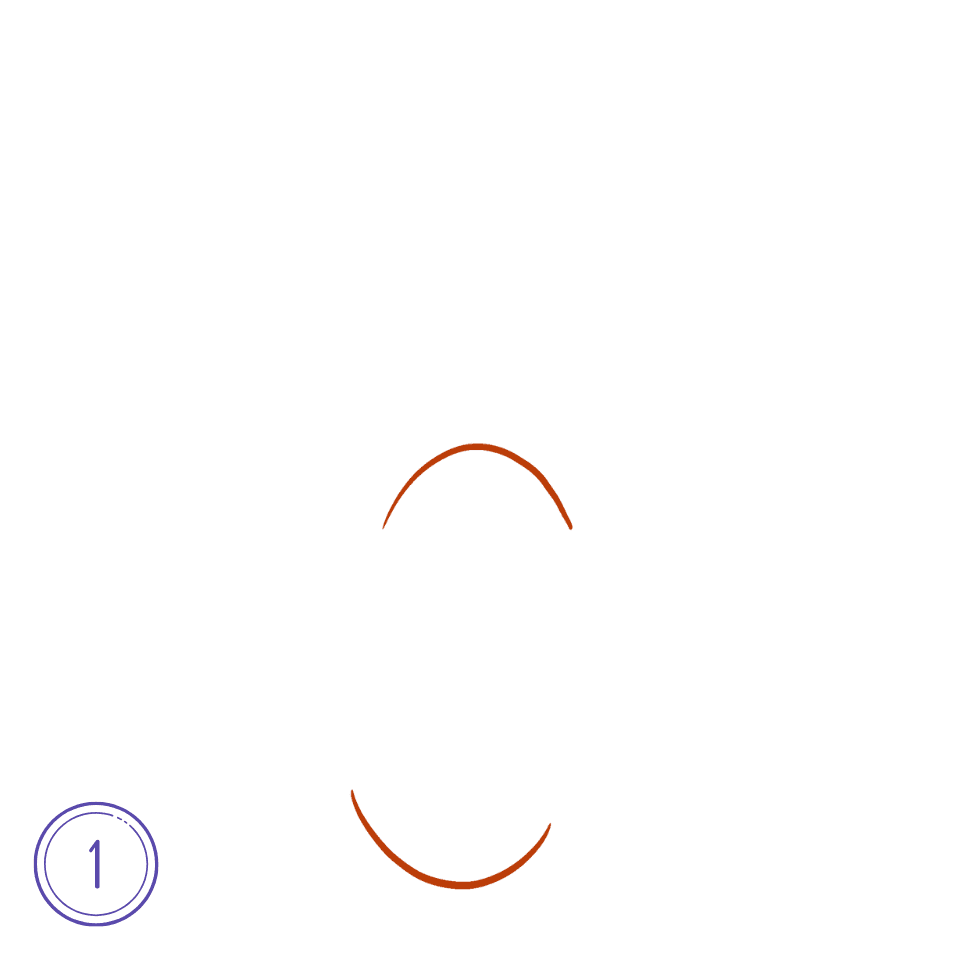
Step 1: Draw the pumpkin’s outline
Start by sketching two curved lines, one at the top and one at the bottom, to form the round shape of the pumpkin. This is the first step in How To Draw A Halloween Pumpkin, giving your drawing its basic form.
Step 2: Add the side curves
Draw two large curved lines on each side of the shape to create the round sections of the pumpkin. These lines make the pumpkin look fuller and more realistic.

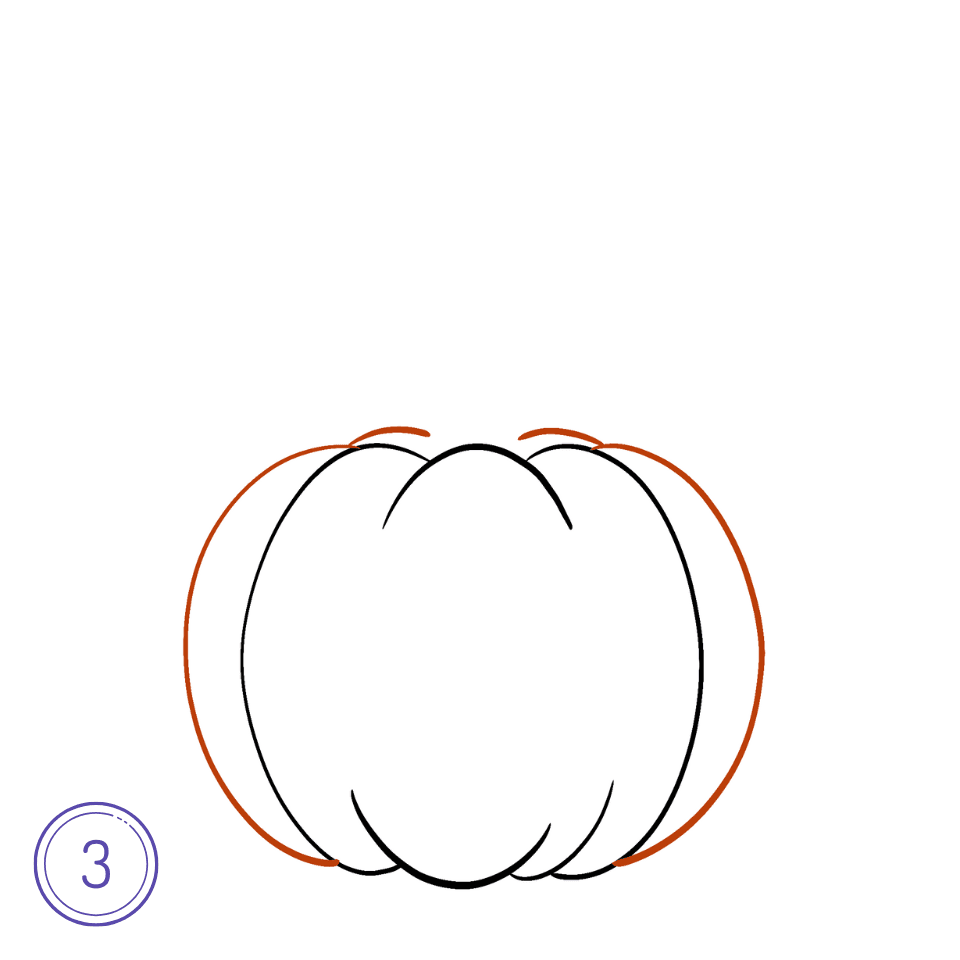
Step 3: Complete the pumpkin shape
Add more curved lines on each side to finish the pumpkin’s body. Now the pumpkin looks plump with all its sections clearly visible.
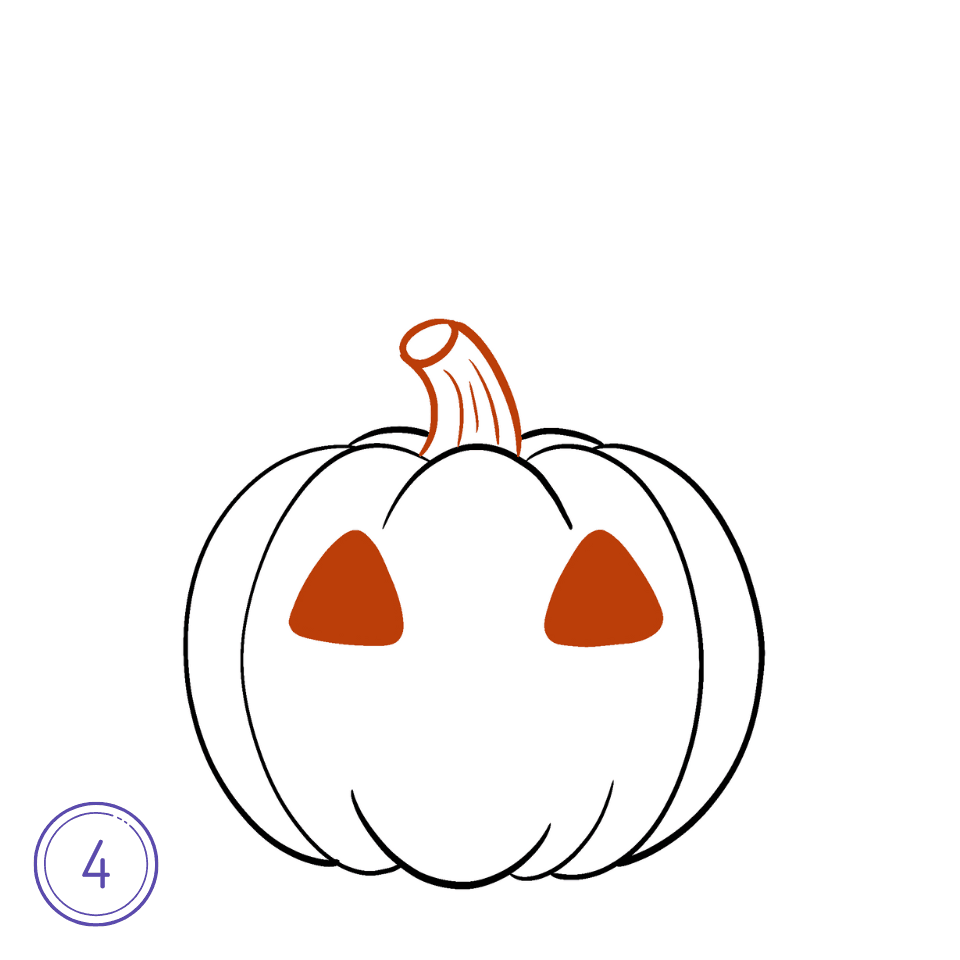
Step 4: Draw the stem and eyes
Sketch a short, curved stem on top of the pumpkin. Then, add two triangle-shaped eyes to start giving it a spooky Halloween face.
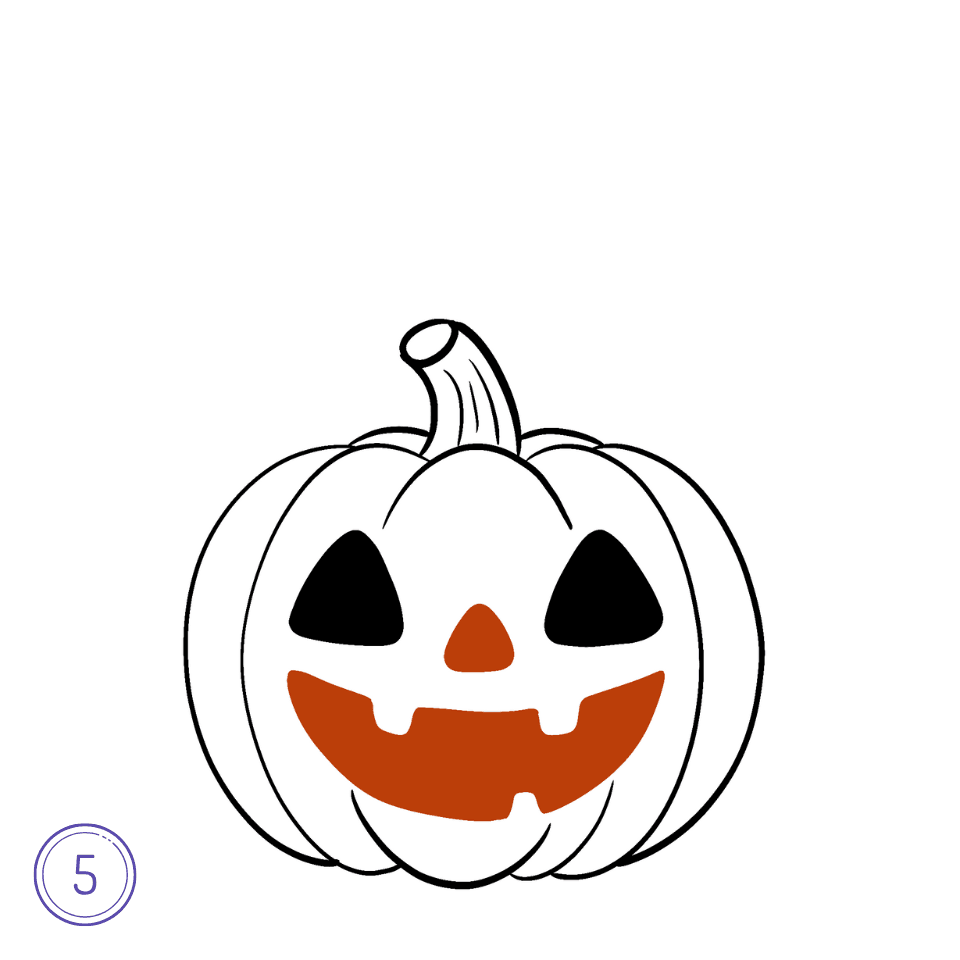
Step 5: Add the nose and mouth
Draw a small triangle for the nose in the center. Below it, sketch a wide, smiling mouth with teeth shapes, making your pumpkin look cheerful and ready for Halloween.
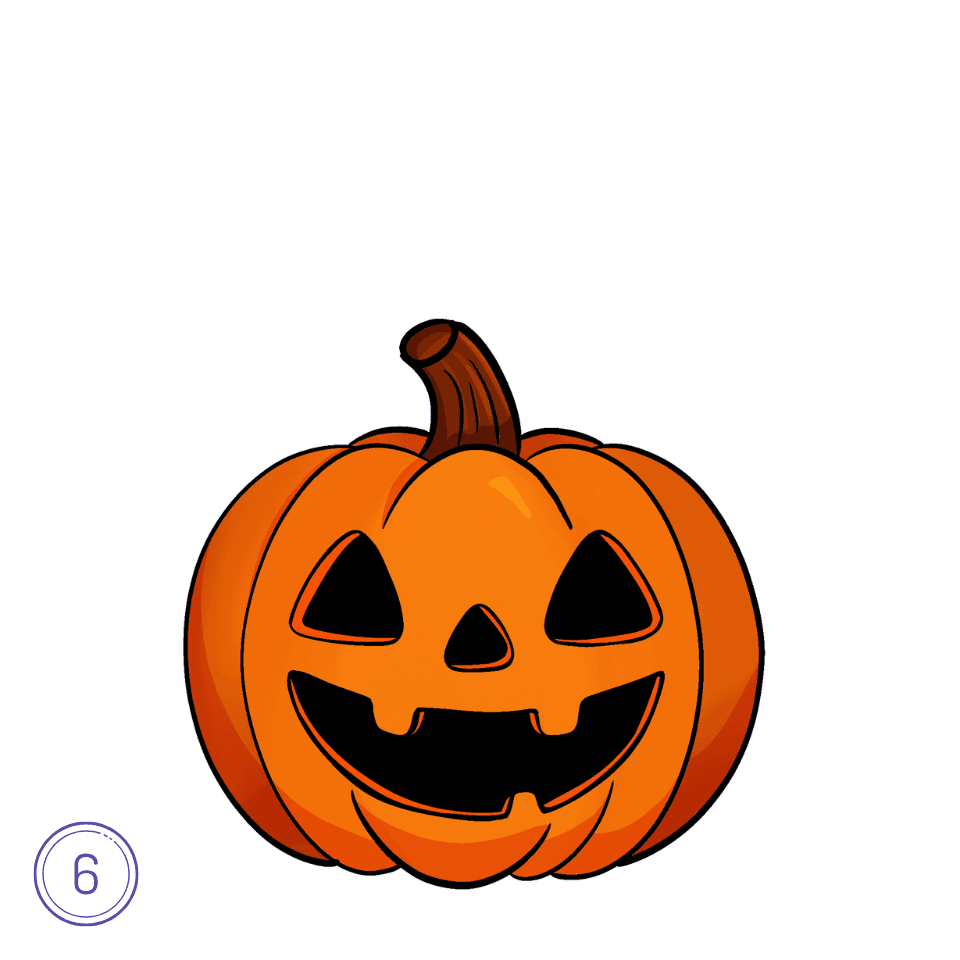
Step 6: Color the pumpkin
Fill the pumpkin with bright orange and shade the stem brown. Darken the eyes, nose, and mouth so the face really stands out—this makes the steps of How To Draw A Halloween Pumpkin extra fun.
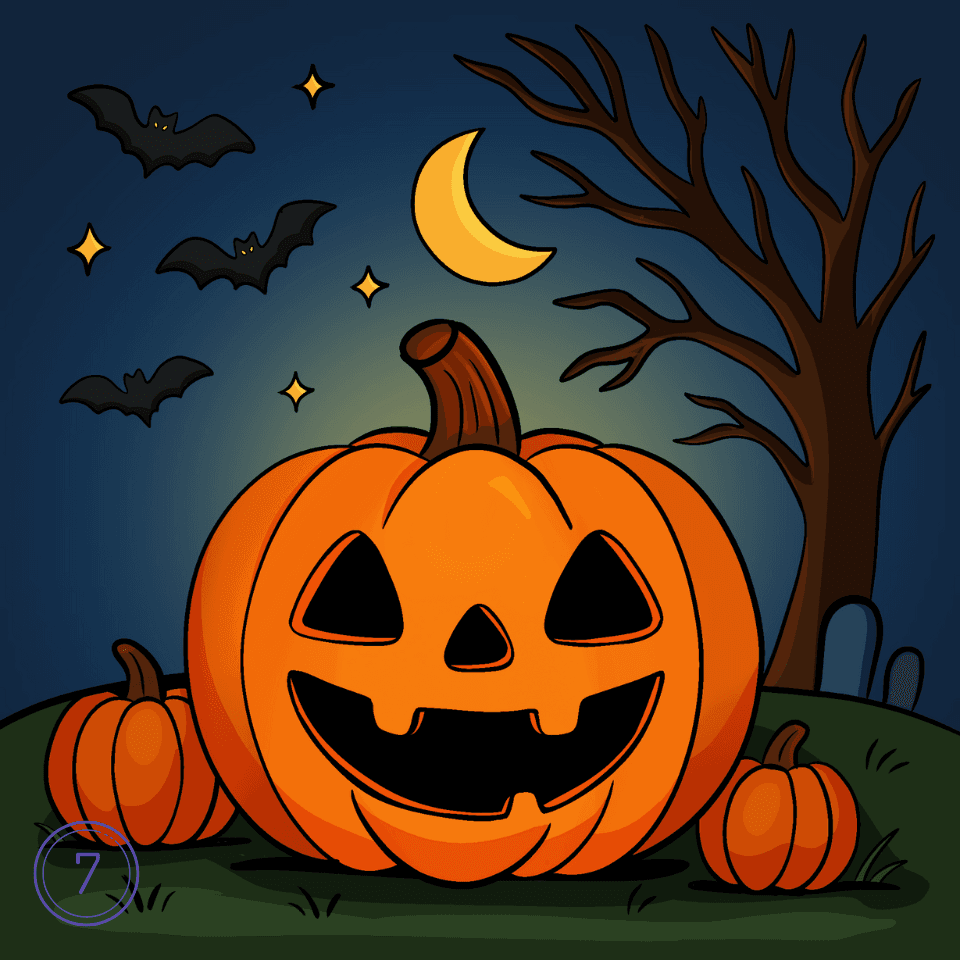
Step 7: Add the background details
Finish your drawing by coloring the sky dark blue and adding a glowing moon, stars, bats, and a spooky tree. Place a couple of smaller pumpkins beside the big one to complete the Halloween scene and finish your guide on How To Draw A Halloween Pumpkin.
Wrap-Up
And there you have it—your very own Halloween jack-o’-lantern drawing! Now you know exactly how to create it from start to finish. You can even get creative by changing the face, adding more pumpkins, or drawing different spooky backgrounds. This is a great way to decorate your room, make cards, or just enjoy some fun holiday art. So grab your pencils and colors, and try making another pumpkin with a different expression. With practice, you’ll become a pro at drawing Halloween pumpkins in no time! 🎃