If you’ve ever dreamed of sketching a delicious dessert that looks good enough to eat, you’re in the right place! In this fun and simple tutorial, you’ll learn How to Draw a Cake step by step. Whether you’re a beginner or just looking for a relaxing creative activity, this guide will help you draw a cute, layered cake decorated with fruit, cream, and chocolate details.
Table of Contents
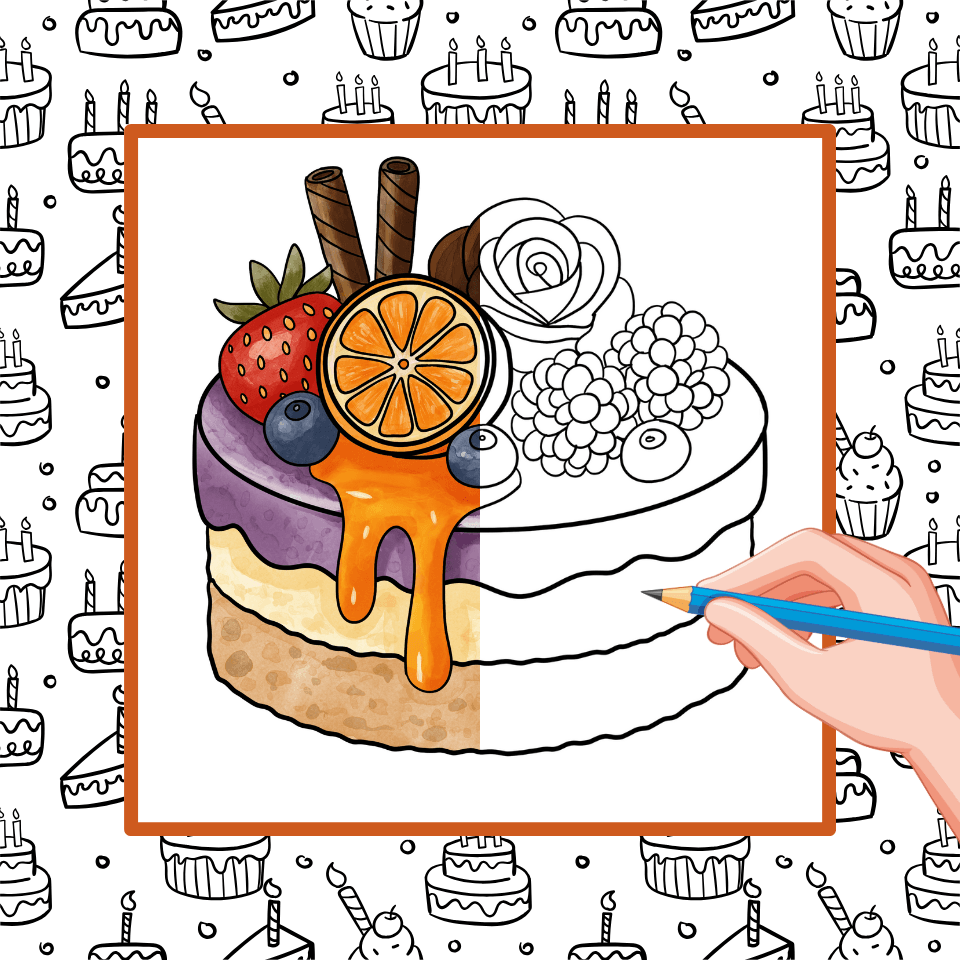
Drawing a cake is a great way to practice shapes, layering, and color blending — all while having fun! Grab your pencil, some paper, and maybe your favorite coloring tools, and let’s start our sweet art journey together. Follow each step carefully, and by the end, you’ll have a mouthwatering masterpiece ready to display!
How to Draw a Cake:
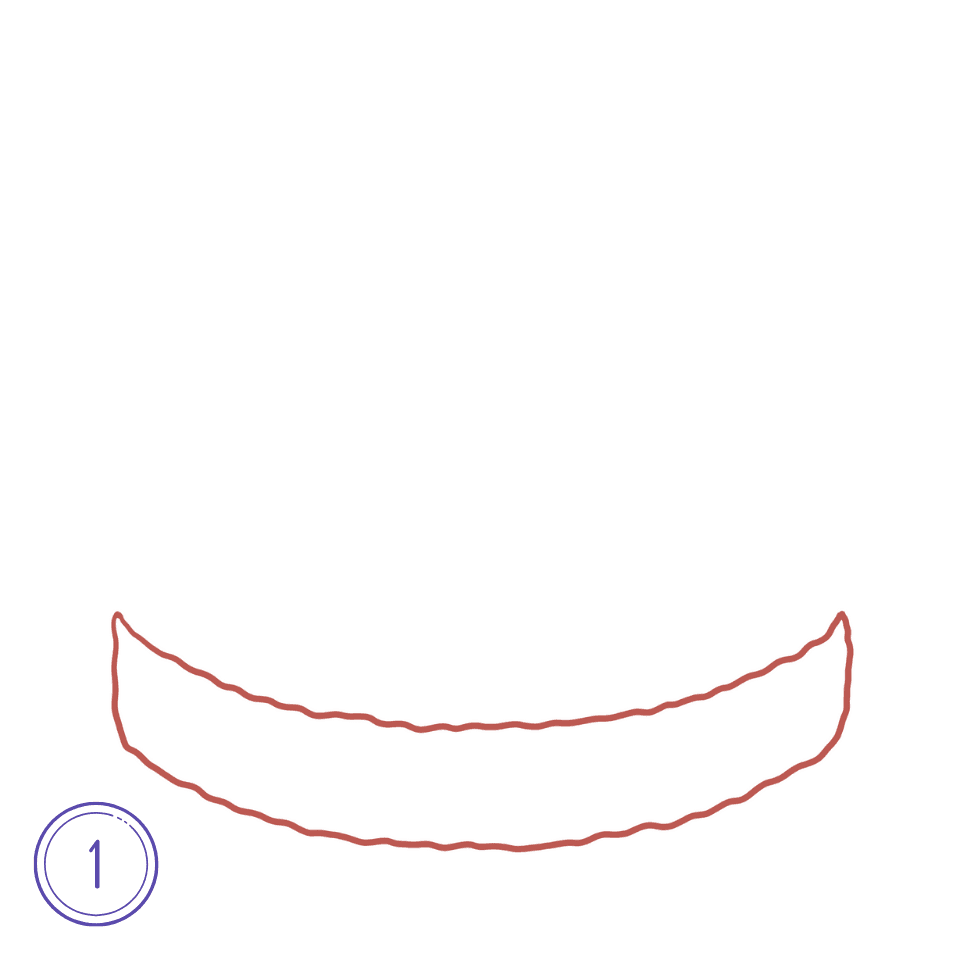
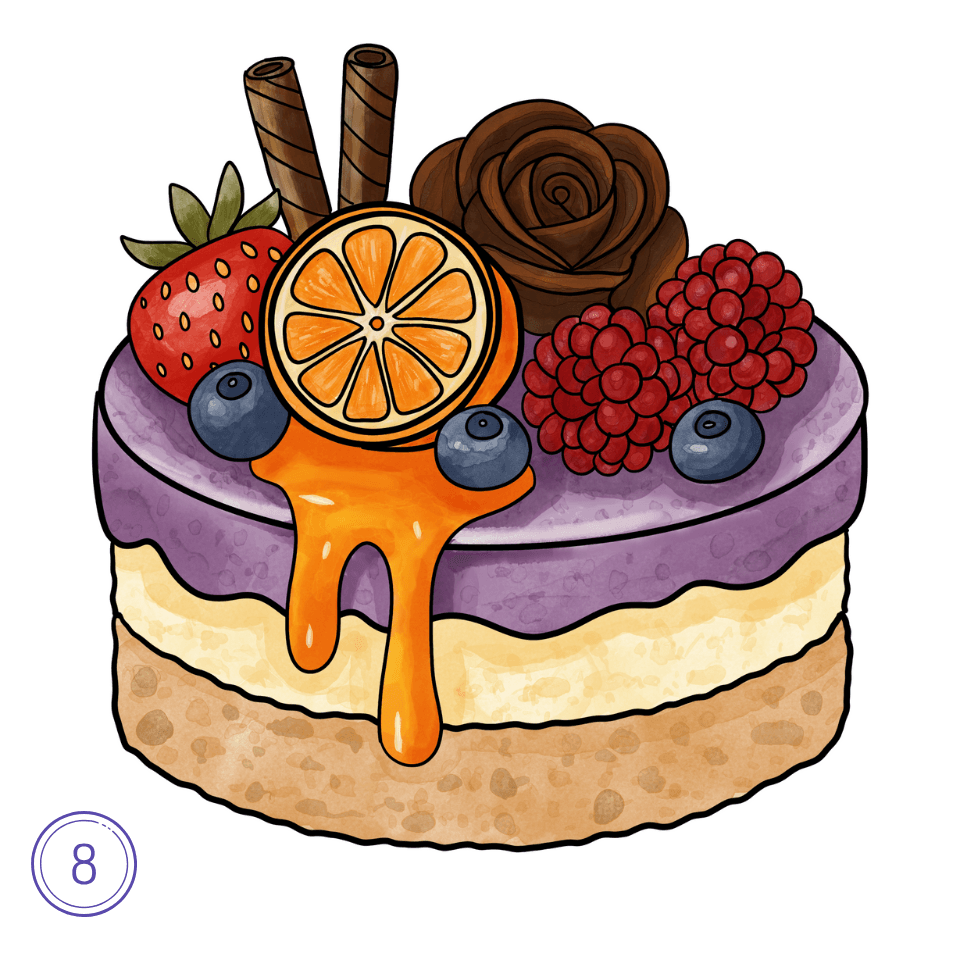
Step 1: Draw the Cake Base
Start by drawing a wide curved shape at the bottom. This will be the base of your delicious cake. Keep the lines slightly wavy to make it look soft and realistic.
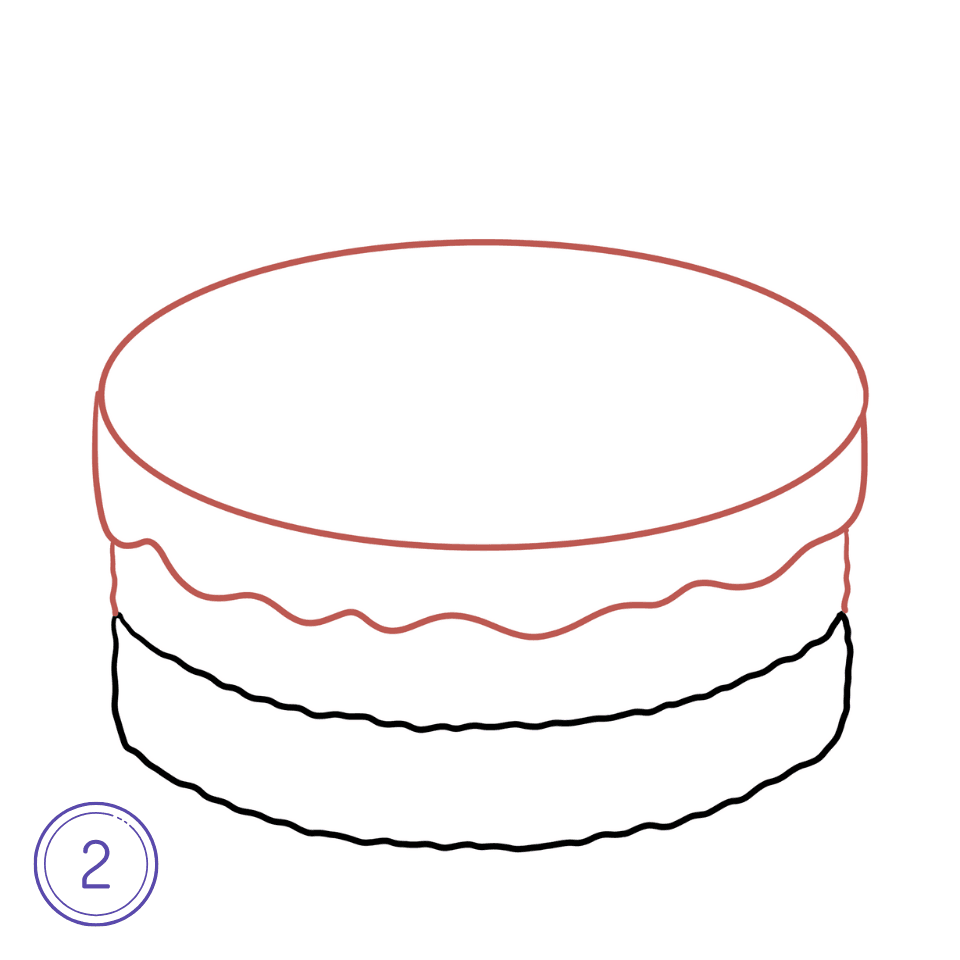
Step 2: Add the Top Layer
Now, draw an oval on top of the base and connect it with smooth sides. This forms the main body of your cake. You can already see the layers starting to appear in your How to Draw a Cake tutorial!
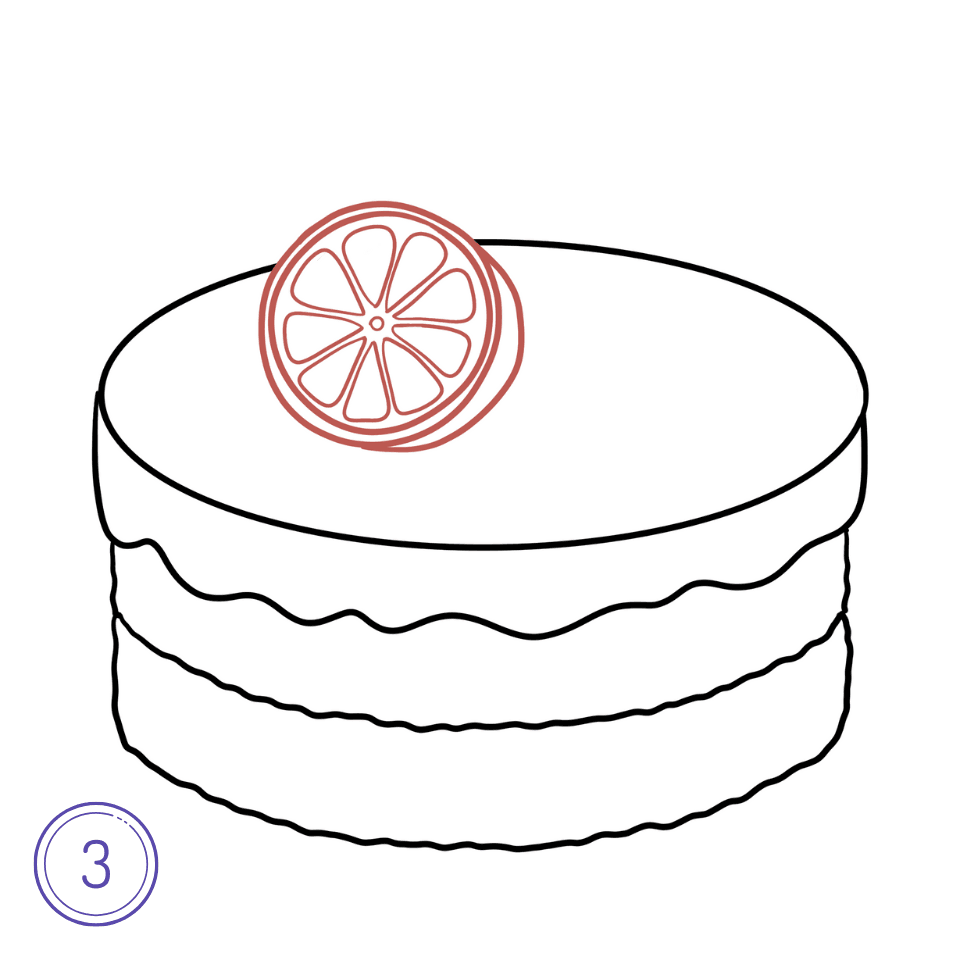
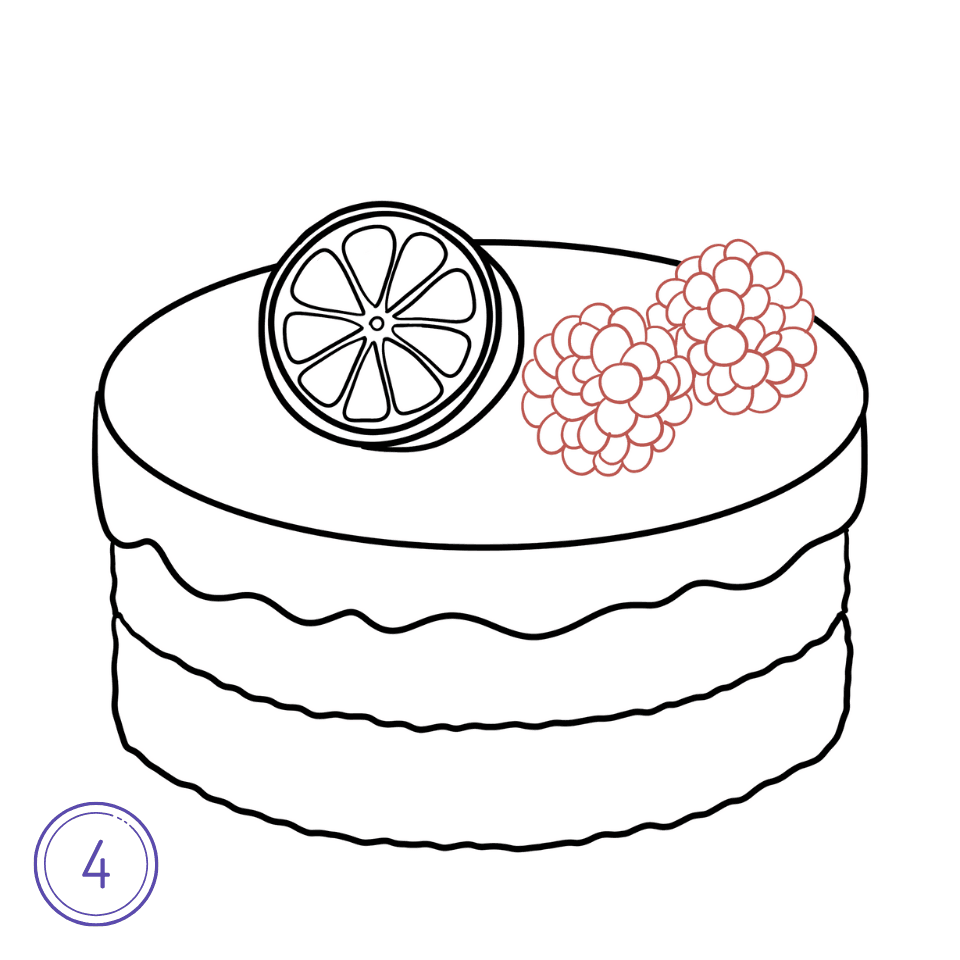
Step 3: Draw a Slice of Orange
Sketch a round slice of orange on top of the cake. Add inner lines for the segments to make it look juicy and fresh.
Step 4: Add Some Berries
Next, draw a few round shapes beside the orange slice to create raspberries. Use small circles grouped together for a fun texture.
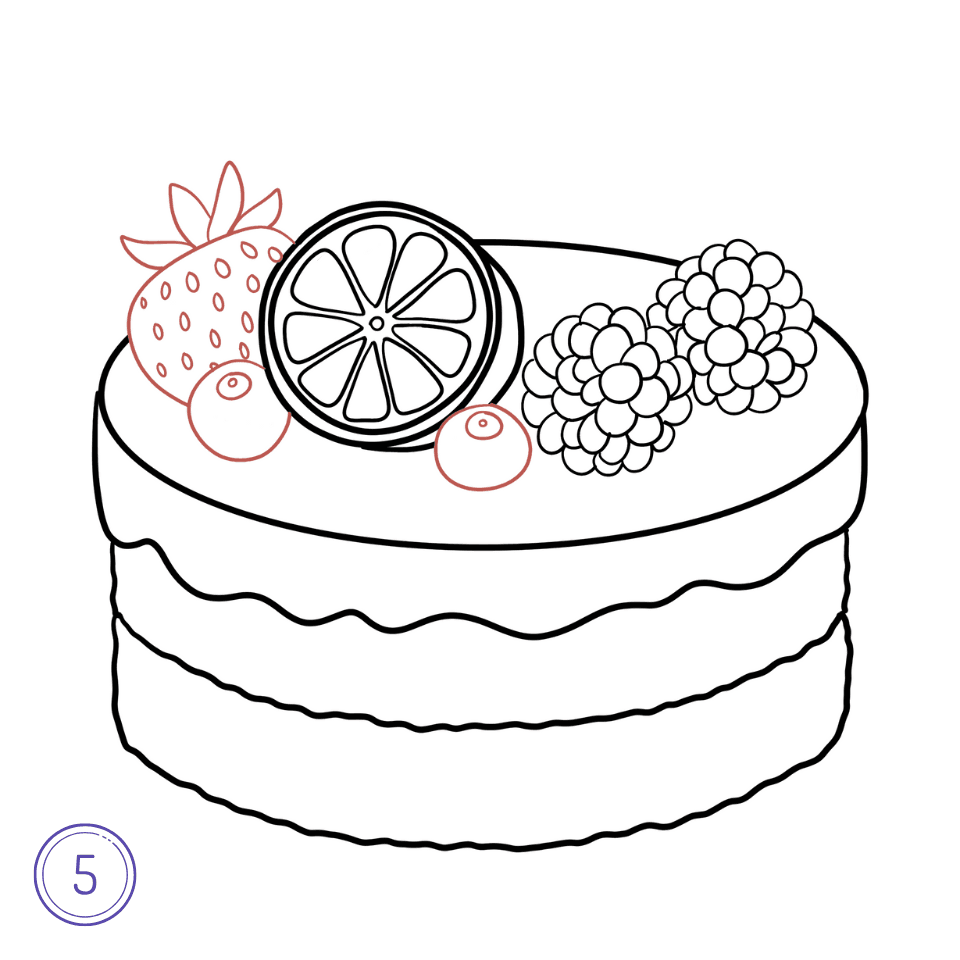
Step 5: Add Strawberries and Blueberries
On the other side of the cake, draw a strawberry with a leafy top and a few small dots for seeds. Then, add a couple of small blueberries around it to make your cake look even tastier.
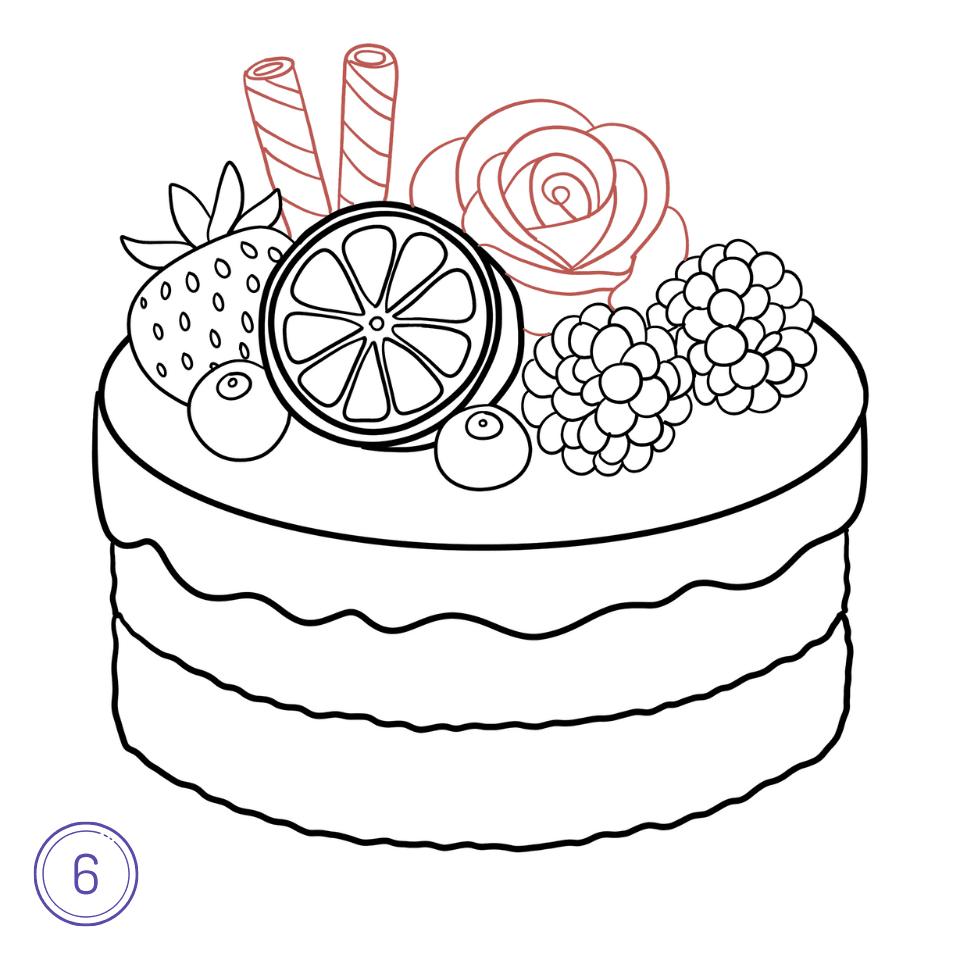
Step 6: Draw a Rose and Chocolate Sticks
Now, sketch a pretty rose beside the fruits and add two rolled wafer sticks behind it. These details make your cake look beautifully decorated!
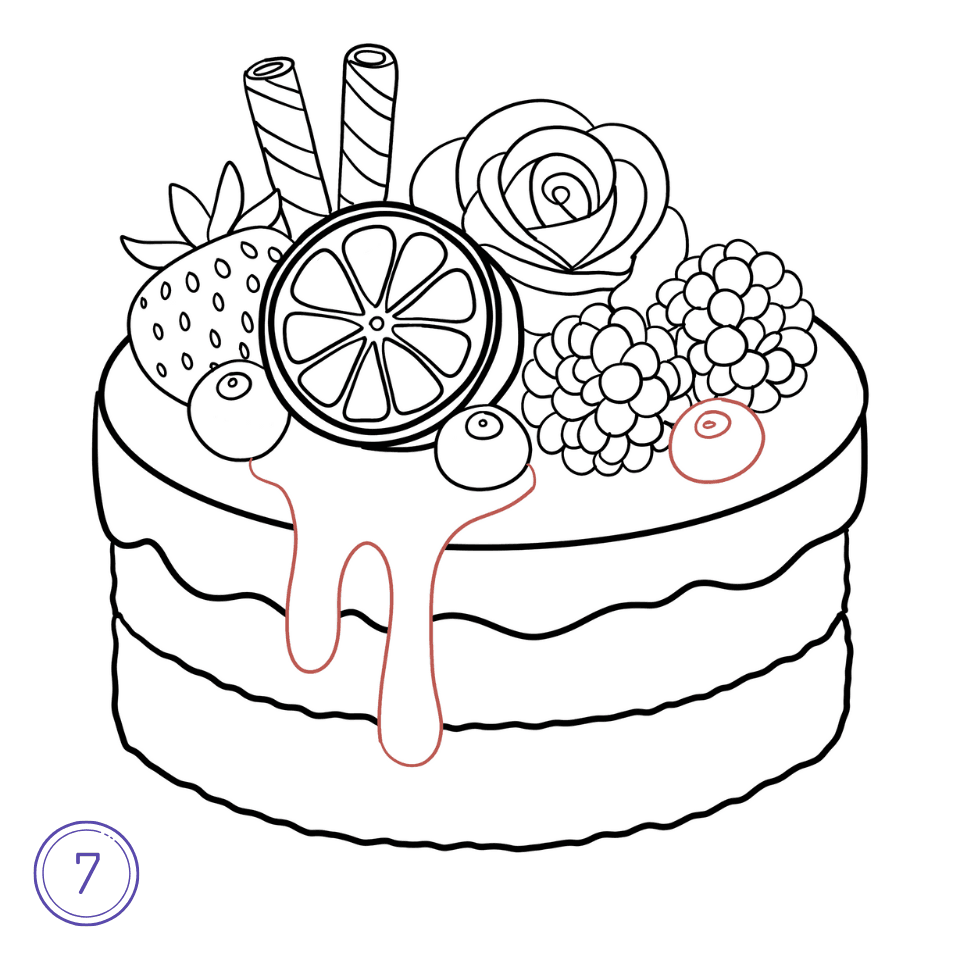
Step 7: Add Dripping Syrup
Draw a wavy dripping shape coming down from the top layer. This syrup adds a yummy finishing touch to your How to Draw a Cake drawing.
Step 8: Color Your Cake
Finally, color your cake! Use warm shades for the cake layers, purple and cream for the filling, and bright colors for the fruits and syrup. Your beautiful and colorful cake is ready to serve!
Now that you’ve completed all the steps, you know How to Draw a Cake that looks both adorable and realistic! You can experiment with different toppings like cherries, sprinkles, or even candles to make it your own. Drawing food is a creative way to practice observation and add charm to your sketchbook — and this cake is the perfect place to start.
Keep practicing and have fun turning your drawings into sweet works of art. Remember, every artist improves with patience, so don’t be afraid to draw another slice of imagination!