Welcome! If you want to learn how to draw a bat easily, you’re in the right place. This fun guide will show you each step so you can draw a cute flying bat with confidence. Perfect for beginners and kids who love creative drawing!
Table of Contents
You’ll start with simple shapes and turn them into a full bat character. Each image shows what’s added in every step, making the process simple and fun. Grab your pencil, and let’s begin our journey together!

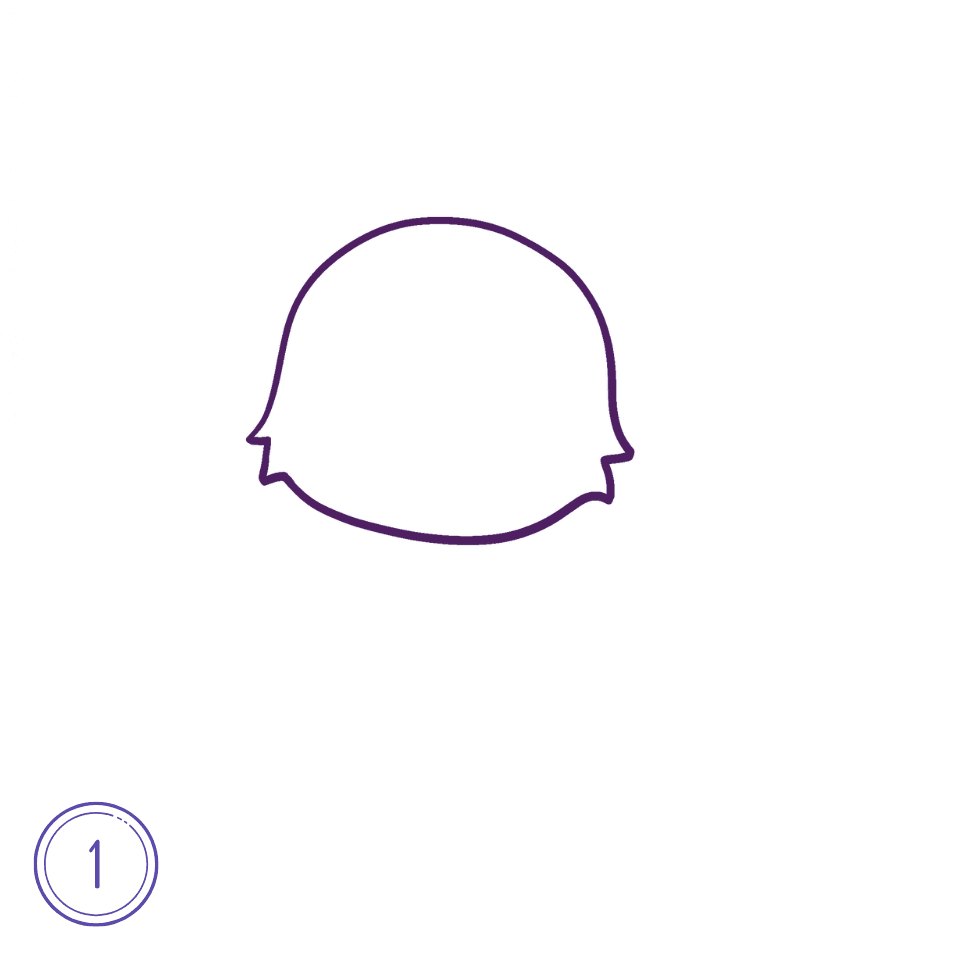
Step 1: Draw the Head Outline
Start by drawing the outline of the bat’s head. It looks like a rounded shape with tiny bumps on the sides for the cheeks. This is the first shape in our journey on How to Draw a Bat.
Step 2: Add the Eyes and Eyebrows
Inside the head shape, draw two big, round eyes with small circles inside for the pupils. Add short curved lines above them for eyebrows. Now your bat is starting to come to life!

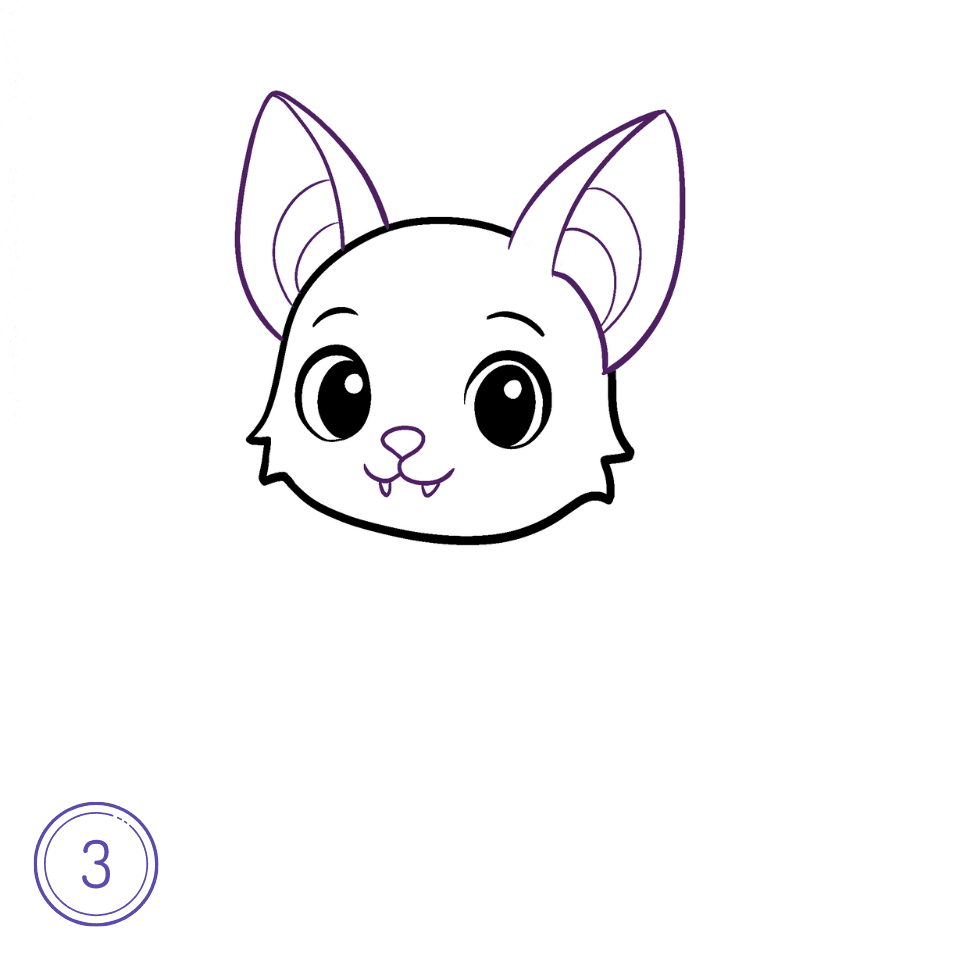
Step 3: Draw the Ears and Face Details
Next, draw two large, pointy ears on top of the head. Inside each ear, add a smaller inner ear shape. Then, sketch a tiny nose and a cute smiling mouth with two small fangs.
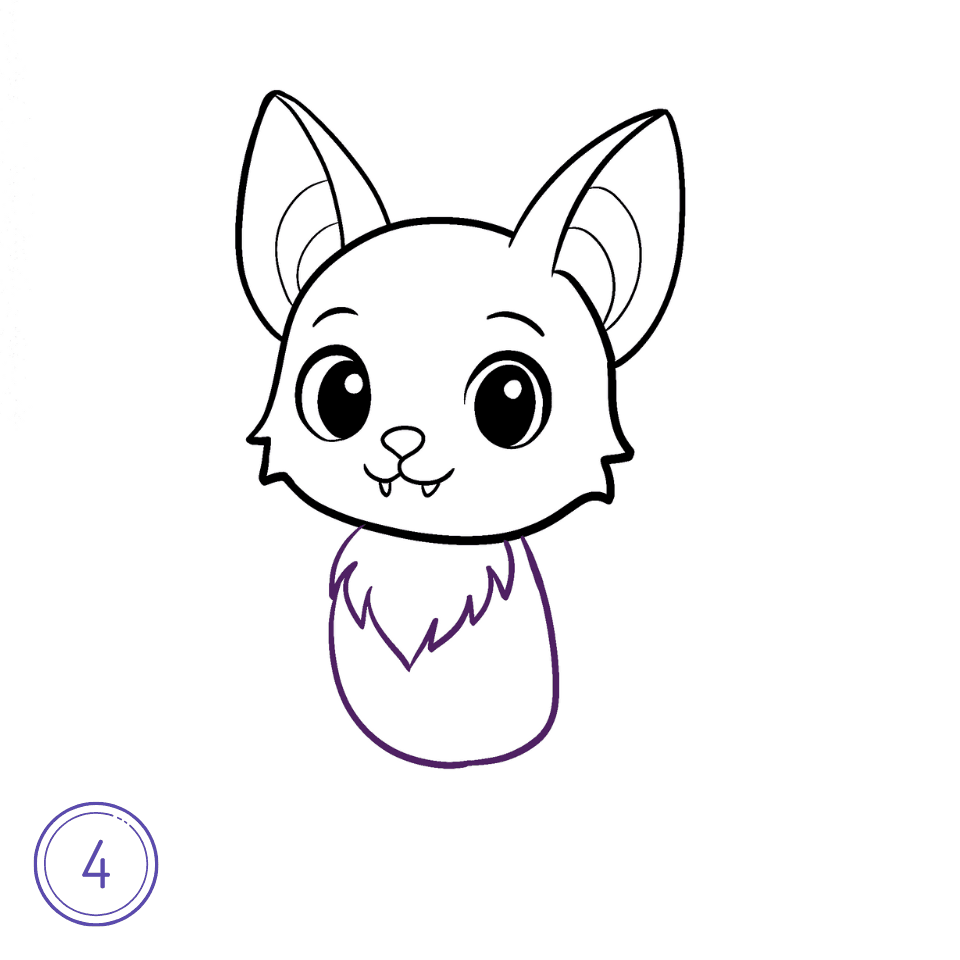
Step 4: Sketch the Body
Below the head, draw an oval body. Add a furry collar by sketching zigzag lines where the head meets the body. Your bat is getting fluffier!
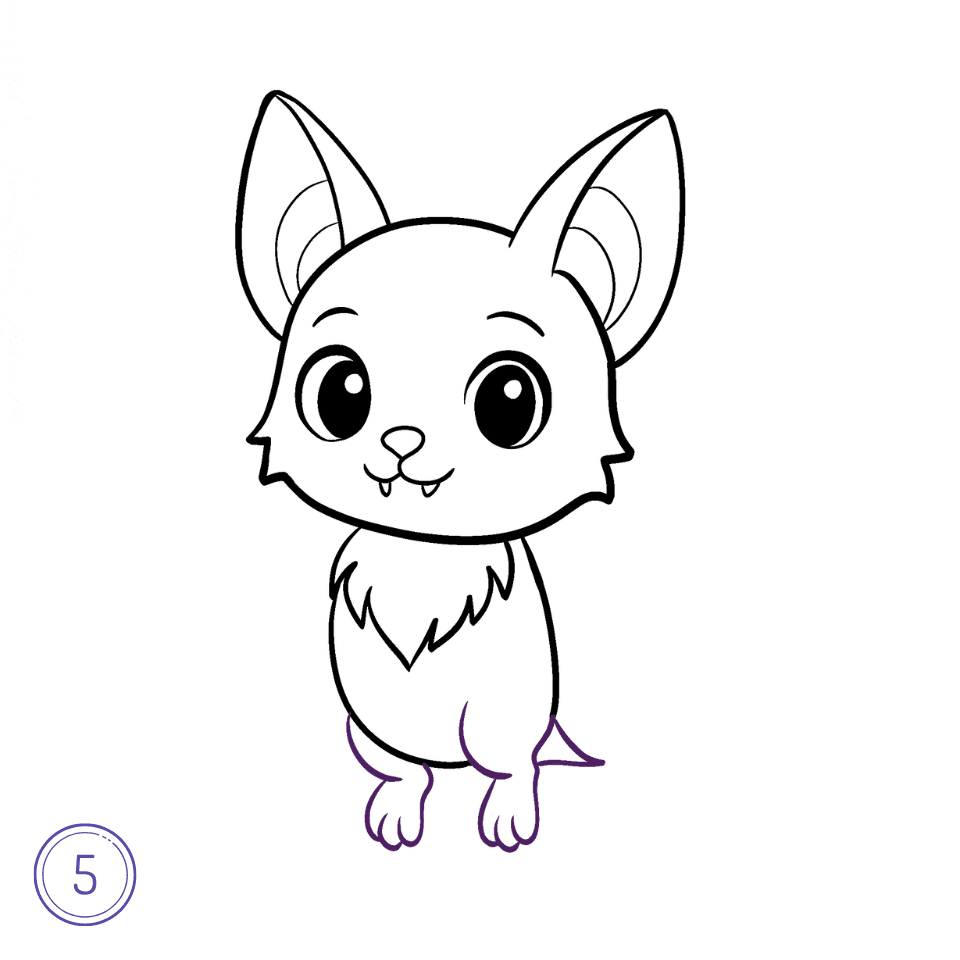
Step 5: Add the Legs and Tail
Now, draw two small legs at the bottom of the body and a tiny pointed tail at the back. The little claws at the ends of the legs make it even cuter!
Step 6: Draw the Wings
Time for wings! On each side, draw a curved outer edge and then connect it to the body with smooth lines to make the wing membranes. Keep the curves gentle as you continue learning How to Draw a Bat.

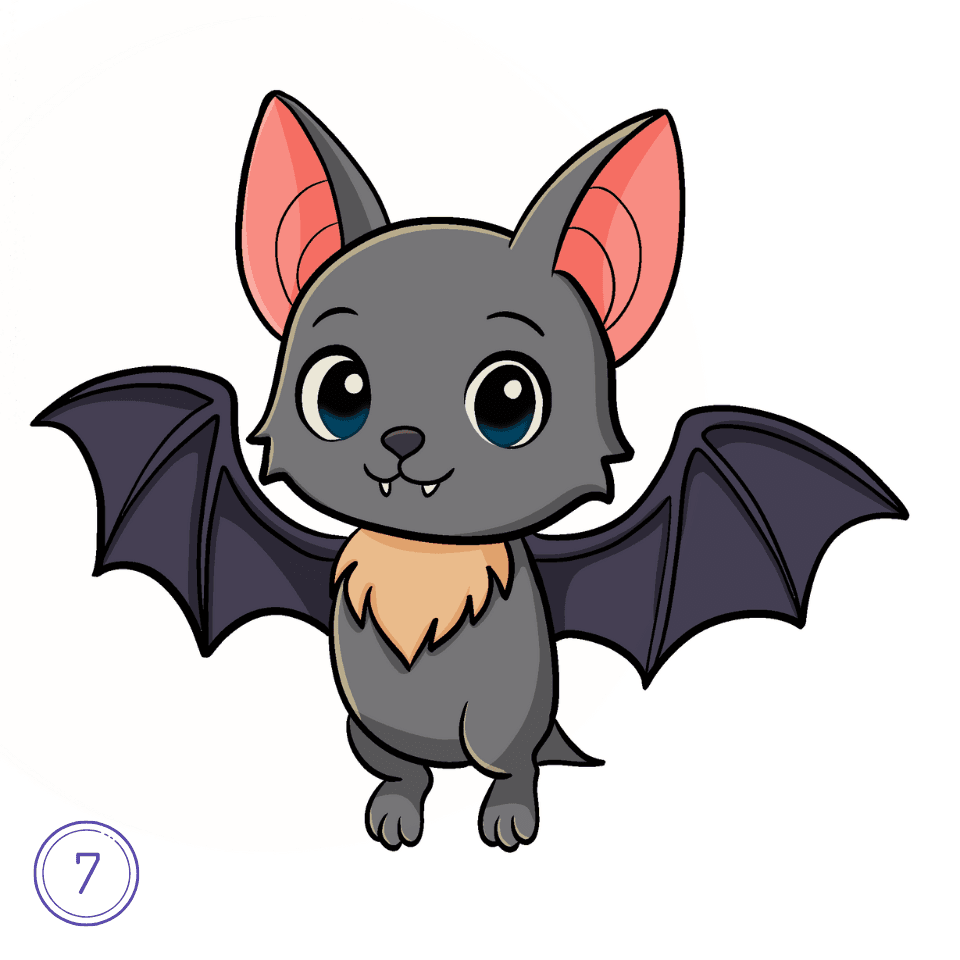
Step 7: Add Final Details
Go over your lines to make them neat and clear. Add extra details like folds inside the wings and small touches on the ears. Your drawing is now ready for color!
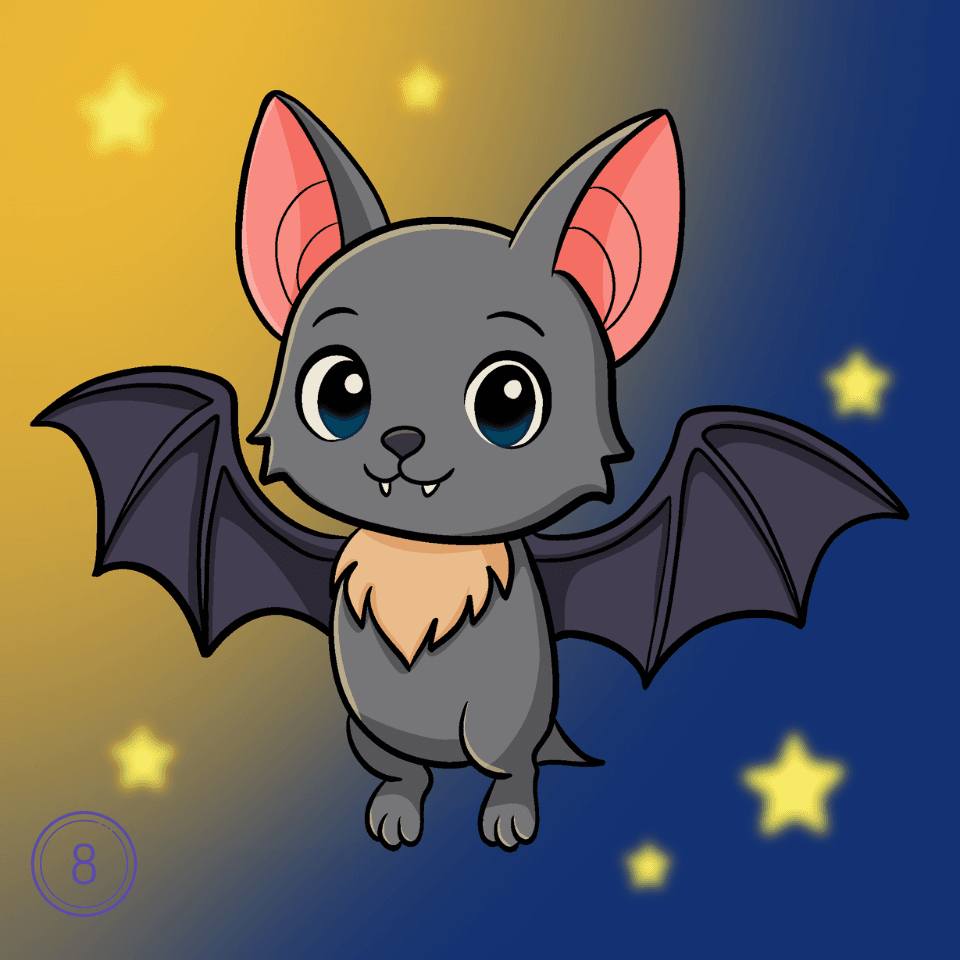
Step 8: Color Your Bat
Color your bat with soft grays or dark purples, and use pink for the inner ears. A simple night sky with a few stars makes a lovely background. Great job — you’ve finished learning How to Draw a Bat!
You did it!
Look at your finished bat—so cute and brave! If a line didn’t go as planned, that’s okay. Every artist improves by practicing, and these simple shapes make drawing feel easy and fun.
Want to keep going? Try drawing your bat with its wings closed, hanging upside down, or flying with friends. You can also switch colors and add tiny highlights to the eyes for extra sparkle.
Save this page so you can return whenever you need a quick refresher on How to Draw a Bat. Share your artwork with family and friends—they’ll be amazed by your step-by-step skills!