When the holiday season comes around, drawing festive images like a Santa hat can be a fun and creative way to get into the Christmas spirit. Whether you’re a beginner or a seasoned artist, creating a simple Santa hat drawing is easy with just a few steps. This guide will show you exactly how to draw a Santa hat, using basic shapes and techniques that anyone can follow. Let’s get started on your journey to mastering the Santa hat drawing.
Table of Contents
Materials You’ll Need:
- Pencil
- Eraser
- Paper
- Coloring tools (optional)
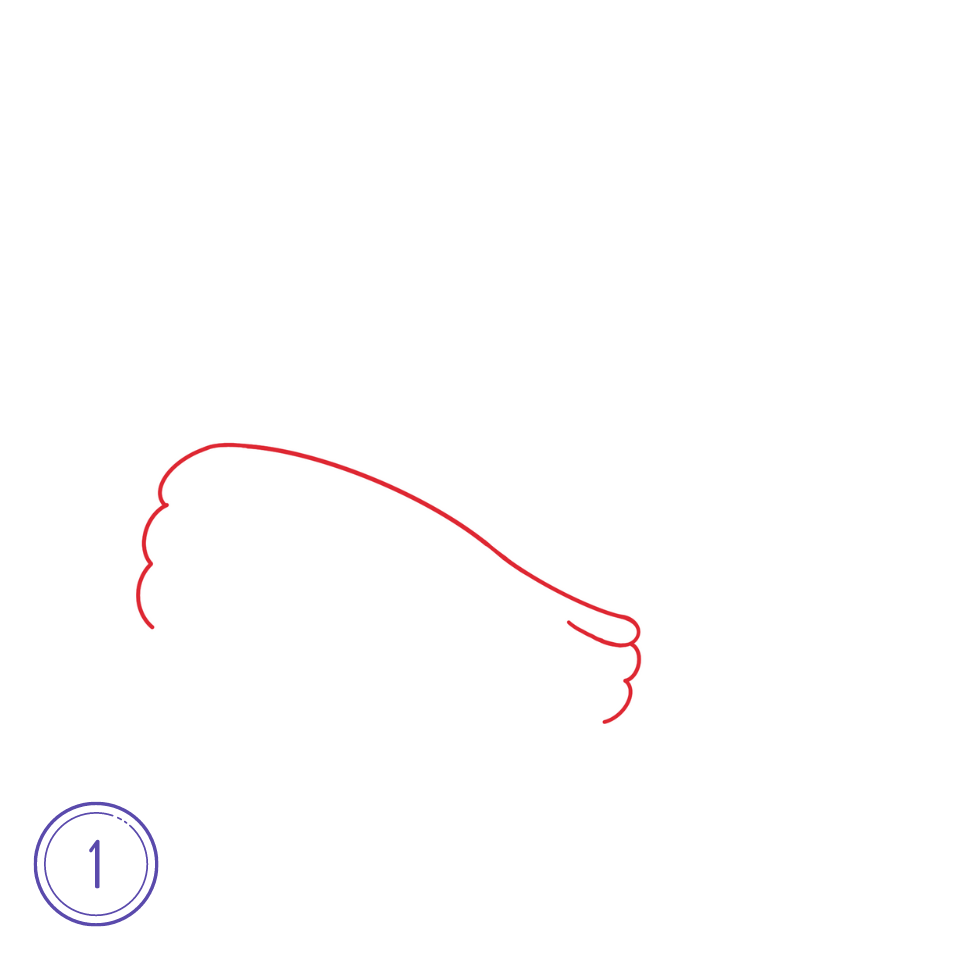
Step 1: Draw the Base of the Santa Hat
To create a realistic Santa hat easy drawing, start with the base. Draw a slightly curved line that forms the bottom of the hat. This line should be a bit wavy to represent the fluffy brim of the hat. If you want a Santa hat cartoon drawing, keep the line simple and smooth.
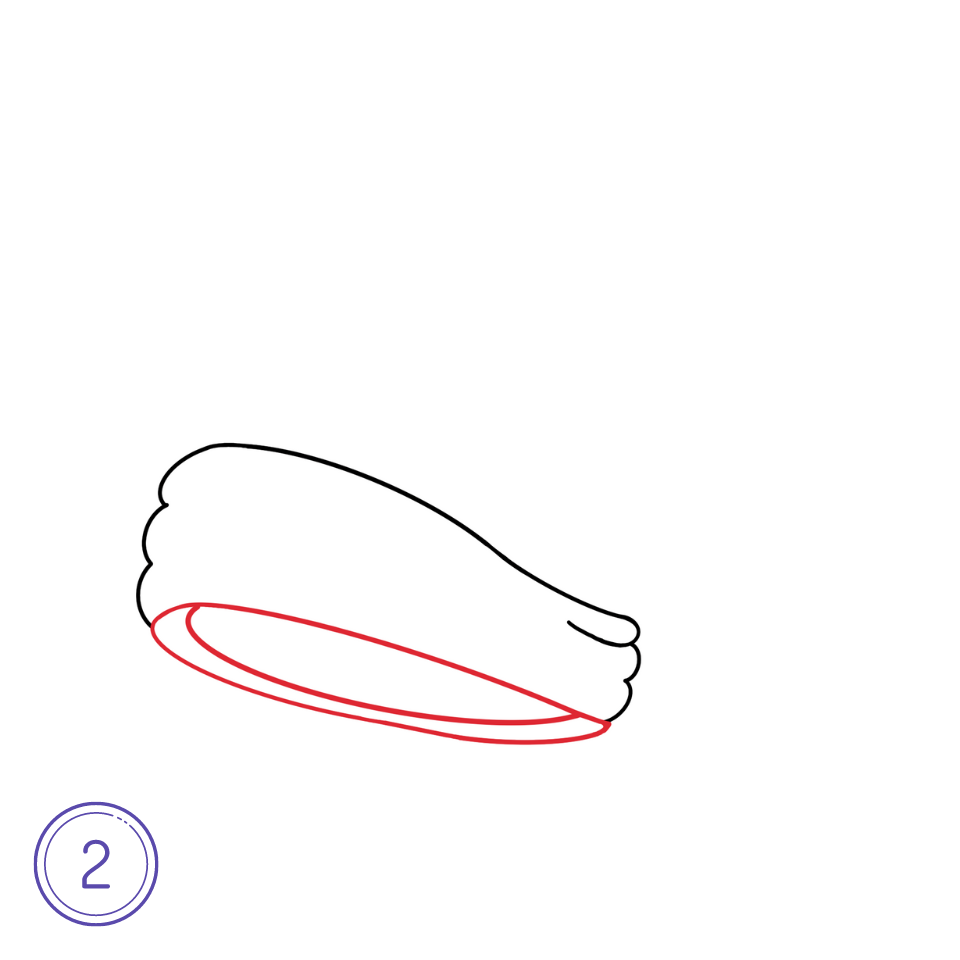
Step 2: Add the Fluffy Brim
The brim of the Santa hat is fluffy and soft. To represent this, draw small cloud-like bumps along the curved base line. If you’re aiming for a simple Santa hat drawing, you can keep the brim plain, but for a realistic Santa hat drawing, add more details and texture to these bumps.
Step 3: Create the Body of the Hat
From each end of the curved line, draw two slightly curved lines that converge towards the top, forming a triangular shape. This is the main part of your Christmas hat drawing easy. You can make it a bit uneven or add small curves for a more realistic look.

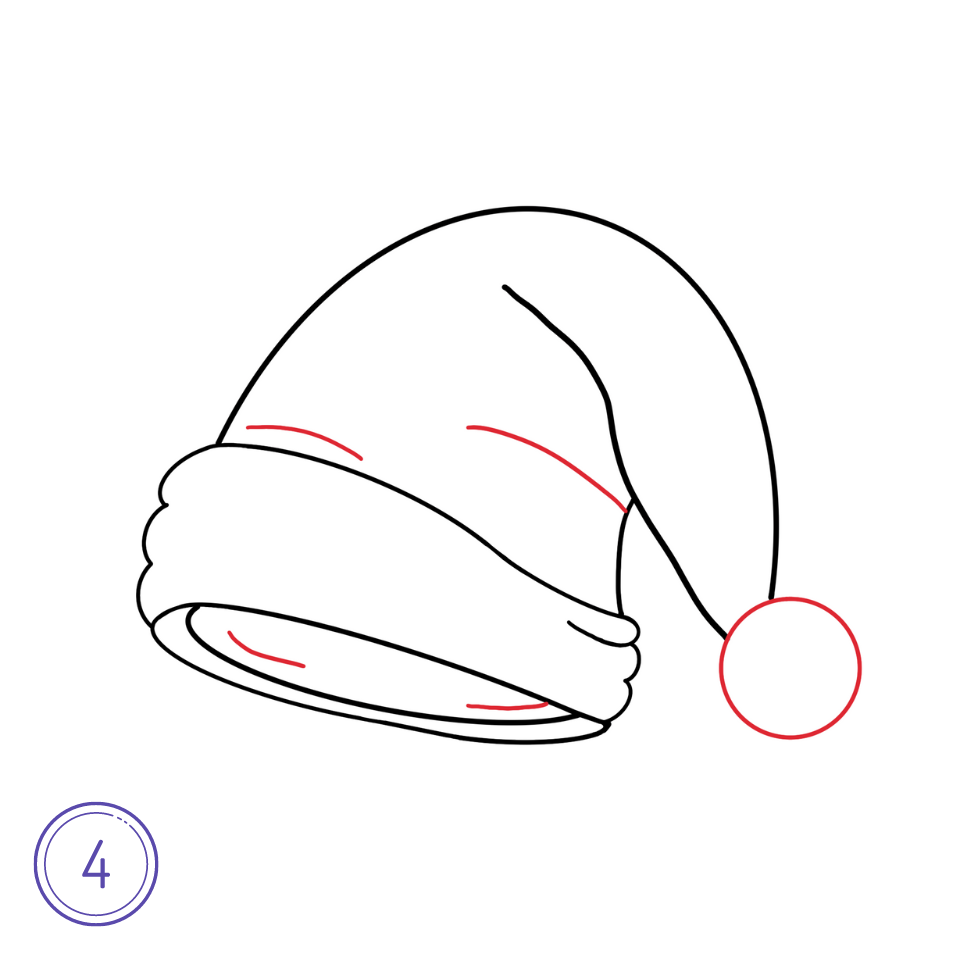
Step 4: Draw the Pom-Pom
Every Santa hat has a fluffy pom-pom at the end. Draw a small circle at the tip of the hat. If you want to create an easy to draw Santa hat, the pom-pom can be a simple circle. For a more realistic effect, use jagged lines or small curves to represent the fluffiness.
Step 5: Color Your Santa Hat
The traditional colors of a Santa hat are red for the main part and white for the fluffy brim and pom-pom. Use these colors to make your hat look festive. If you’re making a Santa hat cartoon drawing, feel free to experiment with other colors to add a playful twist.

Step 6: Add Final Details
Review your drawing and add any final touches. You can shade in certain areas to give your drawing of a Santa hat more depth, or you can leave it simple and clean for a minimalist look.

Tips for Drawing a Santa Hat
- For an easy Santa hat drawing, stick to basic shapes and avoid too many details.
- If you want to create a more complex version, observe real Santa hats to see how the fabric folds and how light reflects off the surfaces.
- Practice makes perfect! Try drawing the hat from different angles or make multiple versions with different styles.
Common Mistakes to Avoid
- Making the hat too symmetrical: Real Santa hats are soft and flexible, so avoid straight lines and perfect curves.
- Ignoring the fluffy texture: The brim and pom-pom of a Santa hat are fluffy and uneven, so add small details to highlight this feature.
With these steps, you’ve now learned how to draw a Santa hat step by step. You can use this guide for a fun holiday project, gift cards, or just to get into the festive mood. Don’t forget to share your Santa hat drawing with friends and family!
Happy drawing, and Merry Christmas!