Flamingos are not only fascinating birds because of their vibrant color but also their elegant posture. This guide will help you capture the essence of a flamingo in a few simple steps, perfect for beginners and young artists.
Table of Contents
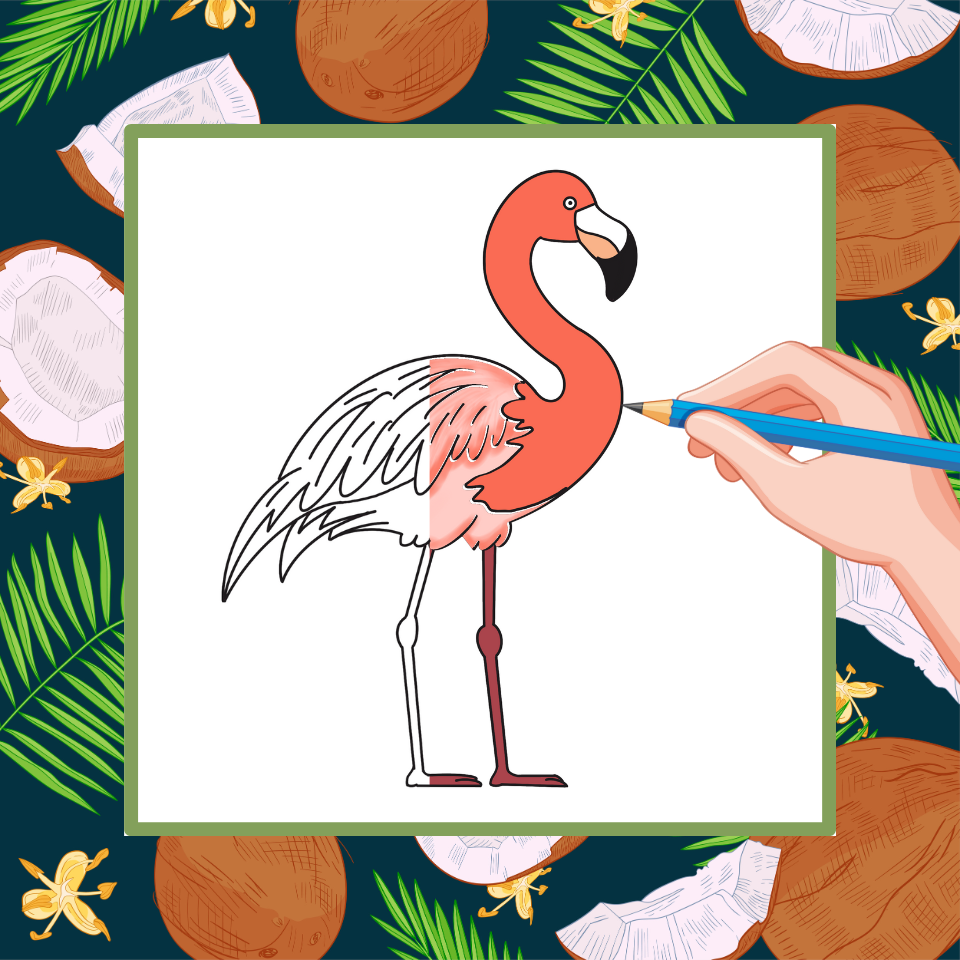
Step 1: Sketch the Basic Outline
Begin by drawing a small circle for the head and a long, thin, curved line for the neck. Flamingos are known for their long, arching necks, so make sure your line reflects this. Add a large oval for the body, slightly tilted to one side, to create a sense of balance.

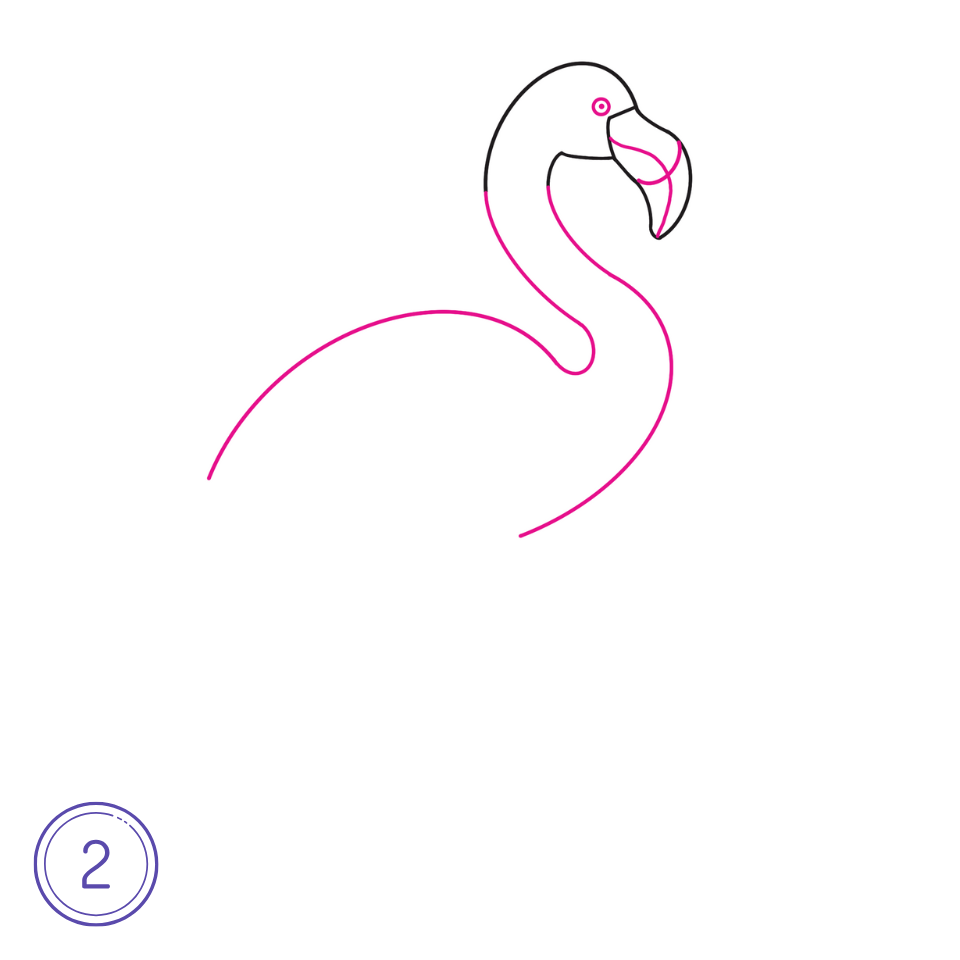
Step 2: Add the Beak and Eyes
For the beak, draw a long, narrow triangle at the end of the head, with a slight curve to depict the mouth’s opening. Flamingos have distinctive beaks that bend downward, so emphasize this feature. Add a small circle for the eye and a dot for the pupil.
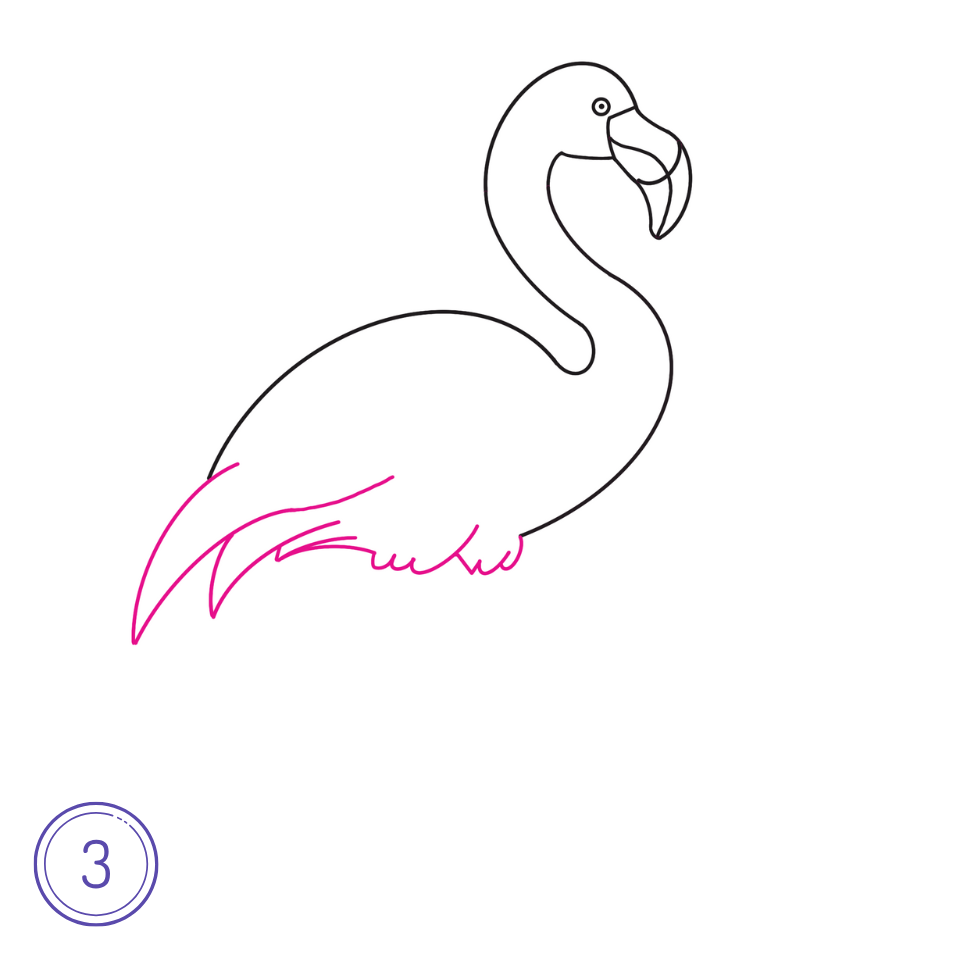
Step 3: Sketch the Wings and Tail
Outline the wings by adding a curved line along the body’s side, giving it a slightly jagged edge to suggest feathers. The tail can be represented by a few short lines at the back of the body, keeping the drawing simple and neat.
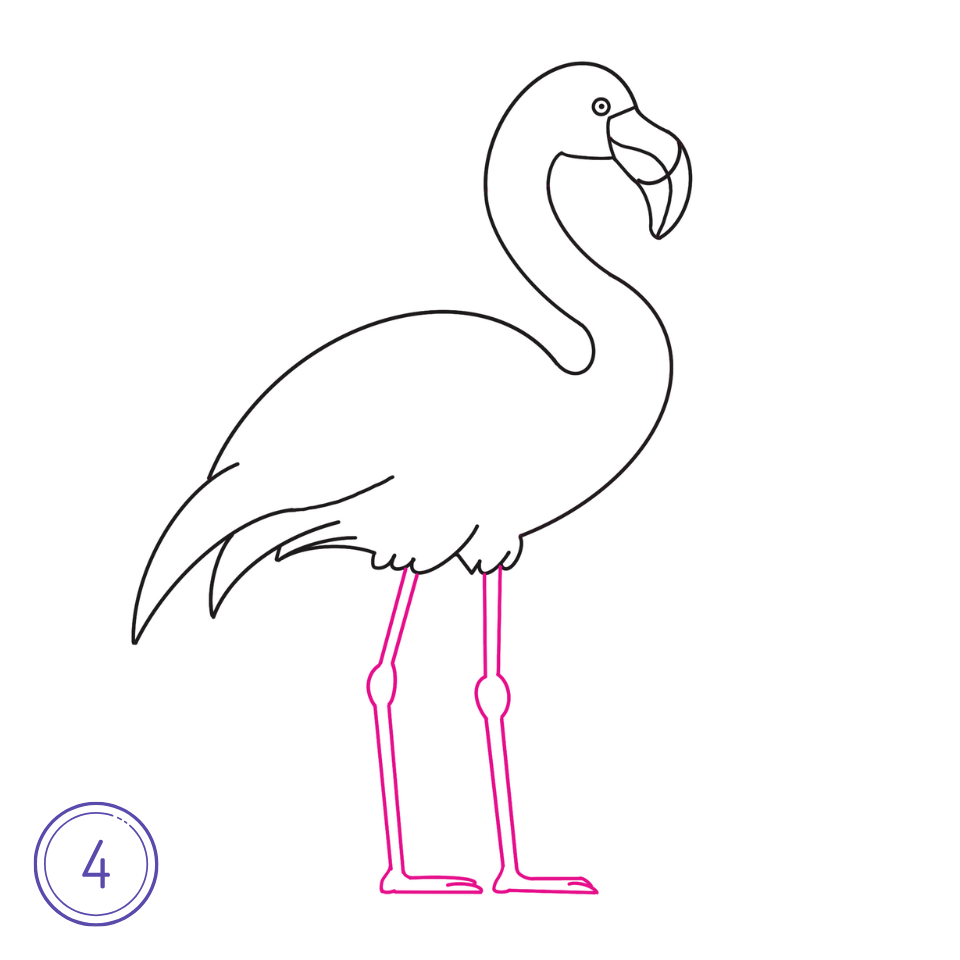
Step 4: Draw the Legs
Flamingos are famous for their long, thin legs. Draw one leg extending down from the body, making it straight or slightly bent if you’re depicting the flamingo in a classic one-legged pose. For the visible part of the other leg, sketch it folded beneath the body. Finish the legs with small ovals for the feet.
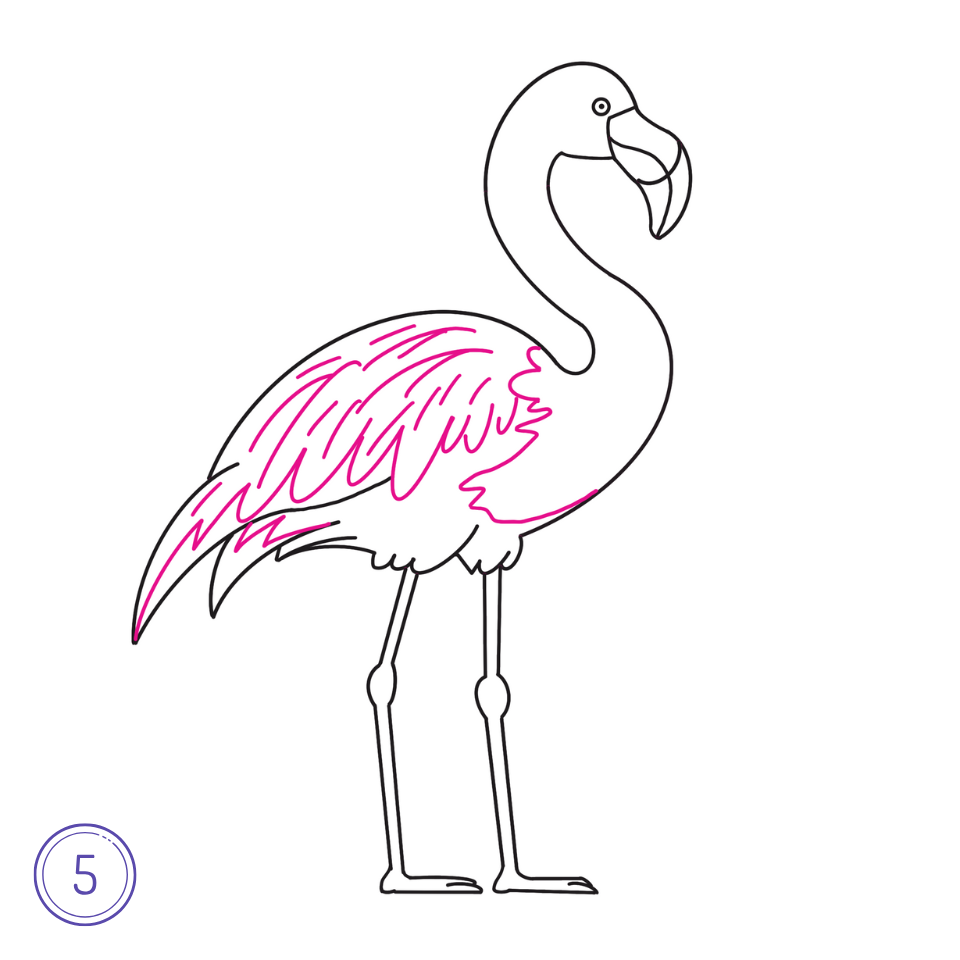
Step 5: Add Details to the Body
Enhance your flamingo drawing by adding details like the texture of the feathers. Use light, short strokes around the body and wings to suggest the softness and fluffiness of the feathers.
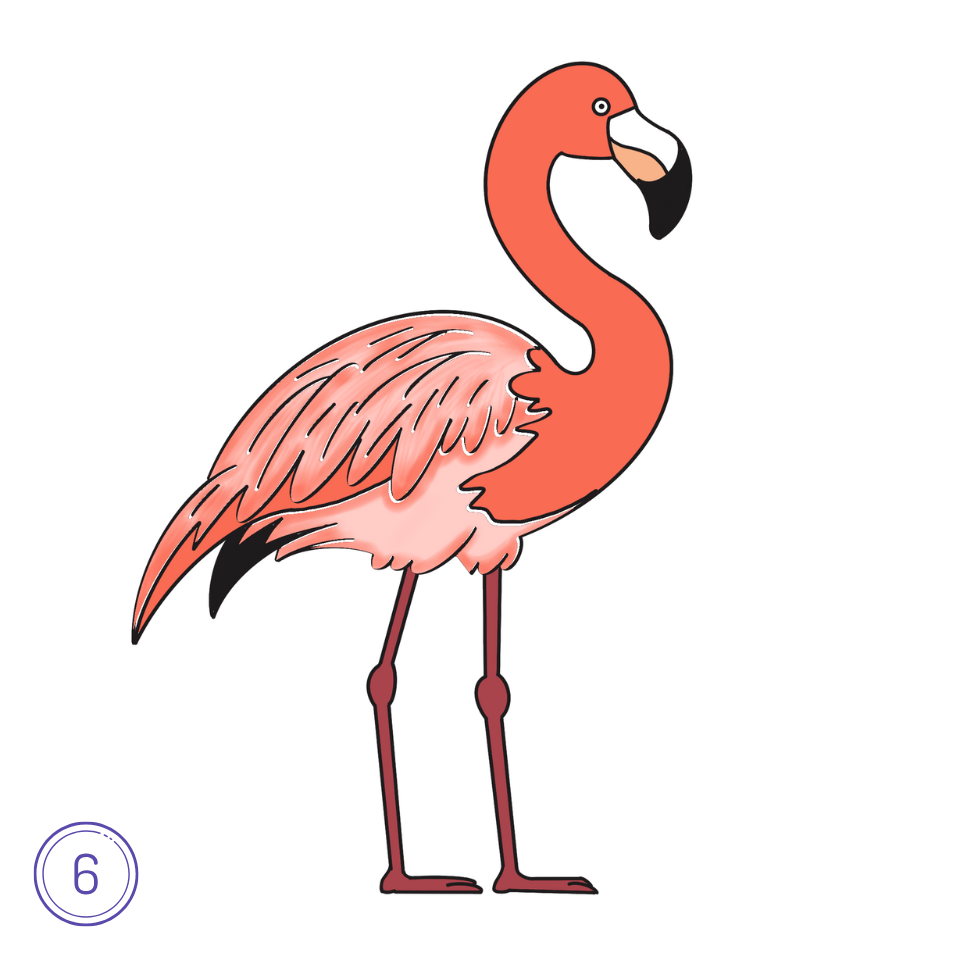
Step 6: Color Your Flamingo
Flamingos are renowned for their pink plumage, which can range from light pink to a more vibrant hue. Choose your desired shade of pink to color the body, leaving the beak, legs, and eye area lighter. You can also add a touch of orange or red to the feathers for a more realistic effect.
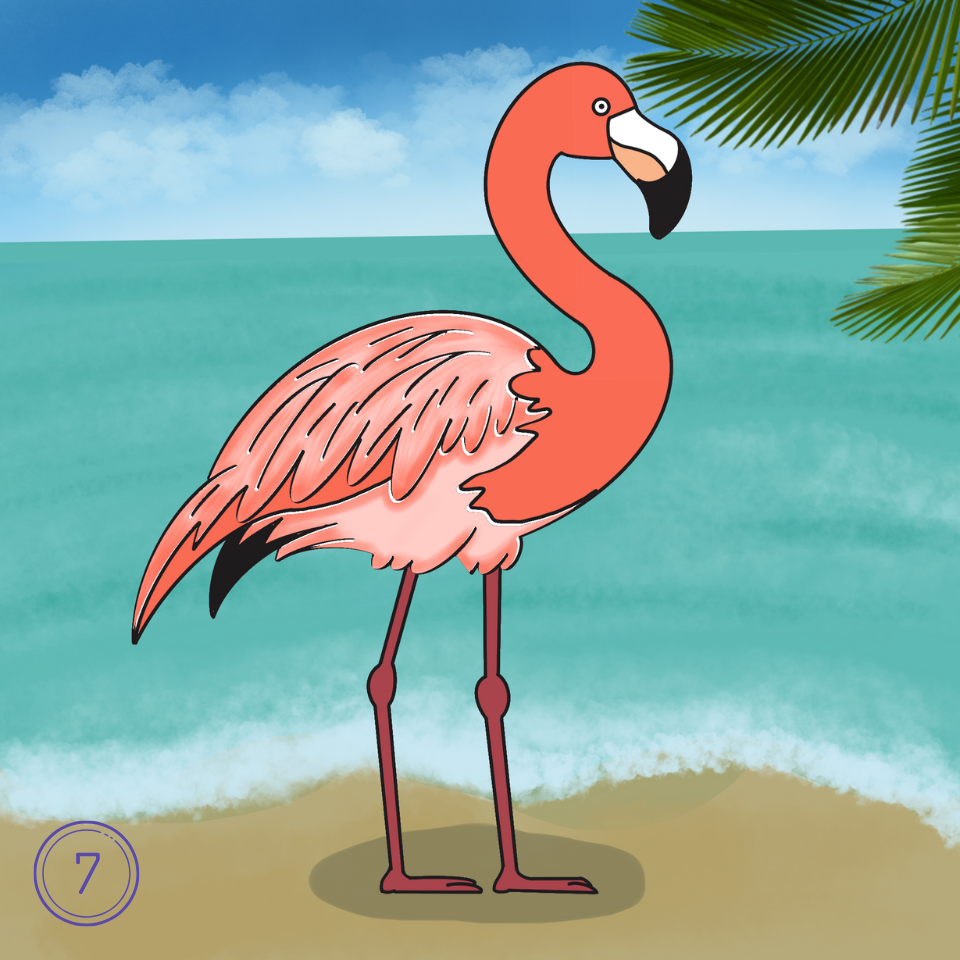
Step 7: Add Background
In the final step, “Add the Background,” create a soft backdrop to highlight the flamingo, such as a gentle gradient of sky or water reflecting the bird’s natural habitat. To complete the piece, add details like silhouettes of other flamingos, reeds, or water reflections to make the composition harmonious.
Conclusion
Drawing a flamingo step by step is an enjoyable way to practice your drawing skills and experiment with color. Whether you aim for a simple flamingo outline or a more detailed and realistic flamingo sketch, the key is to enjoy the process and learn as you go. Remember, each drawing attempt helps you improve, so don’t be afraid to draw and redraw until you’re happy with your flamingo masterpiece.
