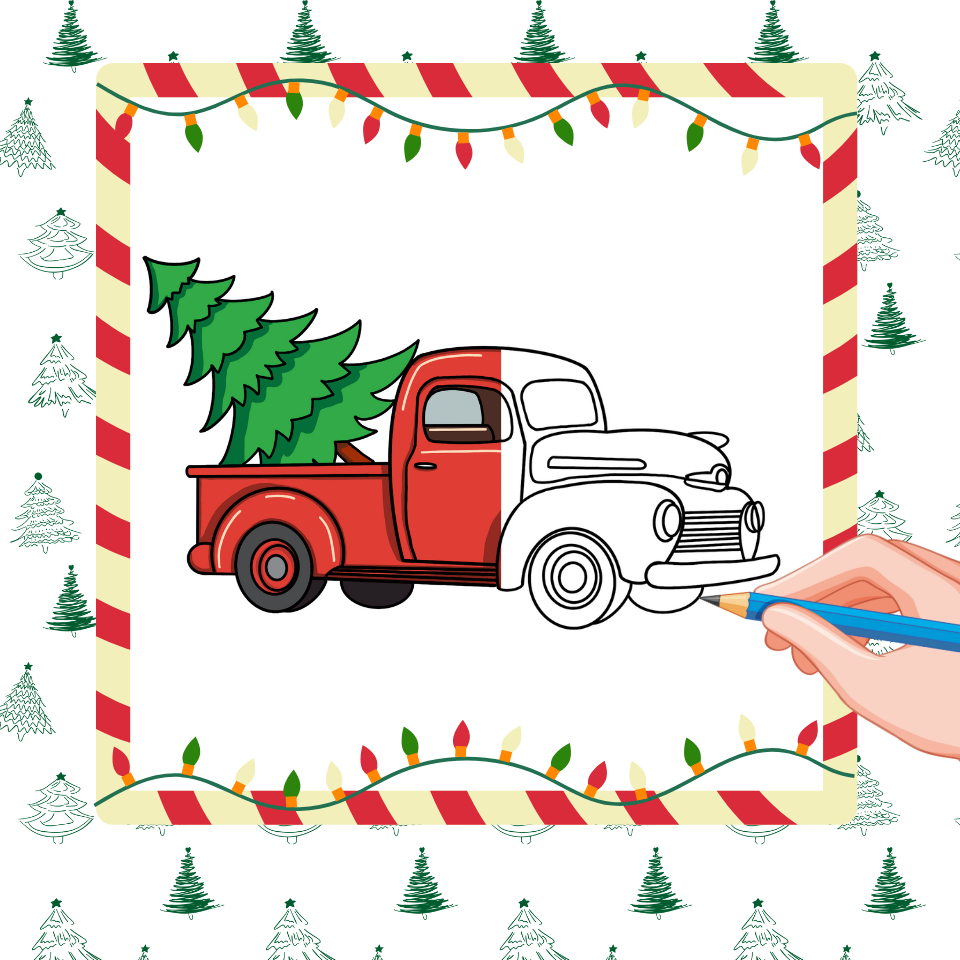
With the festive season fast approaching, creating holiday-themed artwork is a great way to embrace the spirit of Christmas. If you’ve been wondering how to draw a Christmas car or incorporate festive elements into your car drawing, this step-by-step guide is perfect for you. We will cover everything from the basics of car sketching to adding festive decorations like presents, Christmas lights, and even a tree. So, grab your drawing tools, and let’s get started!
Table of Contents
Materials You’ll Need:
- Pencil and eraser
- Paper
- Ruler (optional)
- Markers or coloring tools
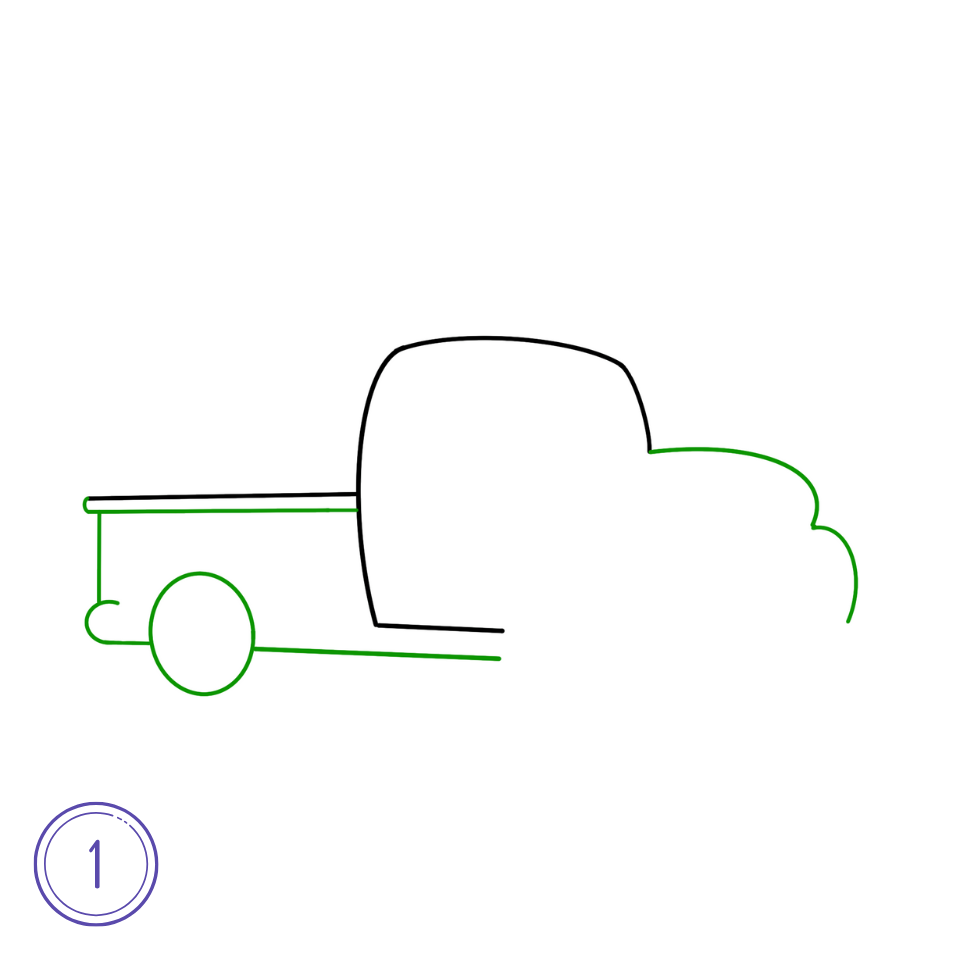
Step 1: Draw the Basic Shape of the Car
To begin, let’s create the base of the car drawing. Start by sketching a rectangular shape for the car’s body. Use a ruler to ensure the lines are straight and even. This will serve as the main structure of your car sketch. If you’re looking for a car drawing easy version, simplify the shape by rounding the edges slightly.
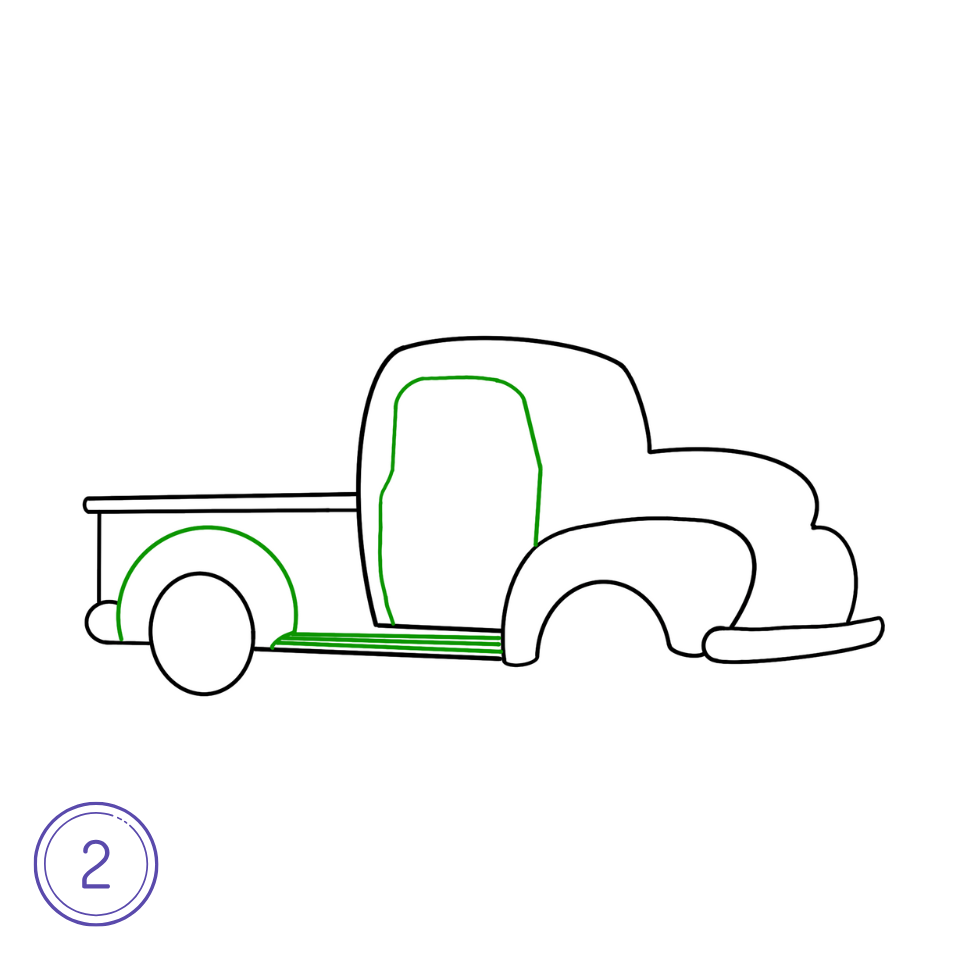
Step 2: Drawing the Doors of a Christmas Car
Draw the outline of the door of the Christmas car. Also draw the car sills.
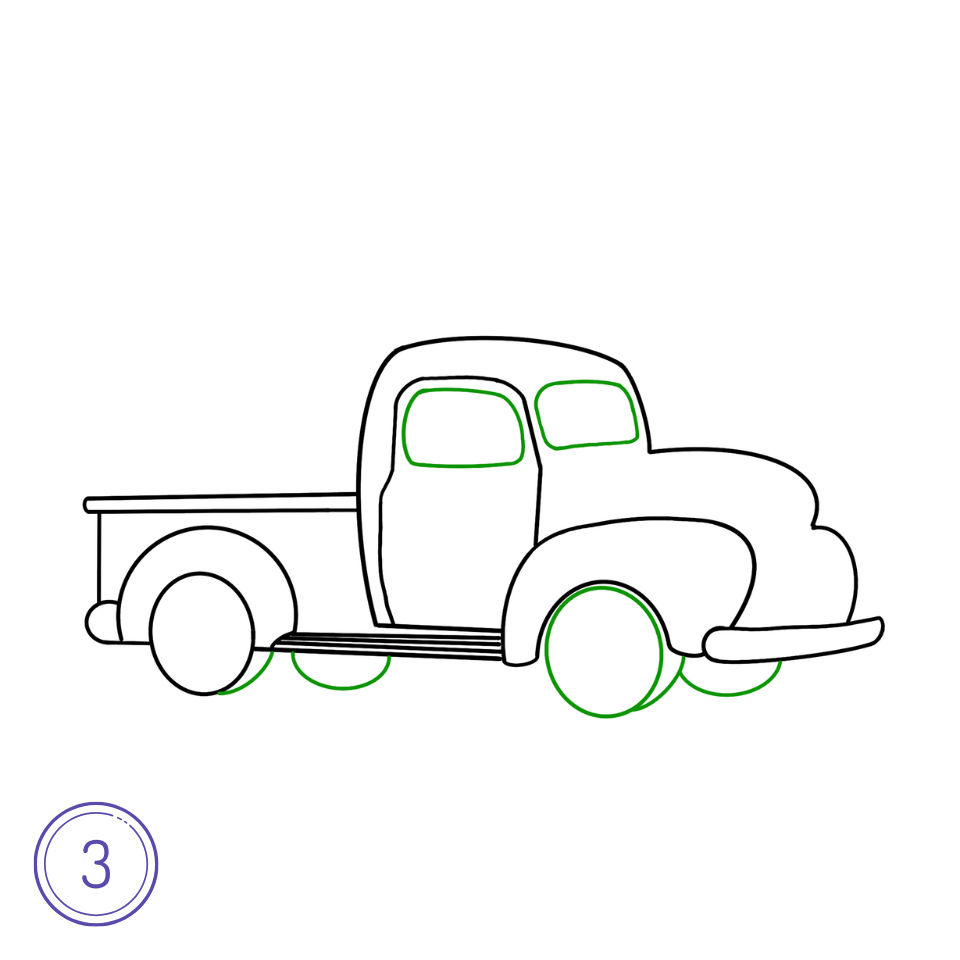
Step 3: Add Windows and Details
Now, add details like windows, side mirrors, and door handles. Draw smaller rectangles inside the car body to represent the windows. For a festive touch, you can add a small Merry Christmas car sign on the window or door.
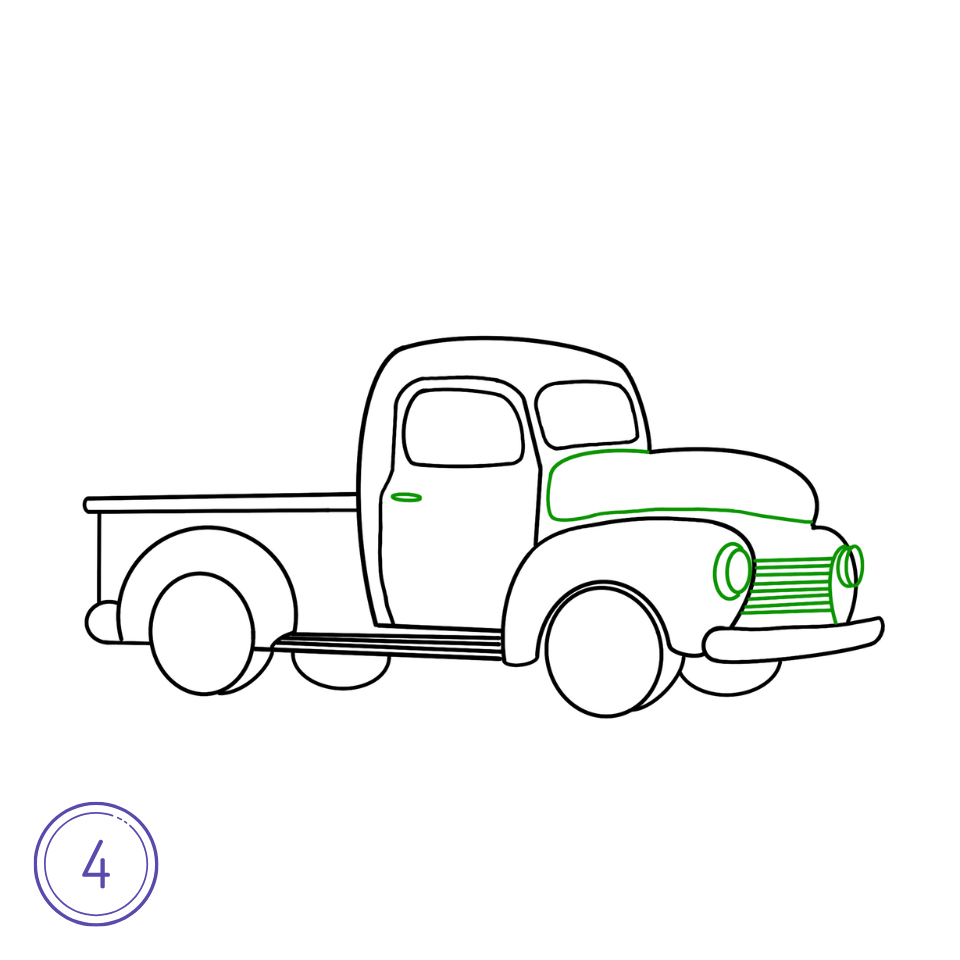
Step 4: Drawing the Hood and Radiator of a New Year’s Car
To make the car look as realistic as possible, don’t forget about all the details. Be sure to draw the outline of the hood and radiator of your Christmas car.
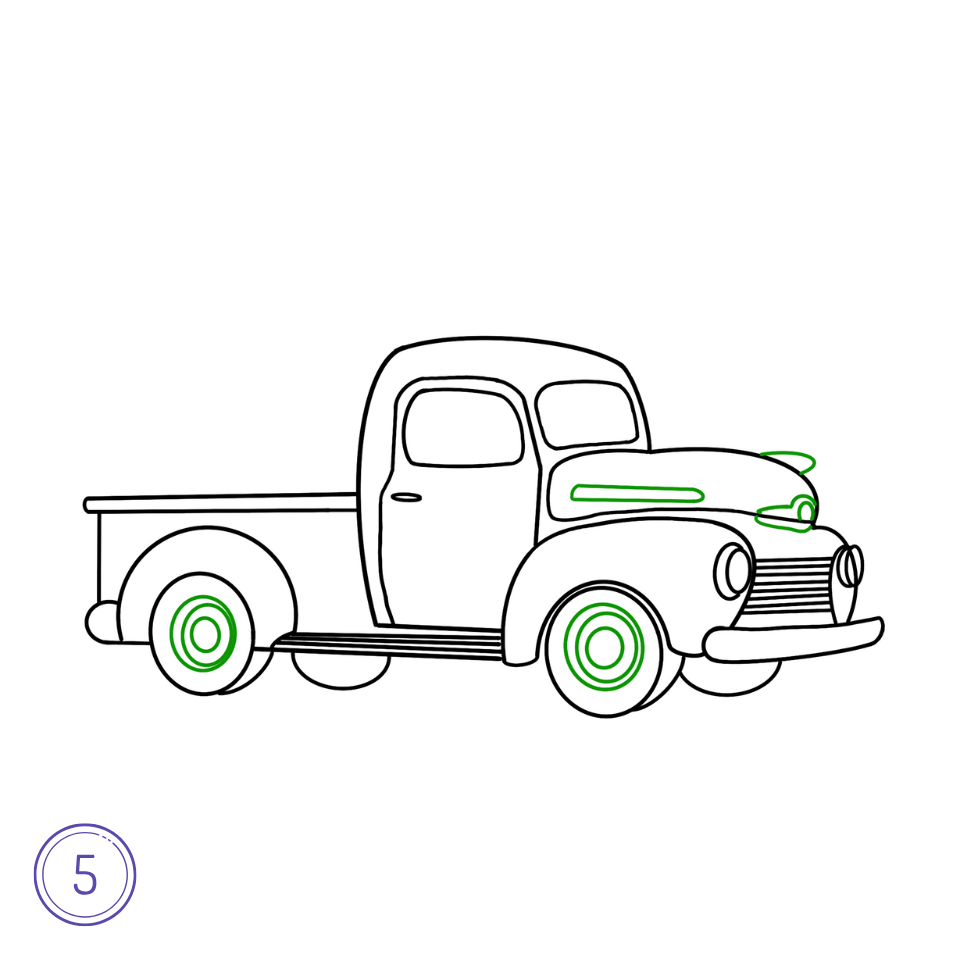
Step 5: Create the Car’s Wheels
Next, draw two circles at the bottom of the rectangle for the car’s wheels. Make sure the wheels are evenly spaced and of the same size. If you’re planning to draw a spaceship car or a more whimsical design, feel free to add creative elements to the wheels, such as stars or holiday patterns.
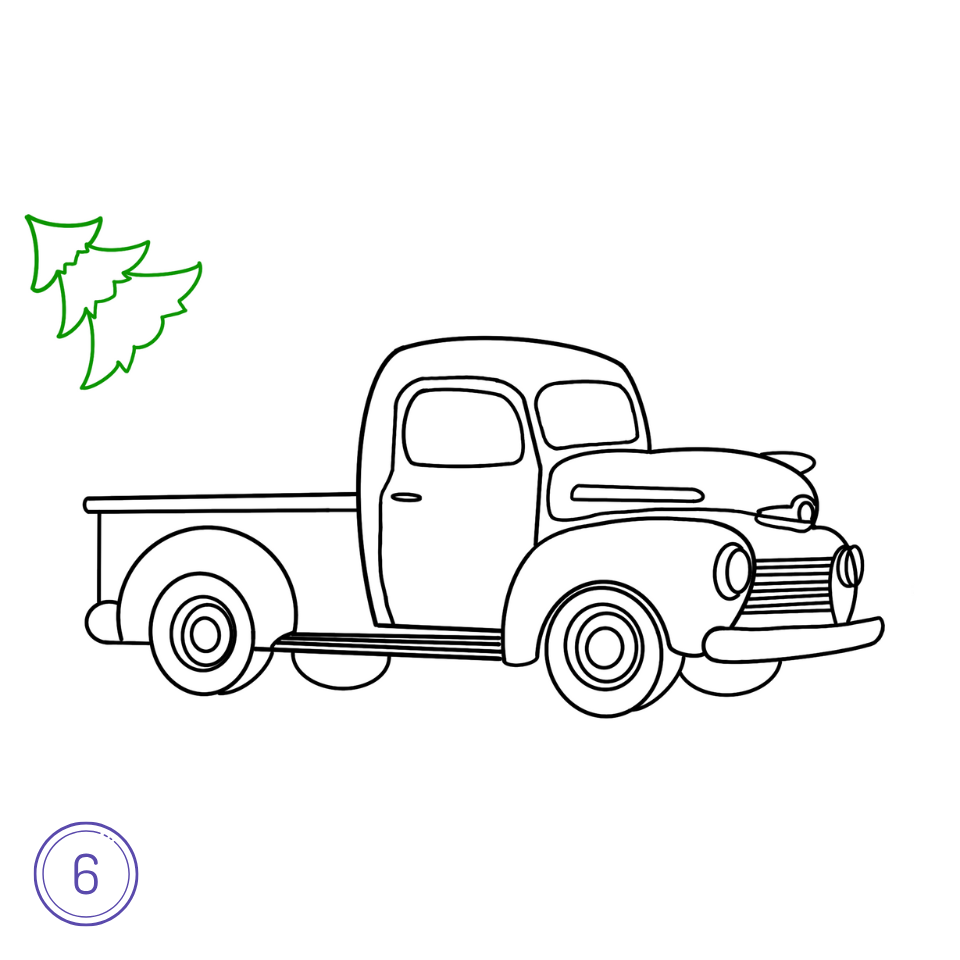
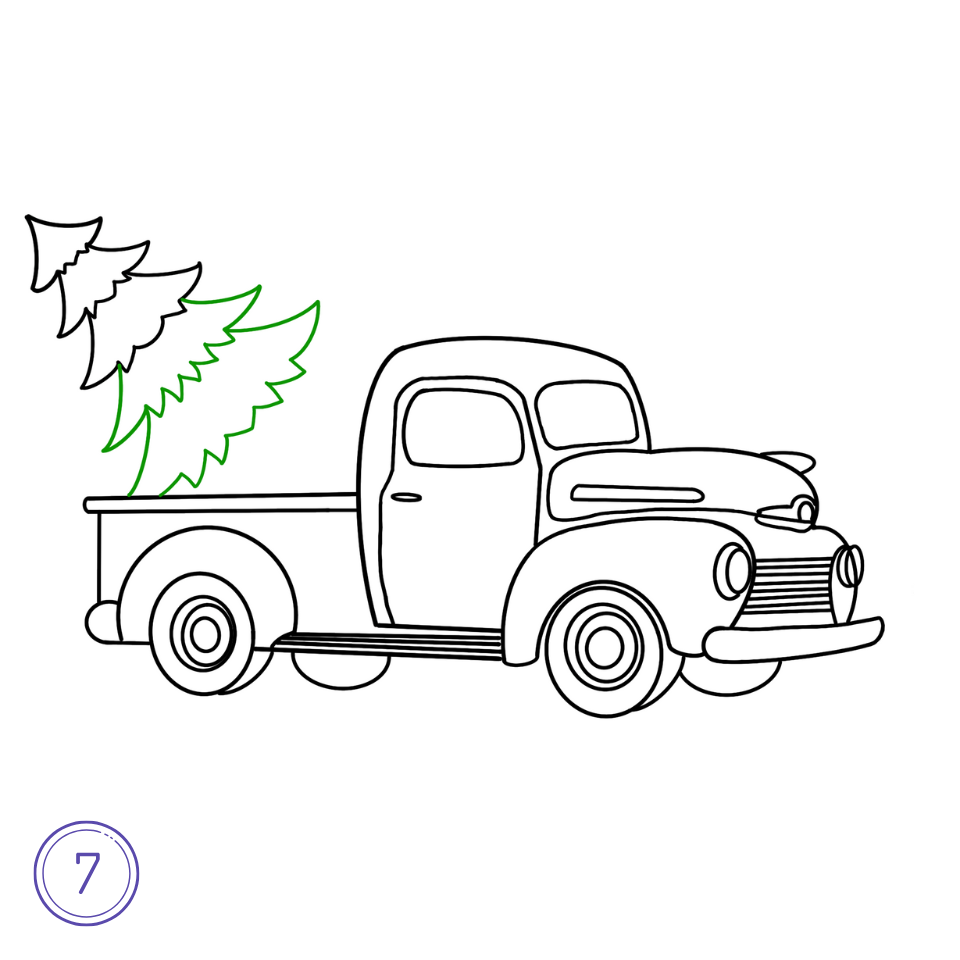
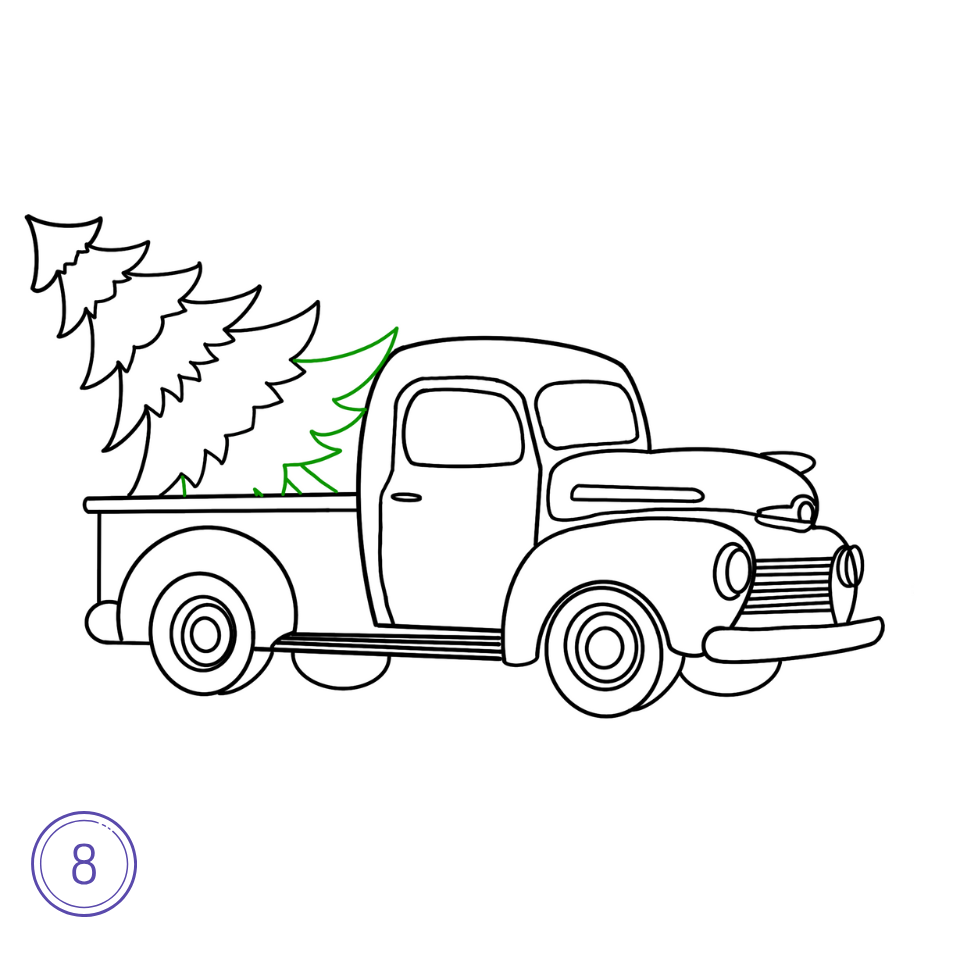
Step 6-8: Draw the Roof and Add Christmas Elements
To give your car a Christmas makeover, draw a tree on the roof of the car. Use a triangular shape to sketch the tree and add small circles for ornaments. If you want to go further, draw presents on the roof or inside the car, using squares and rectangles to represent gift boxes. This will make your car drawing festive and unique.
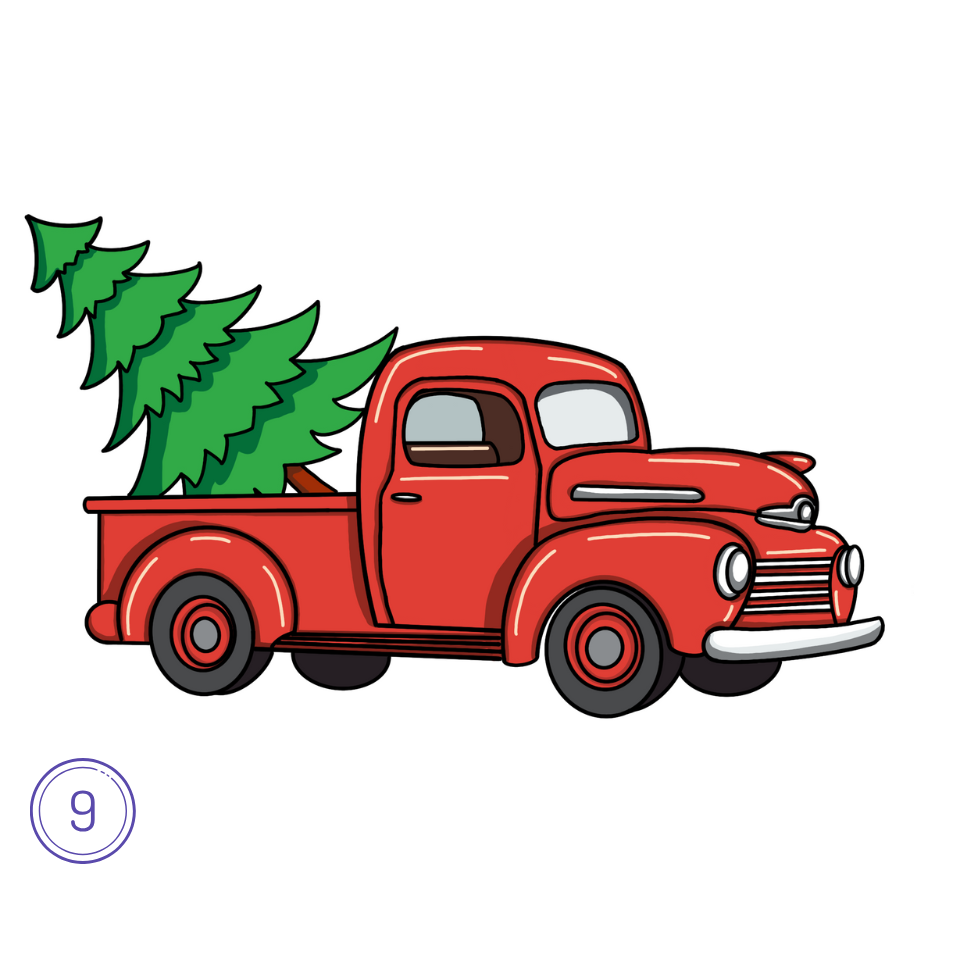
Step 9: Add Colors and Finishing Touches
Color the car using red or green to give it a Christmas vibe. For the tree, use shades of green, and for the presents, use multiple bright colors. If you want a black sparkle paint car, consider using black for the car body and add a touch of glitter or small white dots to indicate sparkle. This will make your car paintings truly festive and eye-catching.
Tips for Drawing a Christmas Car:
- Use reference images to get an idea of different car shapes if you’re struggling with proportions.
- To make the car look even more festive, draw a Santa hat on the roof or reindeer antlers on the sides.
- If you’re not comfortable with drawing freehand, use a stencil for the basic car shape and build upon it.
Variations and Ideas:
- Easy Christmas Things to Draw: If you want something simpler, focus on drawing just a small car with a few Christmas lights or a wreath on the front.
- Spaceship Car: Create a futuristic spaceship car with holiday decorations, such as jet engines wrapped in lights or a space-themed Christmas tree.
- Christmas Presents: Draw presents stacked inside or around the car to show it delivering gifts.
- Christmas Card Drawings: Use your drawing to create a personalized Christmas card by adding a festive message like “Merry Christmas!” in the background.
Common Mistakes to Avoid:
- Making the car too small: Ensure the car’s size is proportionate to the elements around it.
- Forgetting symmetry: Keep the wheels and windows evenly spaced to avoid a lopsided drawing.
- Overloading the drawing: Keep it simple if you’re just starting. Adding too many elements can clutter the drawing.
