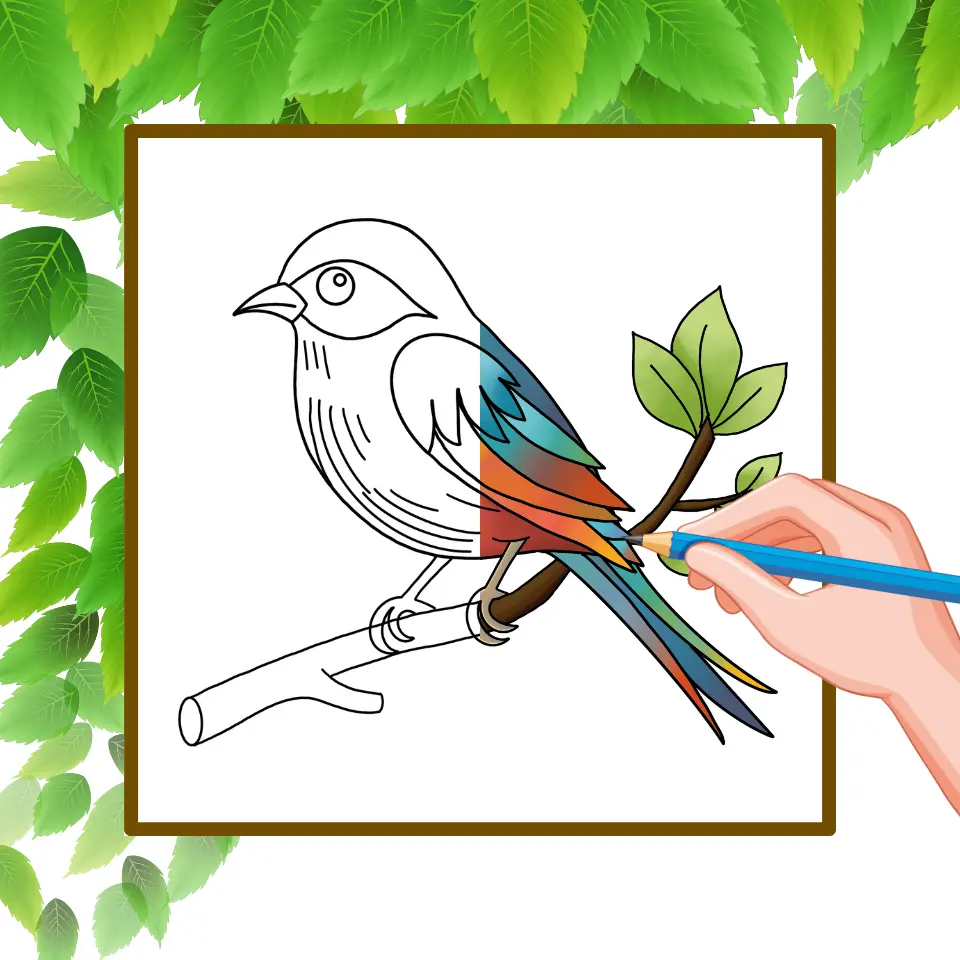
Embarking on the journey to draw a bird offers a unique opportunity to delve into the realm of avian artistry, capturing the delicate and diverse beauty of birds. Birds, with their variety of forms, colors, and postures, present an enchanting subject for artists of all skill levels. This guide will provide a step-by-step approach to creating a bird drawing, integrating essential keywords to enhance your drawing experience and ensure your artwork embodies the elegance of these creatures.
Table of Contents
Understanding Birds
Before you begin drawing, it’s beneficial to familiarize yourself with the key features of birds. Notable for their feathers, beaks, and wings, birds offer a wide range of artistic exploration. Observing photos or watching videos can provide valuable insights into their anatomy, movements, and unique characteristics.
Step-by-Step Guide to Drawing a Bird
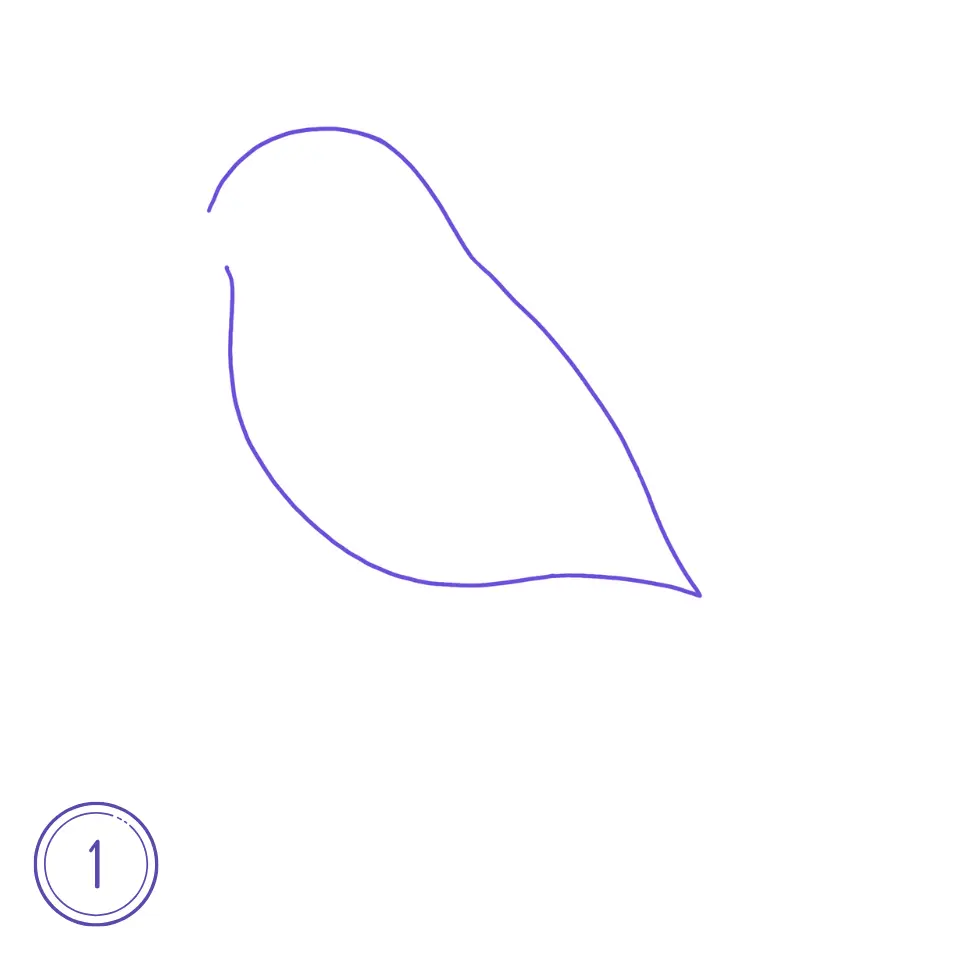
Step 1: Sketch the Basic Outline
Start with Simple Shapes: Begin by drawing a small oval for the head and a larger oval for the body to establish the basic outline. This will help you capture the bird’s form accurately.
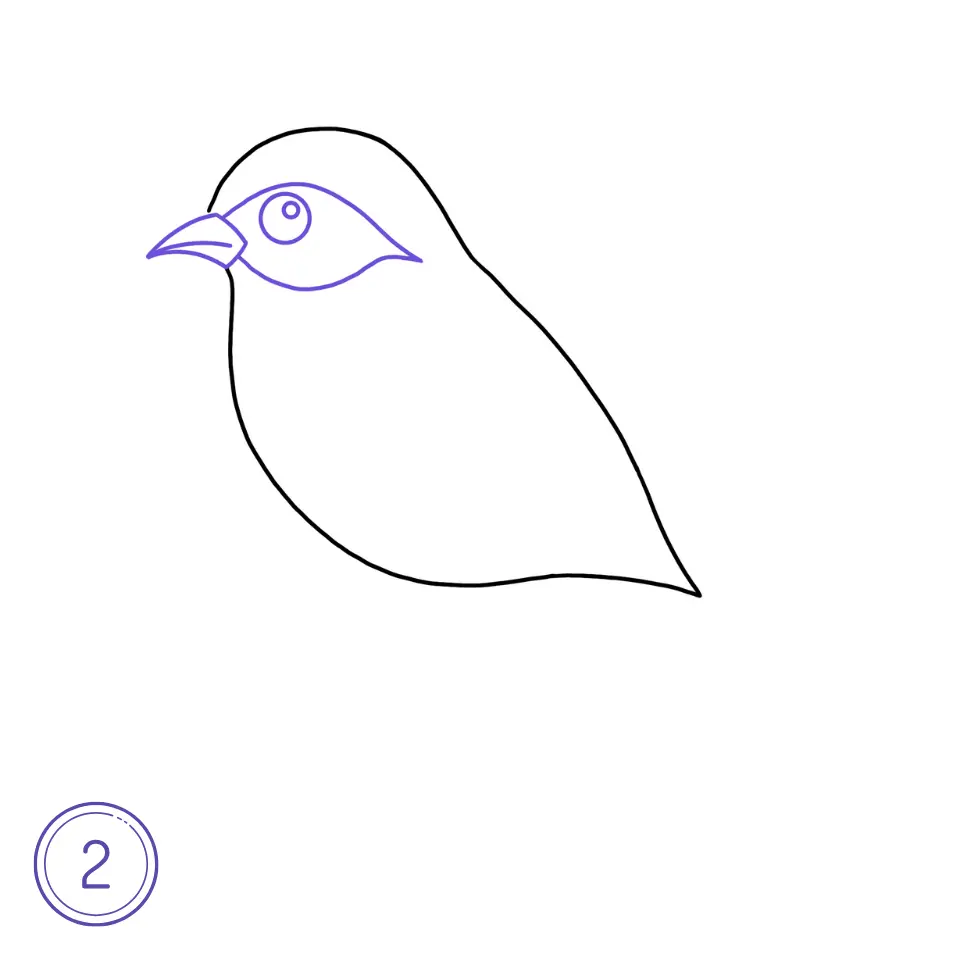
Step 2: Add the Head Details
Shape the Beak and Eyes: Birds have diverse beak shapes depending on their species. Sketch the beak protruding from the front of the head, tailored to the type of bird you’re drawing. Add a small circle for the eye, ensuring it’s expressive and placed correctly.
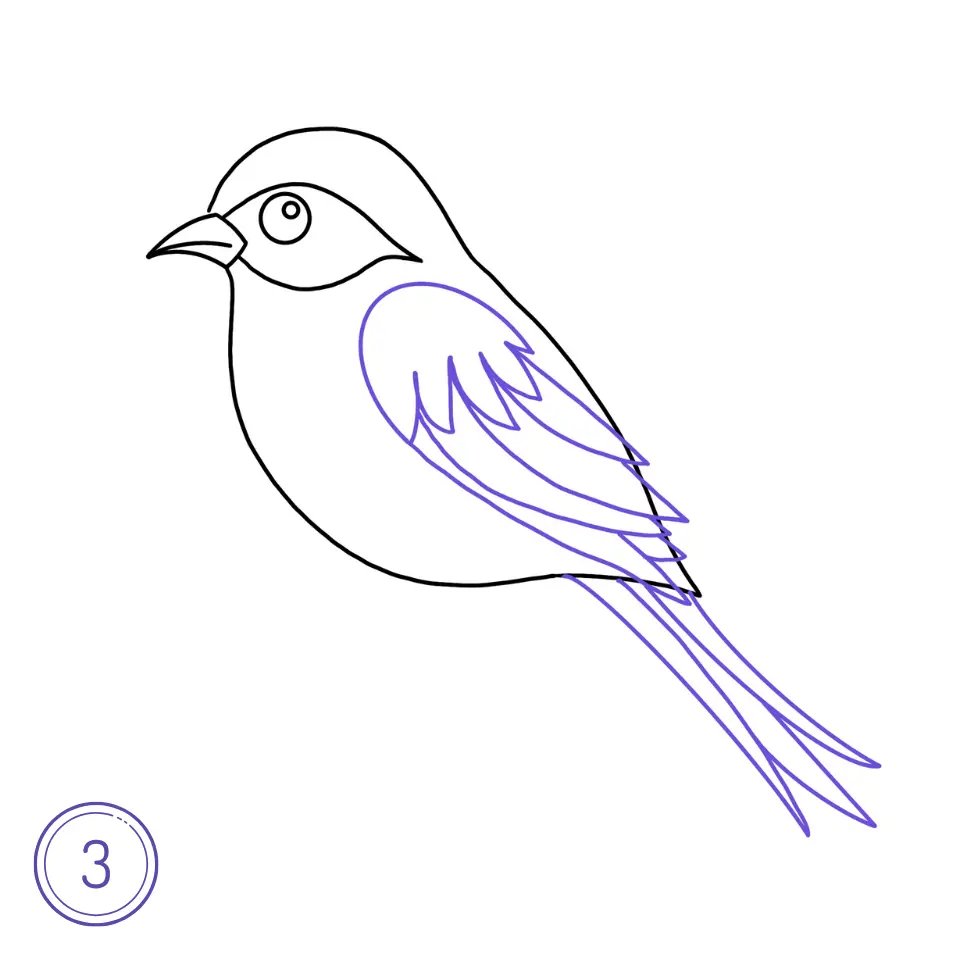
Step 3: Illustrate the Wings and Tail
Draw the Wings: Depending on the bird’s posture, add one or two wing shapes extending from the body. Use gentle curves to mimic the natural flow of feathers.
Sketch the Tail: Add the tail at the rear of the body, using lines to suggest the length and feather arrangement.
Step 4: Refine the Drawing
Add Texture and Details: Go over your sketch to refine the feathers, the contour of the body, and the details of the head. Use light strokes to suggest the texture of the feathers and add any distinctive markings or colors.
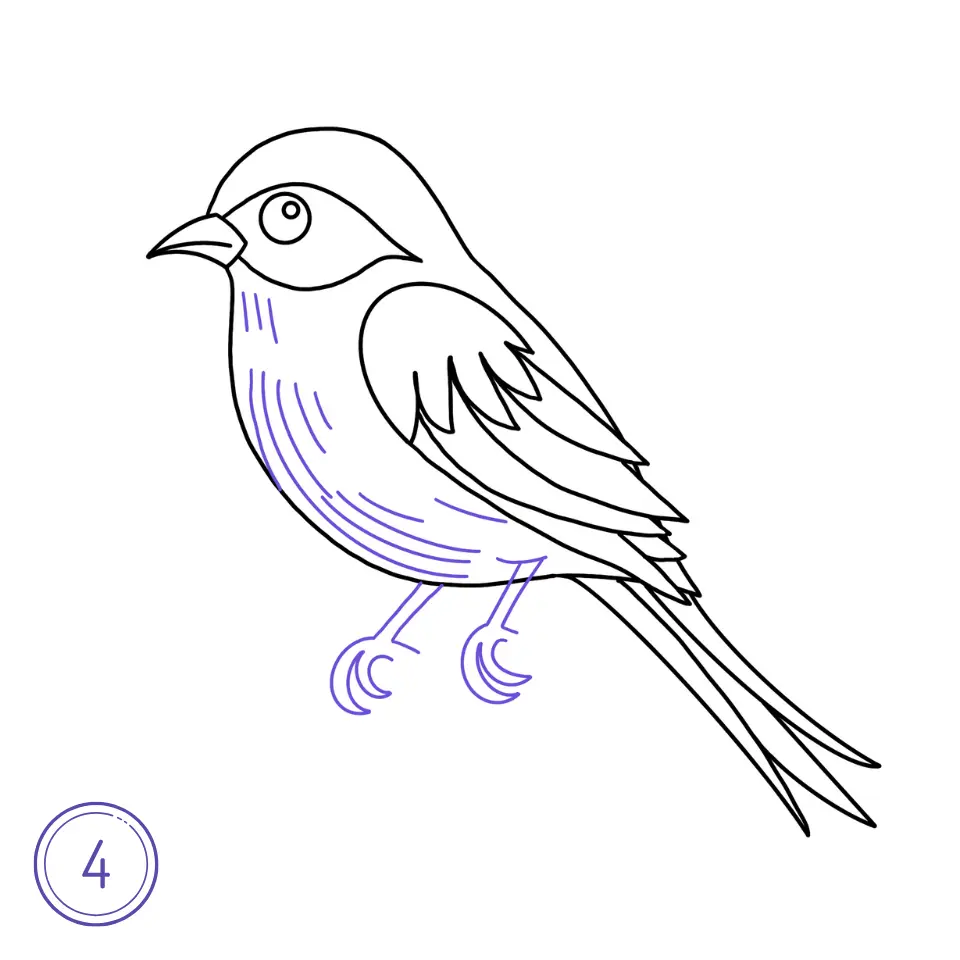
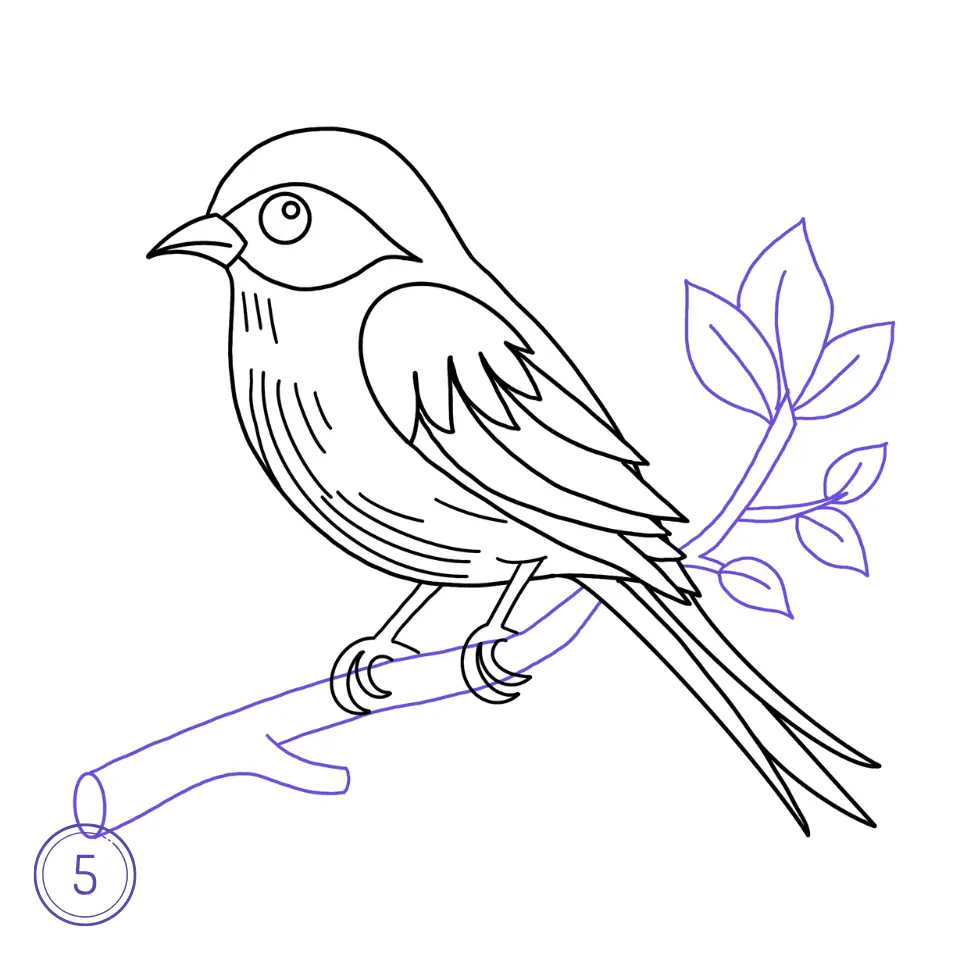
Step 5: Drawing a Tree Branch
Start with a slightly curved line for the branch to create a natural look beneath the bird. Add thickness to the branch by drawing parallel lines around the initial sketch, tapering the ends for realism. Draw a few leaves on the branch, placing them randomly to emphasize the natural feel of the composition.
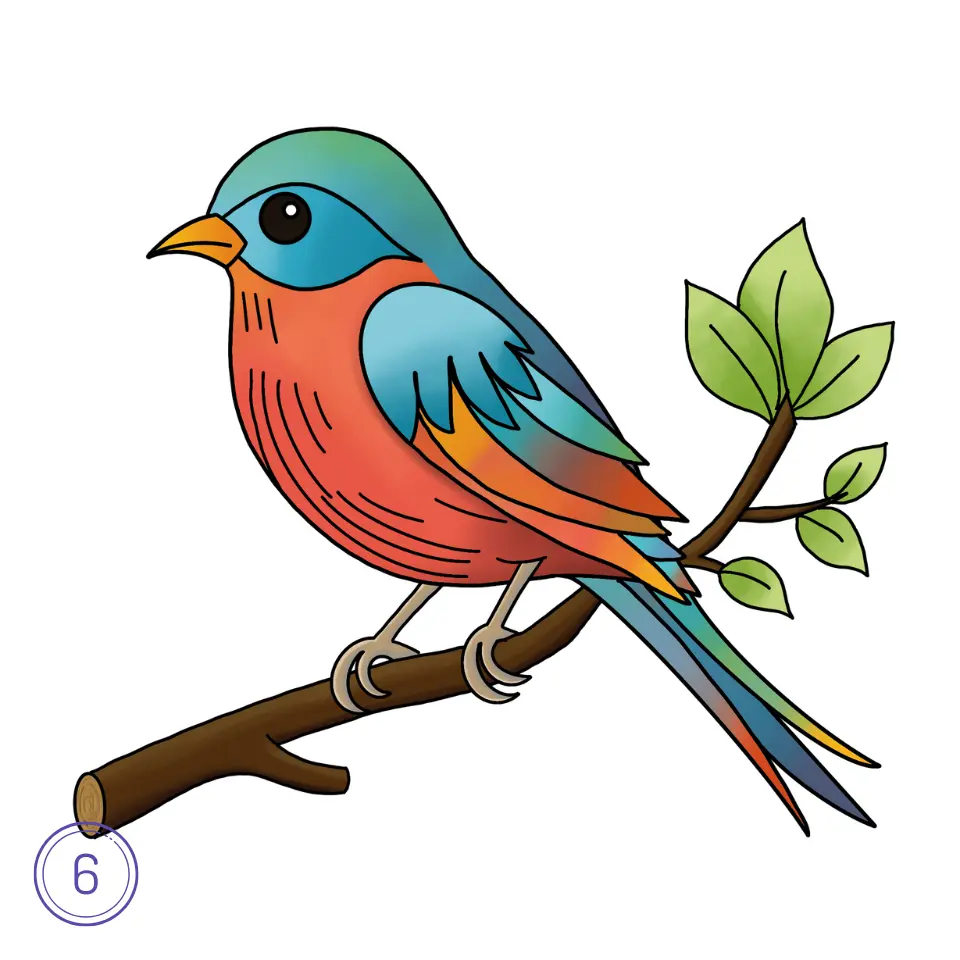
Step 6: Final Touches
Shading and Coloring: Apply shading to give your bird drawing depth and volume, focusing on areas like under the wings and around the eyes. While birds come in a plethora of colors, choose shades that bring your drawing to life, reflecting the bird’s natural hues.
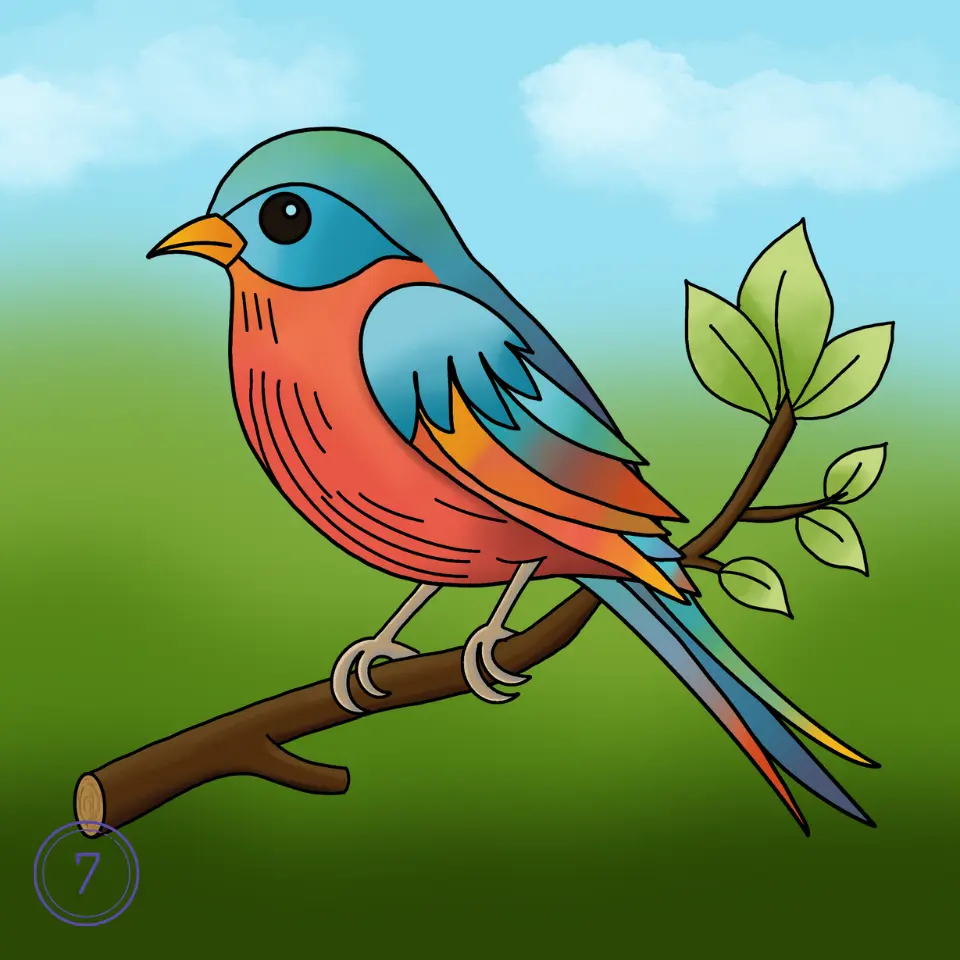
Step 7: Add Background
Add a background to enhance your bird’s setting, such as tree branches, flowers, or a soft sky with clouds. Keep the background simple and complementary to ensure the bird remains the focal point.
Tips for a Successful Bird Drawing
- Use References: Having a reference image can greatly enhance the accuracy of your drawing, especially for capturing the bird’s proportions and features.
- Practice Different Poses: Challenge yourself by drawing birds in various poses, such as in flight or perched, to fully capture their dynamism.
- Experiment with Mediums: Try different drawing mediums, from pencils to watercolors, to discover the textures and tones that best represent the bird’s plumage and environment.
Conclusion about How to Draw a Bird
Drawing a bird can be a rewarding artistic venture, offering a chance to explore the anatomy and essence of these ethereal creatures. By following these steps and keeping the provided tips in mind, you’ll be able to create captivating bird drawings that showcase your understanding and appreciation of avian beauty. Whether you’re drawing for fun, education, or to expand your artistic portfolio, remember that practice, observation, and creativity are key to mastering how to draw a bird.
