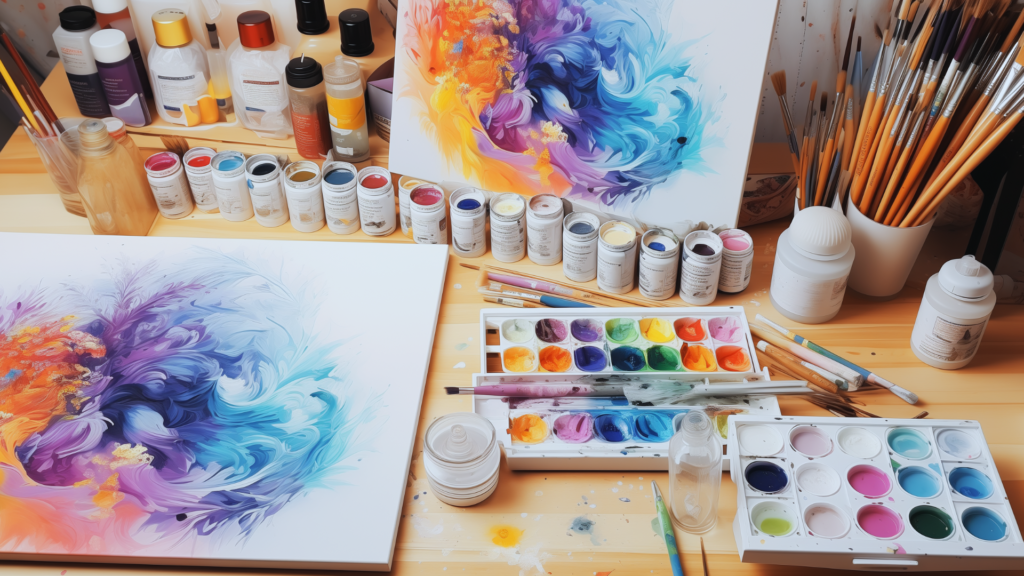
Mixing paint is a significant step in art that enables an artist to create a range of shades and color combinations, expressing their creative ideas in the best way possible. The key to achieving desired results is to comprehend the fundamental principles of color theory.
Table of Contents

Main Principles of Color Mixing
1. Color Wheel:
To comprehend how colors, interact, one must possess the color wheel. The color wheel starts with three primary colors – red, yellow, and blue. The next level includes three secondary colors – orange, green, and violet. Then there are six tertiary colors – red-orange, yellow-orange, yellow-green, blue-green, blue-violet, and red-violet. The uniqueness of primary colors lies in the fact that they cannot be created by mixing other colors, while secondary colors are formed by blending two primary colors in equal amounts. By using this wheel, artists can visualize and anticipate the results of color mixing, which helps them create harmonious and balanced color schemes.
2. Few Mixing Rules:
- Primary Colors (red, yellow, blue): A secondary color can be produced by mixing two primary colors (for example, yellow + blue = green, red + yellow = orange, blue + red = violet).
- Complementary Colors: Complementary colors are colors that are located opposite each other on the color wheel. To create shadows and depth in a painting, or to tone down bright colors, a neutral or gray shade is produced when complementary colors are mixed together.
- Analogous Colors: Colors that are adjacent to each other on the color wheel, such as blue, blue-green, and green, are known for their seamless blending and harmonious combinations. These colors work wonderfully together, making them perfect for creating smooth gradients or cohesive color schemes in your artistic projects.
3. Mixing Shades:
Mixing colors extends beyond just the primary colors. You can achieve a variety of shades by incorporating white, black, or gray. Adding white to lighten a color is called tinting, resulting in pastel hues. Incorporating black to darken a color is known as shading, which adds depth and darkness. Mixing gray with a color to adjust its intensity is referred to as toning. This approach allows for a wide range of gradations and nuanced colors in your artwork.
How to Get the Desired Color when Mixing
To get the color you want, begin with a small amount of paint and add more colors until you have achieved the desired outcome. It’s crucial to consider the paint’s transparency, as some colors may change their appearance due to the substrate or other layers. It’s important first to test your mixtures on a separate paper to ensure their true outcome before applying them to your main work. The final color can be affected by the order in which colors are mixed during mixing. For example, pairing a dark color with a light one often leads to a different outcome than pairing a light color with a dark one. When colors are blended, each medium has its own properties and behavior, which can influence the mixing process.

Advantages of Mixing Your Own Colors
- Individuality and Uniqueness:
- Flexibility in Work:
- Resource Saving:
- Learning and Development:
Crafting your own paint mixtures allows you to produce colors that are precisely tailored to your artistic vision. This approach guarantees a personal touch and originality in your work. Since no two artists blend colors in the exact same way, this leads to distinctive results that make your artwork truly one-of-a-kind.
Developing your color mixing skills enables you to swiftly adapt to changes in your project, creating the exact shades needed on the fly. This adaptability is particularly useful when you need to harmonize colors across various elements of a piece or when you aim to set a particular mood or ambiance.
Mixing your own paints can be more cost-effective than purchasing a wide range of pre-made colors. You can avoid buying seldom-used shades by creating them as needed, which also minimizes waste. This method ensures you only mix the amount of paint required for a specific project, leading to more efficient use of resources.
The practice of mixing colors enhances your understanding of color theory and sharpens your artistic eye. You’ll become more adept at perceiving and distinguishing between subtle shades, which will improve your overall skills. Over time, you’ll develop an intuitive grasp of color interactions and learn how to achieve the desired effects in your artwork.
So let’s get started and go to our favorite hacks for mixing colors
- Use a Special Palette:
- Maintain Cleanliness:
- Working with Good Lighting:
- Record Your Recipes:
- Test and Adjust:
It helps you visualize the colors you are mixing. Additionally, this method ensures that your colors remain true and helps you avoid any unintended hues. Explore various palette options – сlassic wooden, sleek glass surfaces, or convenient disposable paper palettes – to discover the perfect fit for your artistic endeavors. Each type offers unique benefits, so finding your ideal match can elevate your artistic journey.
Don’t forget to clean your brushes and tools after every use to avoid unexpected color changes due to leftover paint. This practice keeps your colors pure and extends the life of your tools. Consider allocating individual brushes to specific color groups to further prevent color contamination. This strategy helps maintain the purity of your palette and ensures the accuracy of your color applications.
Mix paints in good lighting (the best one is daylight) to see the exact colors. Natural light is ideal for this, as it shows the truest colors without the alterations that can come from artificial lights. If natural light isn’t an option, consider using bulbs that mimic daylight to achieve a similar effect. This can help ensure that colors look just as vibrant and real indoors as they do under the sun.
There are times when you might mix the perfect color, only to find that you don’t have enough to complete your painting. To avoid this situation, it’s helpful to record the proportions of the colors used. Consider keeping a special journal or a small notebook for this purpose. This will save you time and simplify the painting process.
Imagine that you’ve mixed the perfect color and applied it to your canvas, only to find that it appears quite different once it has dried. For this reason, we recommend testing the color on a separate piece of paper or canvas before applying it to your artwork. Allow the paint to dry completely, and then assess whether the hue meets your expectations or if adjustments are needed to achieve your artistic vision.
Conclusion
Mixing paint is an art that requires practice and patience. Perfecting this skill unveils boundless avenues for an artist’s creative exploration. By developing your mixing approach, you ascend to new levels of artistic accomplishment, crafting pieces that are lively, cohesive, and distinctly personal. Whether you’re just starting out or already seasoned in the arts, consistently improving your color blending skills will enhance both your creative journey and the excellence of your art pieces.