Watercolour painting is known for its delicate, ethereal quality and expressive potential. Yet, it can be a challenging medium to master due to its fluid nature and unpredictability. If you’ve ever struggled with controlling your washes or achieving the right consistency, don’t worry—you’re not alone. This guide is designed to help you understand the nuances of watercolour, from choosing the right materials to advanced techniques that will elevate your skills and confidence.
Table of Contents

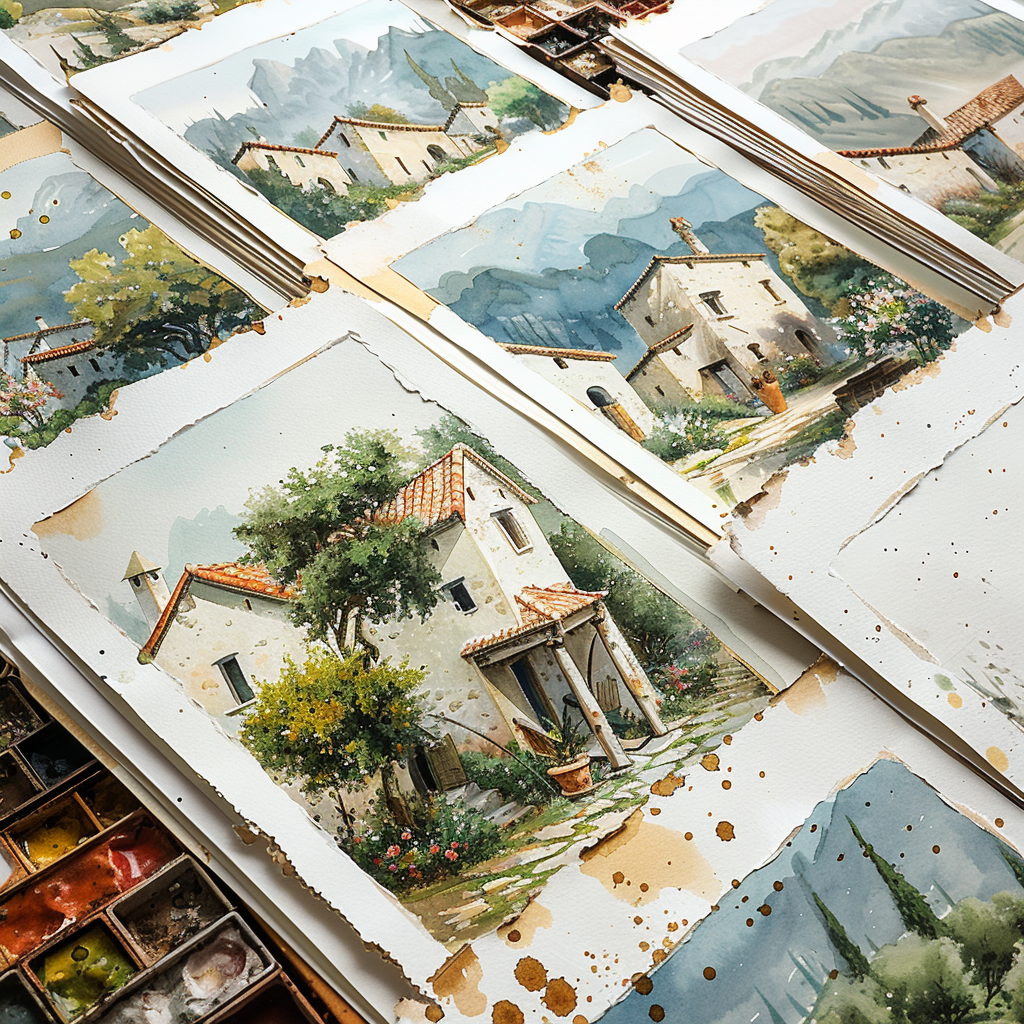
Understanding Watercolour Supplies
Your choice of supplies significantly impacts the quality of your work. Let’s start with the basics:
- Paper: Watercolour paper is thicker and more absorbent than regular paper, designed to handle water without warping. The most common types are cold-pressed (not) and hot-pressed. Cold-pressed paper has a slight texture, making it suitable for most techniques, while hot-pressed paper has a smooth surface, ideal for fine details.
- Brushes: Round brushes are versatile and can be used for a variety of strokes. Flat brushes are excellent for broad washes, while detail brushes are perfect for intricate lines. It’s worth investing in high-quality brushes with good spring and water retention.
- Paints: Watercolours come in tubes or pans. Student-grade paints are more affordable and suitable for beginners, but professional-grade paints offer richer pigmentation and smoother blends.
Selecting the right supplies sets a solid foundation for mastering watercolour techniques. Consider starting with a basic set of primary colours, a couple of brushes, and 300 gsm cold-pressed paper.
Preparing Your Workspace
Creating a well-organised workspace ensures you have everything you need within reach, making your painting experience smoother and more enjoyable. Here’s how to set up:
- Surface: Use a sturdy table or easel. If you’re working flat, tilt your paper slightly to control the flow of water.
- Water Containers: Have at least two containers—one for rinsing your brush and one with clean water for mixing colours.
- Palette: Choose a palette with wells and mixing areas to control the amount of water and pigment.
- Additional Tools: Keep paper towels, masking tape, and a spray bottle on hand for lifting paint or keeping your palette moist.

Basic Watercolour Techniques
Washes: Washes form the backbone of watercolour painting, used to create backgrounds and establish mood.
- Flat Wash: Load your brush with a consistent mix of water and pigment. Apply in horizontal strokes, maintaining a wet edge to avoid streaks.
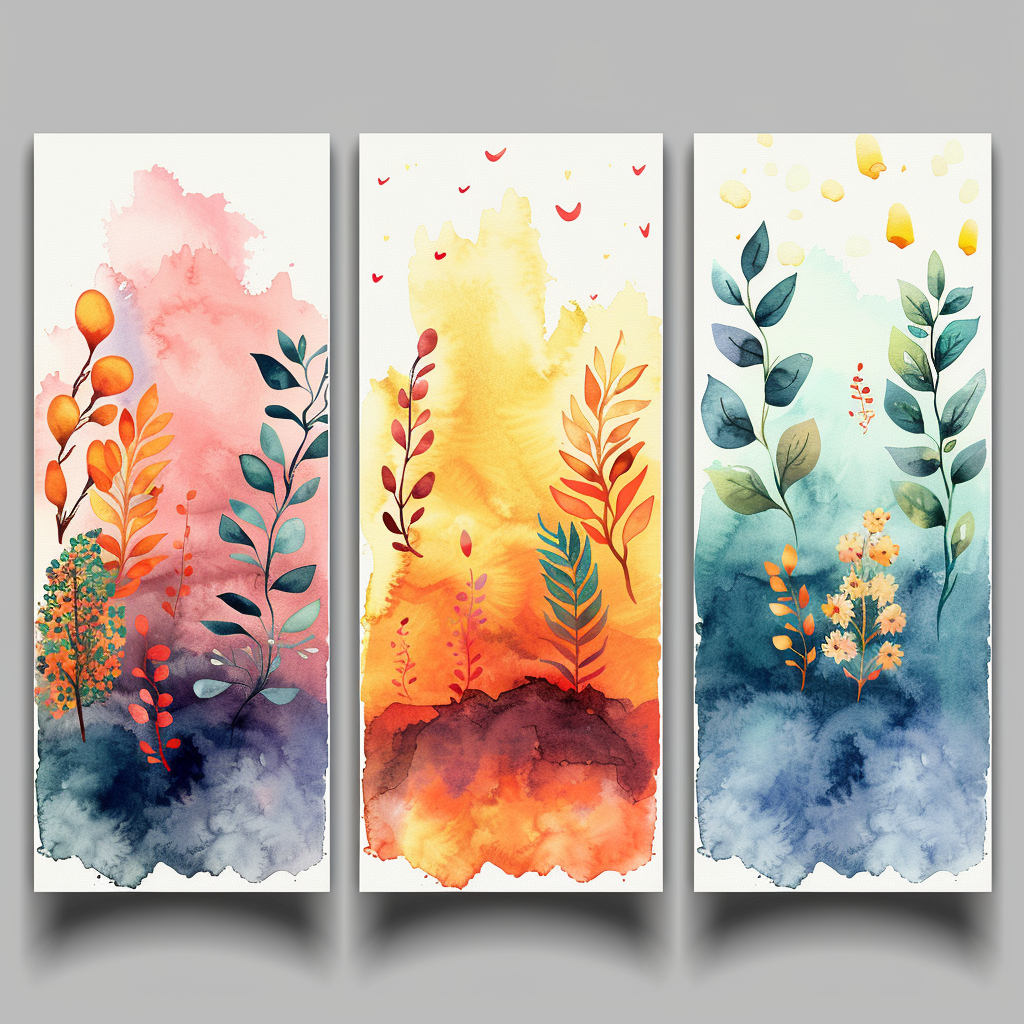
- Graded Wash: Start with a rich pigment at the top and gradually add more water as you move down to create a gradient effect.
- Variegated Wash: Blend two colours together while still wet, allowing them to merge naturally.
Wet-on-Wet Technique: Apply wet paint onto a wet surface for soft, flowing shapes and blurred edges. This technique is ideal for painting skies, water, and subtle backgrounds.
Wet-on-Dry Technique: Paint on dry paper for sharper, defined lines. Use this method for detailed work and adding texture.
Layering and Glazing
Layering involves applying multiple washes to build depth and dimension. Start with light colours and gradually move to darker tones, allowing each layer to dry before adding the next.
Glazing is a more refined form of layering where you apply a thin, transparent wash over a dry layer of paint to subtly adjust the colour or value.

Creating Soft and Hard Edges
- Soft Edges: Achieved by using the wet-on-wet technique. This effect is useful for elements that should appear blended or distant.
- Hard Edges: Created by painting wet paint onto a dry surface. This method is excellent for adding details and contrast.
Practice transitioning between soft and hard edges to give your paintings more depth and variety.
Mixing Colours in Watercolour
Watercolour mixing can be tricky due to its transparency. To avoid muddy colours, always mix fewer pigments. Use a colour wheel to understand complementary colours and avoid mixing them, as they can neutralise each other.
Start by mixing primary colours to create a range of secondary and tertiary hues. Remember that watercolour dries lighter, so test your mixes on a scrap piece of paper before applying them to your painting.
Using Negative Space and Masking Fluid
Negative space is the area around and between subjects in a painting. Using negative space effectively can make your subjects pop. Masking fluid helps preserve areas of white paper that should remain untouched. Apply masking fluid before laying down washes, and remove it once the painting is dry.

Experimenting with Textures
Watercolour offers endless possibilities for creating textures. Try these techniques:
- Salt: Sprinkle salt onto wet paint. As the paint dries, it creates interesting crystal-like patterns.
- Plastic Wrap: Place plastic wrap over wet paint and let it dry. The result is a unique, organic texture.
- Splattering: Flick paint off the bristles of a brush for a speckled effect.
Creating Light and Shadow
Understanding light and shadow is key to adding realism. Use diluted washes for areas exposed to light and build up layers of colour for shadows. Pay attention to the light source in your composition, and use soft transitions to create a three-dimensional effect.
Mastering Water Control
One of the biggest challenges in watercolour is controlling the ratio of water to paint. Too much water can lead to unwanted blooms, while too little can create dry, scratchy textures. Practice different brushstrokes and water-to-pigment ratios to develop control.
Tips for Painting Landscapes
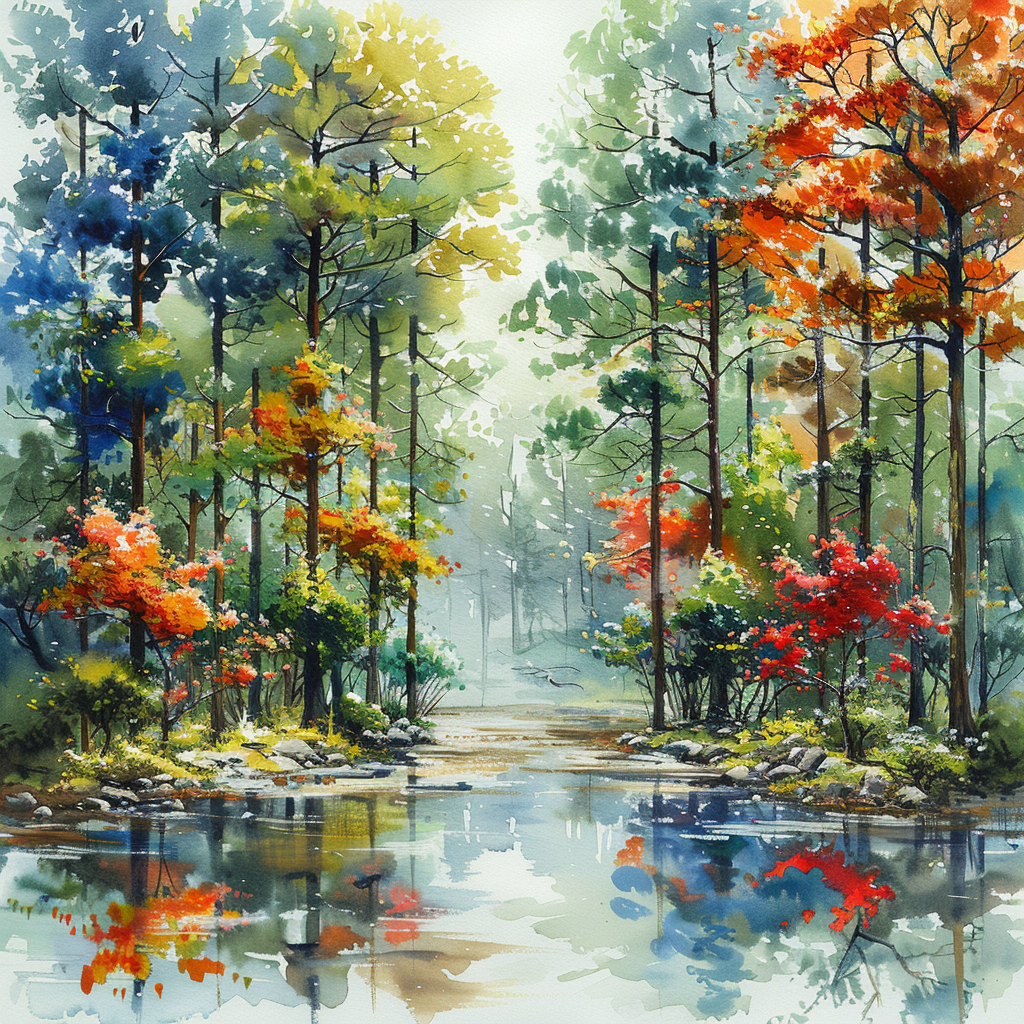
When painting landscapes, start with broad washes for the sky and background, and gradually build up details for elements like trees, water, and foliage. Use glazing to add atmospheric perspective and depth.
Tips for Painting Portraits and Figures
Achieving lifelike portraits requires patience and precision. Use light washes for skin tones and build up layers to capture shadows and contours. Pay attention to facial features and use a fine brush for details like eyes and hair.
Conclusion
Mastering watercolour techniques is a rewarding journey that requires practice, patience, and experimentation. From understanding basic washes to exploring advanced methods like glazing and texture creation, there’s always something new to learn and refine. Embrace the unpredictable nature of watercolour and let your creativity flow freely.